 Pin It
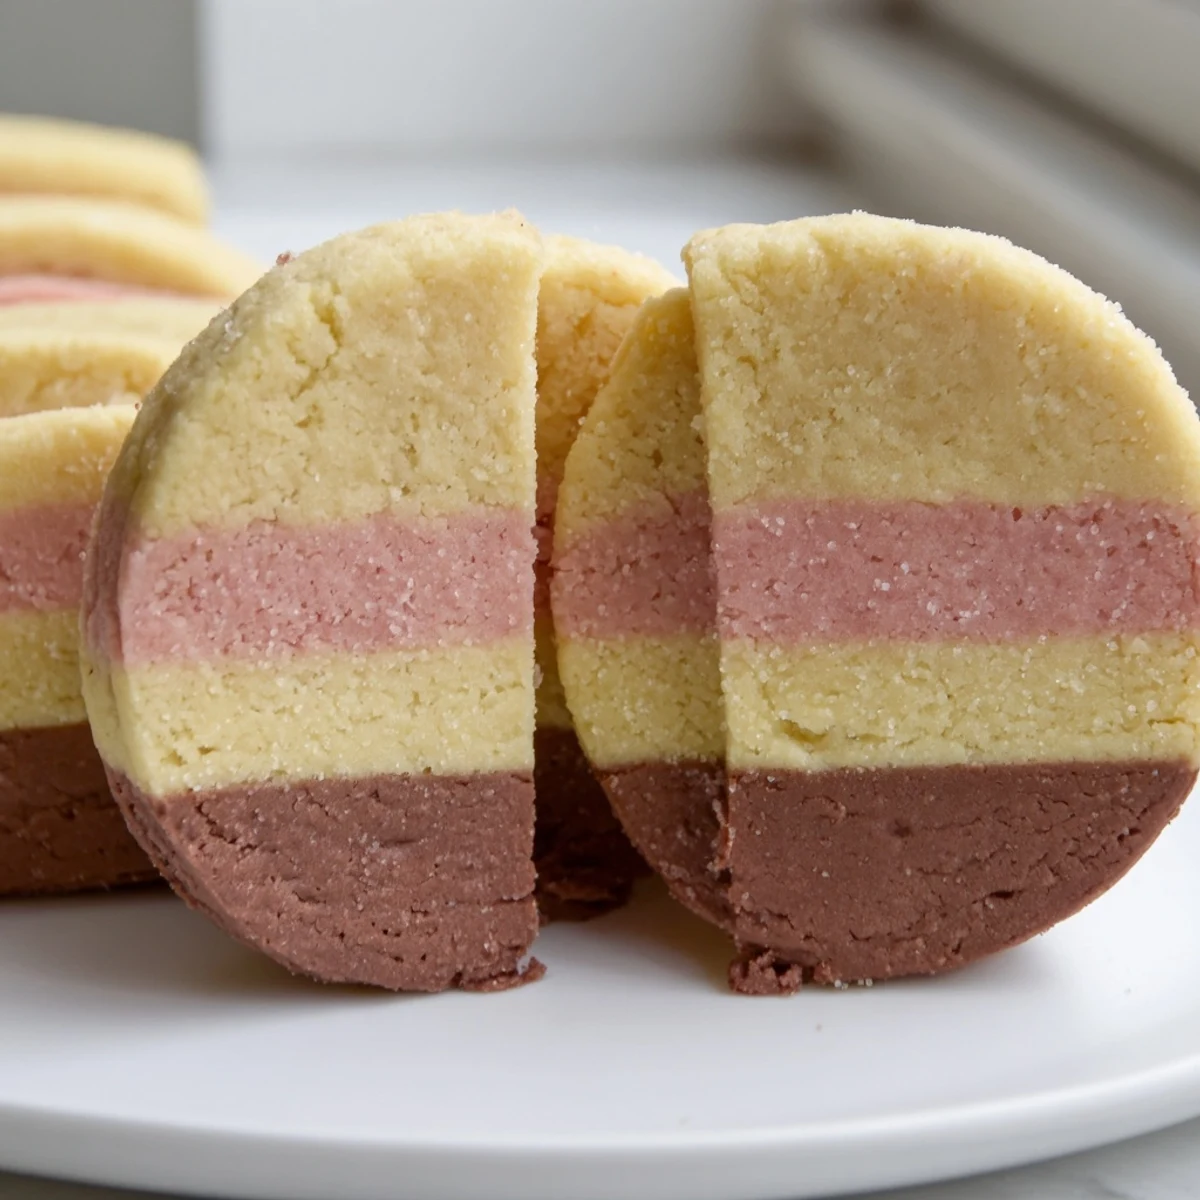
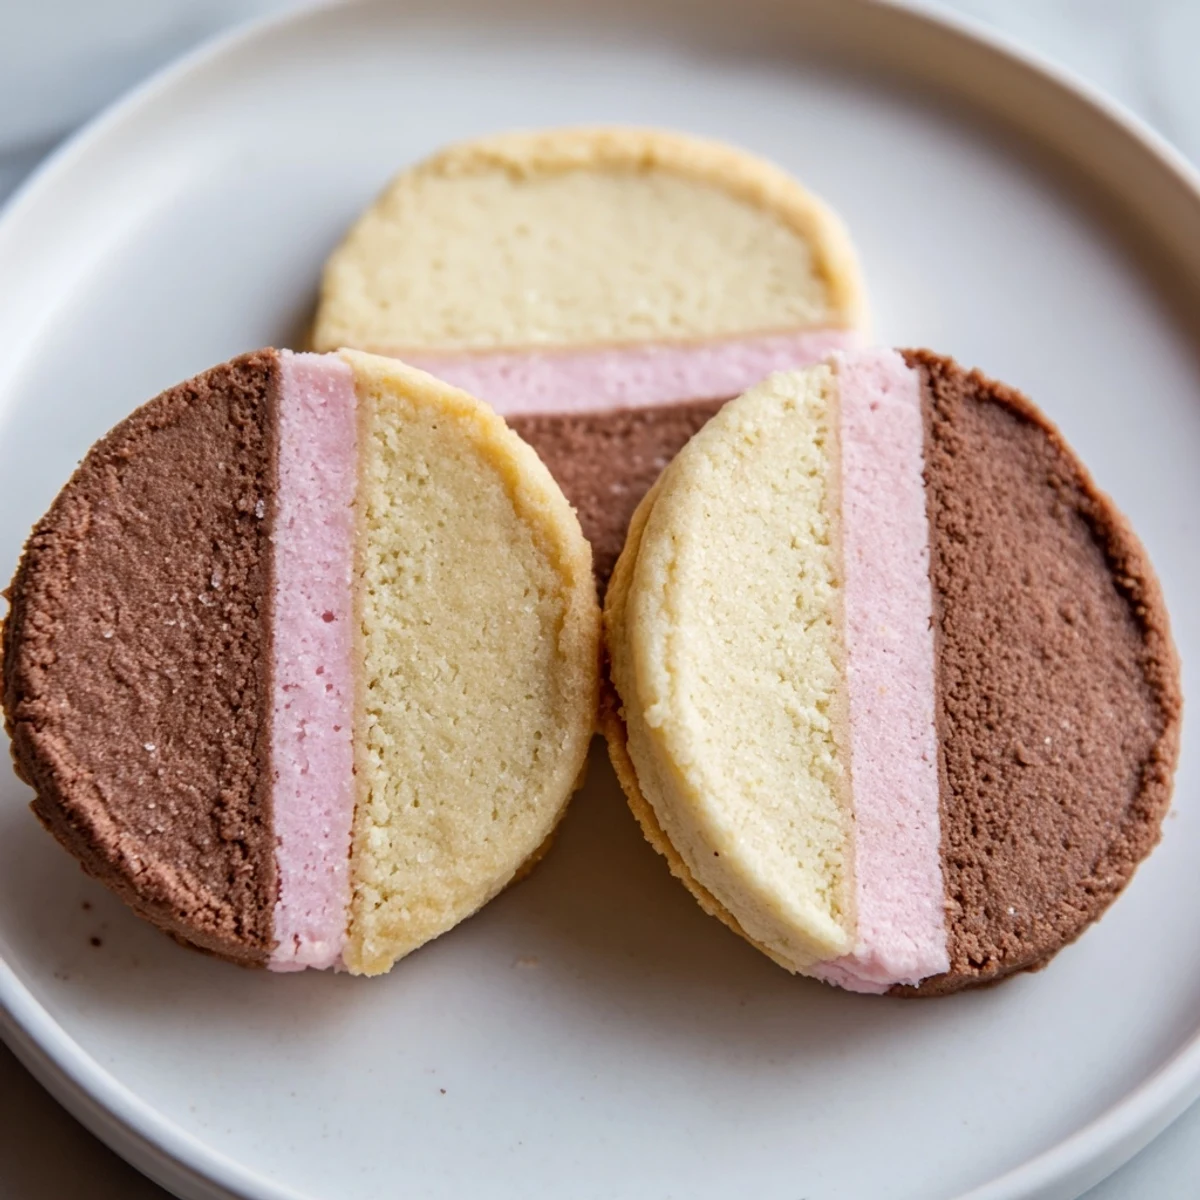
 Neapolitan cookies capture the nostalgic charm of the famous ice cream in a beautiful layered butter cookie. Each batch features three distinct flavors—rich chocolate, classic vanilla, and sweet strawberry—stacked together and sliced to reveal a stunning tri-color pattern.
The dough comes together quickly with a single base that gets divided and flavored with cocoa powder and freeze-dried strawberry powder. After a brief chill to firm up, simply slice and bake for a eye-catching treat that's as delicious as it is gorgeous.
The kitchen smelled like a bakery and a candy shop had a baby, and honestly, I was grinning like an idiot the entire time I was making these. Neapolitan Cookies take everything magical about that iconic trio of ice cream flavors and stuff it into one buttery, slice-and-bake masterpiece. Three layers, three flavors, one impossibly charming cookie that makes people think you spent all day on something that is surprisingly manageable. My first batch vanished in under an hour at a potluck, and someone actually asked if I had ordered them from a boutique bakery.
I made these for my neighbors holiday cookie exchange last December, and the moment I set the plate down, three hands reached for them simultaneously. The chocolate layer got the most initial curiosity, but it was the strawberry one that had everyone coming back for seconds. There is something about seeing those three distinct colors stacked together that triggers pure childlike excitement in grown adults.
Ingredients
- All-purpose flour (2 and a half cups, 315 g): The backbone of the dough, and spooning it into the cup rather than scooping prevents dense, sad cookies.
- Baking powder (1 tsp): Just enough lift to keep these tender without puffing them into cushions.
- Salt (half tsp): Balances the sugar and wakes up every single flavor layer.
- Unsalted butter, softened (1 cup, 225 g): Room temperature butter is non-negotiable here, and I learned that the hard way when I tried rushing it once and ended up with lumpy dough.
- Granulated sugar (1 and a quarter cups, 250 g): Creates that crisp edge and chewy center balance.
- Large eggs (2): Binds everything together and adds richness to the base dough.
- Pure vanilla extract (2 tsp): Use the real stuff because the vanilla layer relies on it entirely for its personality.
- Freeze-dried strawberry powder (1 tbsp): This is the secret weapon that gives the pink layer actual berry flavor instead of just looking pretty, and you can find it at most grocery stores now.
- Unsweetened cocoa powder (2 tbsp): Deep, dark chocolate flavor without making the dough too sweet or heavy.
- Milk (1 tsp): Just a splash to bring the chocolate dough together and keep it pliable.
Instructions
- Build the dry foundation:
- Whisk the flour, baking powder, and salt together in a medium bowl until evenly blended, then set it aside and admire your neat little mound of readiness.
- Cream the butter and sugar:
- Beat the softened butter and sugar in a large bowl for about two minutes until the mixture turns pale, fluffy, and cloud-like.
- Add the wet team:
- Drop in one egg at a time, beating after each addition, then pour in the vanilla and mix until everything is smooth and fragrant.
- Bring it all together:
- Gradually add the dry ingredients to the wet mixture and mix until just combined, stopping before you overwork it into toughness.
- Split and color:
- Divide the dough into three equal portions, then knead the strawberry powder into one third, the cocoa and milk into another, and leave the last third plain and proud.
- Shape the layers:
- On parchment paper or plastic wrap, press each portion into a flat rectangle roughly 8 by 4 inches, keeping the edges as neat as you can manage.
- Stack and chill:
- Layer the rectangles on top of each other, pressing gently so they adhere, wrap the whole block tightly, and refrigerate for at least 45 minutes until firm enough to slice cleanly.
- Slice and bake:
- Preheat your oven to 350 degrees Fahrenheit, cut the dough crosswise into quarter-inch slices, arrange them an inch apart on parchment-lined sheets, and bake for 10 to 12 minutes until the edges are just barely golden.
- Cool with patience:
- Let the cookies rest on the sheet for five minutes, then transfer to a wire rack and try not to eat them all while they are still warm and soft.
 Pin It
 The moment these became more than just a cookie was when my friend texted me a photo of her daughter carefully separating the layers and eating them one color at a time. That tiny ritual of picking apart the chocolate, then the vanilla, then the strawberry reminded me why layered desserts hold such a special place in our kitchens. They invite play, and food should always leave room for that.
Making It Your Own
Once you master the basic tri-color technique, the possibilities open wide. I have swapped the strawberry layer for raspberry powder during summer and added lemon zest to the vanilla portion for a bright, sunny variation that tasted like a completely different cookie. The dough is your canvas, and the layers are forgiving enough to experiment with extracts, zests, or even a swirl of espresso in place of the cocoa.
Storing and Gifting
These cookies store beautifully in an airtight container for up to a week, and they actually develop a slightly chewier texture by day two that some people prefer. For gifting, stack them in a tin with parchment between layers and tie a ribbon around it, because nothing says thoughtful like homemade Neapolitan Cookies arriving at your door. They also freeze well for up to three months if you can resist eating them all first.
Tools That Make It Easier
A bench scraper became my best friend for dividing the dough into even thirds and keeping those rectangle edges sharp. An electric mixer saves your arm on the creaming step, though a wooden spoon and determination will get you there too.
- A sharp, thin-bladed knife gives the cleanest slices without squishing the layers.
- Parchment paper for shaping means less handling of the dough and warmer hands will not soften it.
- Always chill the dough fully before slicing because patience here is the difference between beautiful and messy.
 Pin It
 Every time I slice into that chilled block and see the three distinct layers waiting, I feel a little spark of satisfaction that never gets old. These cookies are proof that a bit of color and a little patience can turn simple butter dough into something truly special.
Recipe FAQs
- → Can I make the dough ahead of time?
-
Yes, the assembled dough log can be wrapped tightly and stored in the refrigerator for up to 3 days before slicing and baking. You can also freeze it for up to 2 months—thaw overnight in the fridge before using.
- → What can I substitute for freeze-dried strawberry powder?
-
If you can't find freeze-dried strawberry powder, you can use ½ teaspoon of strawberry extract combined with 2 drops of pink or red food coloring. Alternatively, try raspberry powder or a teaspoon of citrus zest for a different flavor twist.
- → Why do the cookies need to chill before baking?
-
Chilling firms the butter in the dough, which helps the cookies hold their layered shape during slicing and prevents spreading in the oven. The minimum chill time is 45 minutes, but longer chilling results in cleaner, more defined layers.
- → How should I store baked Neapolitan cookies?
-
Store completely cooled cookies in an airtight container at room temperature for up to one week. You can also freeze baked cookies for up to 3 months by layering them between sheets of parchment paper in a freezer-safe container.
- → Can I dip these cookies in chocolate?
-
Absolutely! Dipping cooled cookies in melted chocolate adds extra indulgence. Use semi-sweet or dark chocolate, dip half of each cookie, and place on parchment paper until the chocolate sets completely.
- → How thick should I slice the dough?
-
Slice the chilled dough crosswise into ¼-inch thick pieces using a sharp knife. Consistent thickness ensures even baking and a uniform appearance across all your cookies.
