 Pin It
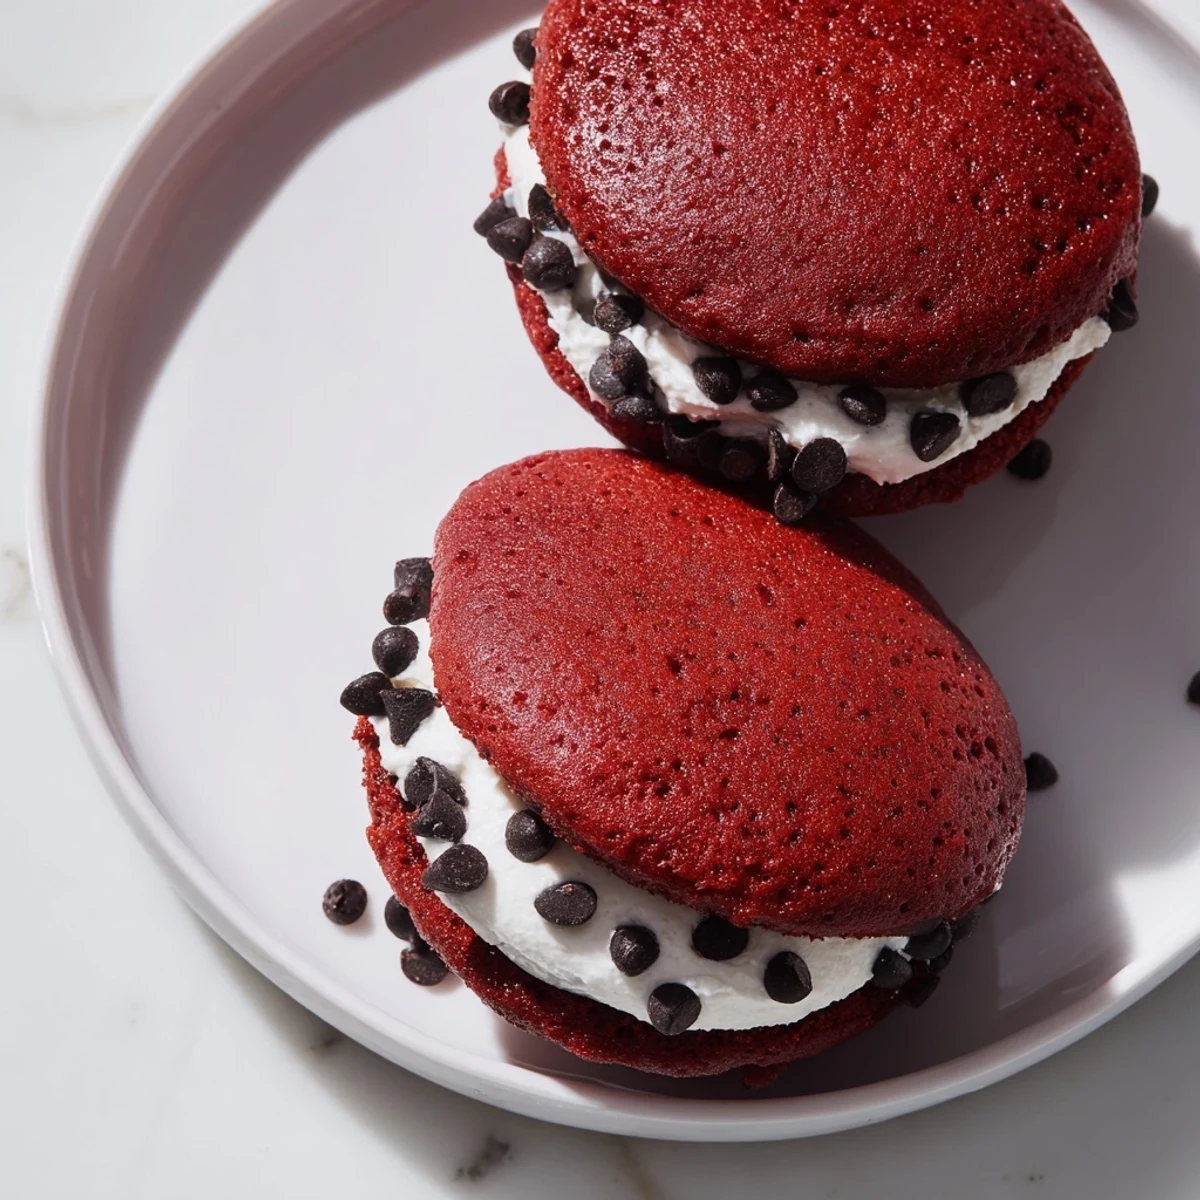
 These soft red velvet cakes are baked to a tender, velvety texture and paired with a light marshmallow cream filling. Combining rich cocoa, buttermilk, and a hint of vanilla creates depth and moistness, while the marshmallow filling adds a sweet, airy balance. Ideal for gatherings or a special dessert, this treat offers a perfect blend of texture and flavor with minimal preparation and baking time. Enjoy them fresh or chilled for lasting freshness.
My daughter walked into the kitchen while I was testing this recipe and asked why I was making little red hamburgers. The batter color startled her, but that first batch disappeared so fast between her and her brother that I had to make another. Now they are the most requested treat in our house, and I have learned to double the recipe just to ensure some survive long enough for photographs.
I made these for a bake sale last spring and had people messaging me weeks later asking for the recipe. The marshmallow filling was what really set them apart from all the other whoopie pies. One mom told me her son usually skips baked goods but ate three of these in one sitting.
Ingredients
- 2 cups all-purpose flour: The foundation that gives these little cakes their structure without becoming tough
- 2 tbsp unsweetened cocoa powder: Just enough to add depth without overpowering the delicate red velvet flavor
- 1 tsp baking powder: Helps these cakes rise into perfect domed shapes
- 1/2 tsp baking soda: Works with the buttermilk to create the signature velvet crumb
- 1/2 tsp salt: Essential to balance the sweetness and bring out the chocolate notes
- 1/2 cup unsalted butter softened: Room temperature butter creates the tenderest cake base
- 1 cup granulated sugar: Sweetens while helping the cakes develop that slightly crisp edge
- 1 large egg: Binds everything together and adds richness
- 1 tsp vanilla extract: Pure vanilla makes the filling sing so do not skimp here
- 1 cup buttermilk at room temperature: The secret ingredient that makes red velvet so tender and moist
- 1 tbsp red food coloring: Gel coloring gives a more vibrant red than liquid
- 1/2 cup unsalted butter softened: For the filling make sure this is truly soft to avoid lumps
- 1 1/2 cups powdered sugar sifted: Sifting prevents any gritty texture in the filling
- 1 jar marshmallow creme: This creates that signature fluffy texture that traditional buttercream cannot match
- 1 tsp vanilla extract: Another dash because vanilla in the filling is non negotiable
- Pinch of salt: A tiny pinch keeps the marshmallow filling from being cloyingly sweet
Instructions
- Prepare your oven and pans:
- Preheat your oven to 350°F and line two baking sheets with parchment paper. This prevents sticking and makes cleanup so much easier.
- Whisk the dry ingredients:
- In a medium bowl combine the flour cocoa powder baking powder baking soda and salt. Whisking ensures everything is evenly distributed.
- Cream the butter and sugar:
- Beat the butter and sugar together for about 3 minutes until it is light and fluffy. This step incorporates air which makes the cakes tender.
- Add the egg and vanilla:
- Add the egg and vanilla to the butter mixture beating until everything is well combined.
- Mix in the red coloring:
- Add the food coloring and mix until the batter is a uniform vibrant red. Do not worry if it looks intense.
- Combine wet and dry ingredients:
- Alternate adding the dry ingredients and buttermilk starting and ending with the dry ingredients. Mix only until just combined to avoid tough cakes.
- Scoop the batter:
- Drop 24 evenly sized mounds onto the prepared baking sheets leaving about 2 inches between each. A cookie scoop helps maintain consistent sizing.
- Bake to perfection:
- Bake for 10 to 12 minutes until the cakes spring back when lightly touched. Cool completely on a wire rack before filling.
- Make the marshmallow filling:
- Beat the butter until creamy then add the powdered sugar and beat until fluffy. Add the marshmallow creme vanilla and salt beating until smooth.
- Assemble the whoopie pies:
- Spread or pipe a generous tablespoon of filling onto half the cakes. Top with remaining cakes and press gently. Serve immediately or refrigerate.
 Pin It
 These have become my go to contribution for potlucks because they travel so well and people get so excited about them. I once brought a batch to a friend who was going through a tough time and she told me later that eating one made her feel like a kid again.
Getting the Perfect Shape
I used to struggle with uneven whoopie pies until I started using a cookie scoop. This simple tool changed everything and now every batch looks professional. If you do not have a scoop use two spoons to drop the batter but try to keep them as uniform as possible.
Storage Secrets
These actually taste better after a day in the refrigerator because the flavors have time to meld. Store them in an airtight container with parchment between layers. They will last up to three days though in my house they never make it that long.
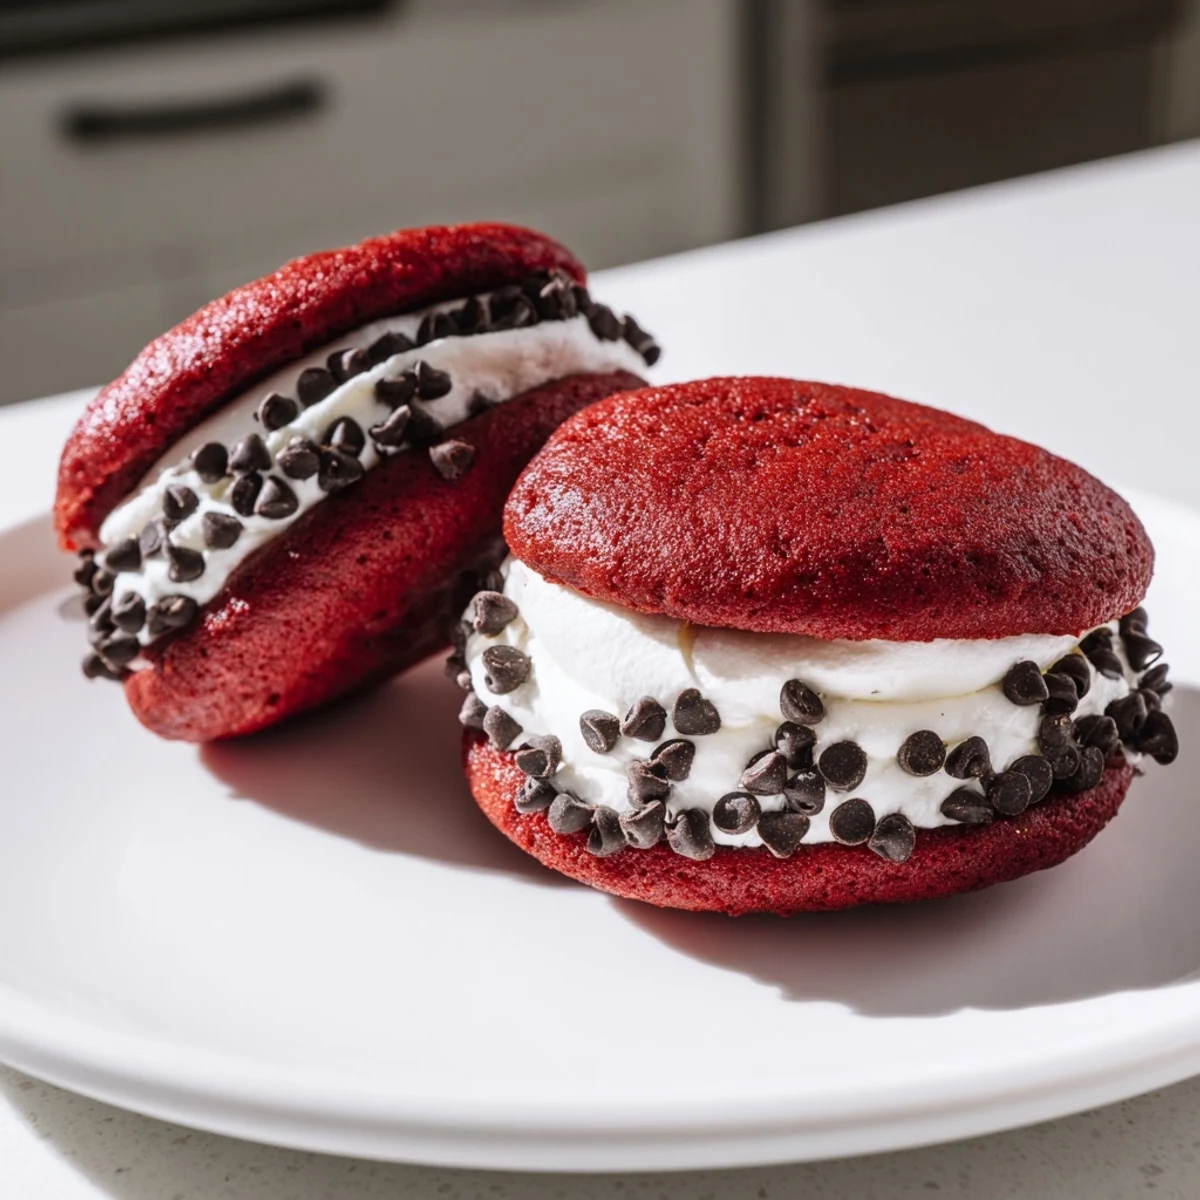
Make It Your Own
Once you have mastered the basic recipe there are so many fun ways to customize these. Roll the edges in sprinkles or mini chocolate chips for a birthday celebration. You could even add a teaspoon of espresso powder to the filling for a mocha variation.
- Try adding crushed peppermint candies around the edges for Christmas
- A few drops of almond extract in the filling creates a lovely cherry almond flavor
- For a chocolate lover version double the cocoa powder in the cakes
 Pin It
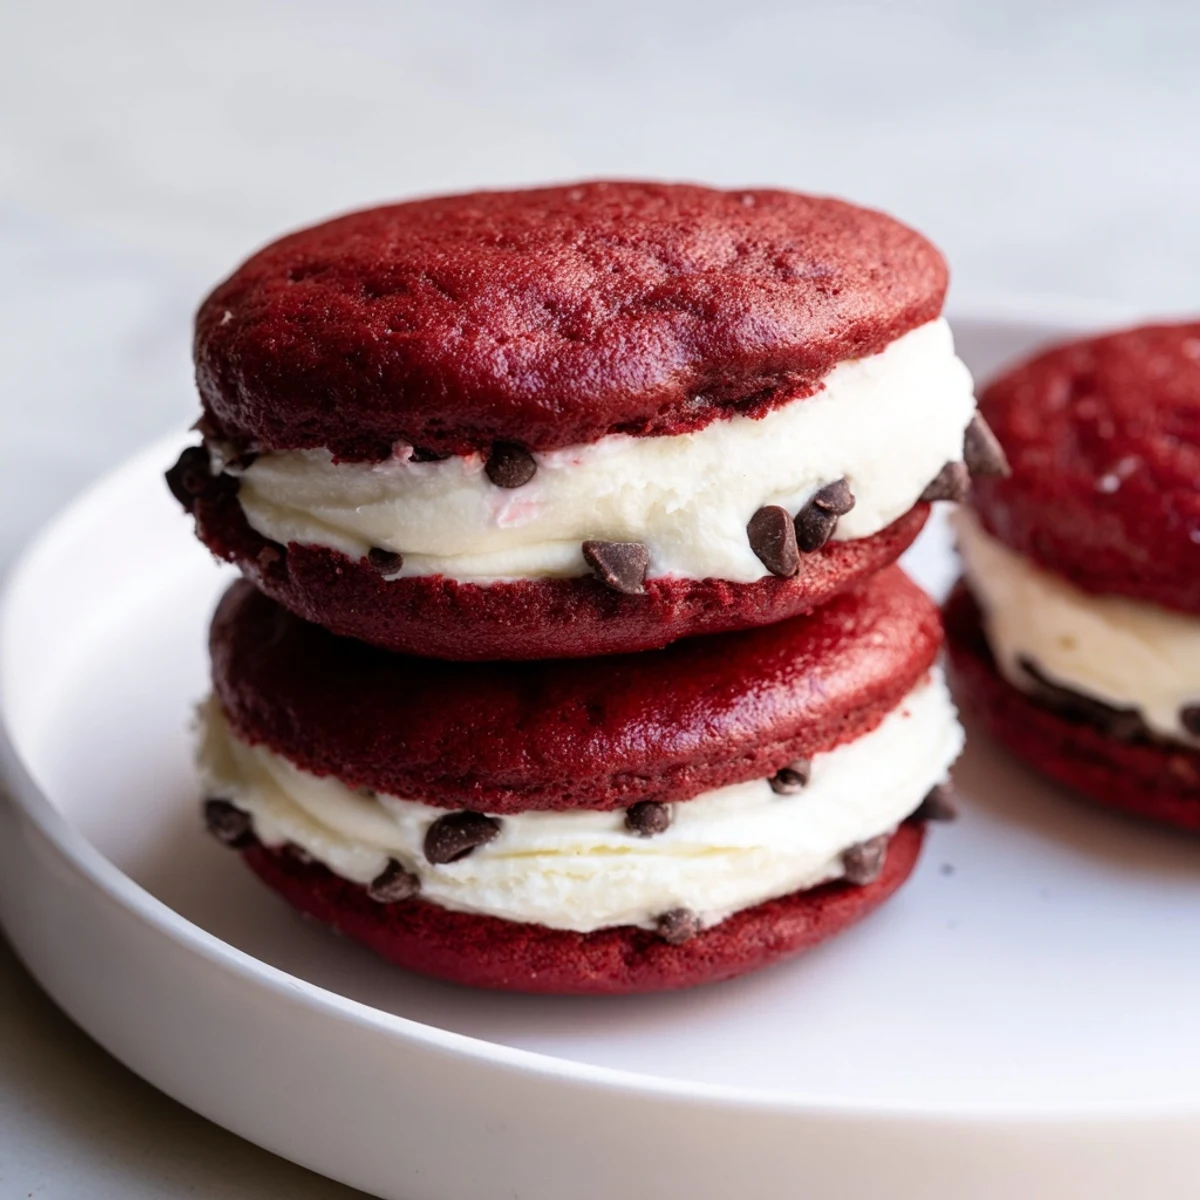
 There is something so satisfying about biting into one of these and getting that perfect marshmallow cream squish. I hope they bring as much joy to your kitchen as they have to mine.
Recipe FAQs
- → What gives the cakes their red color?
-
The vibrant red hue comes from food coloring added to the batter, enhancing the classic red velvet appearance.
- → Can I substitute buttermilk in the batter?
-
Yes, you can use whole milk combined with lemon juice or vinegar as an effective buttermilk substitute.
- → How do I achieve a fluffy marshmallow filling?
-
Beat softened butter and powdered sugar until light, then blend in marshmallow creme and vanilla, creating a smooth, airy texture.
- → How long should the cakes bake?
-
Bake the cakes for 10-12 minutes at 350°F, or until they spring back lightly when touched.
- → Can I store the assembled treats?
-
Yes, keep them in an airtight container in the refrigerator for up to three days to maintain freshness.
