 Pin It
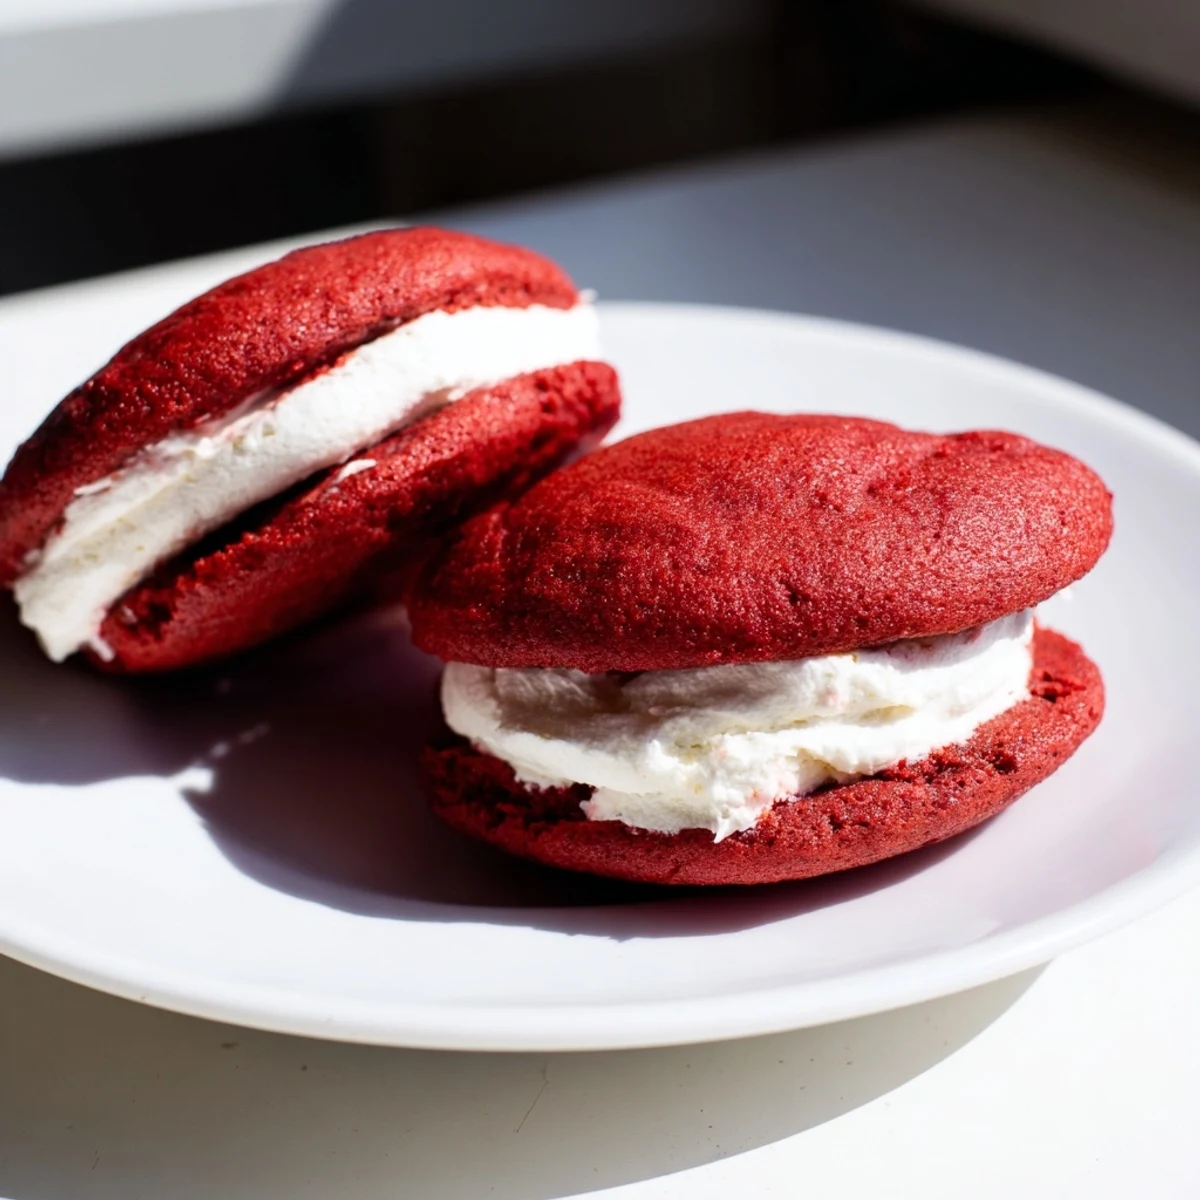
 These red velvet whoopie pies feature tender, cake-like cookies infused with cocoa and red food coloring. Paired with a light and fluffy marshmallow cream filling, they offer a perfect balance of sweetness and texture. Preparation involves mixing dry and wet ingredients separately, then combining gently to maintain a soft crumb. After baking, cookies cool before sandwiching with the smooth filling. Perfect for gatherings or dessert tables, they provide a comforting, classic flavor profile.
The first time I made whoopie pies, I accidentally used red gel coloring instead of liquid and ended up with cookies so vibrantly crimson that my kitchen looked like a crime scene. My roommate walked in, stopped dead in her tracks, and asked if I was experimenting with beets. That batch became legendary in our apartment complex, with neighbors knocking on the door asking what smelled like happiness and sugar.
My grandmother always claimed whoopie pies were invented when someone dropped cake batter onto a cookie sheet by accident, though I am fairly certain she made that up. What I do know is real is the sound my father makes when he bites into one—this involuntary little sigh that escapes before he can catch himself. I once brought a batch to his office and came back to an empty container and a note requesting the recipe written in three different handwriting styles.
Ingredients
- All-purpose flour (2 cups): The foundation of that classic cake like texture we want—do not substitute whole wheat here or you will lose the tender crumb
- Unsweetened cocoa powder (2 tablespoons): Just enough to give depth and balance the sweetness without overpowering the delicate red velvet flavor
- Baking powder and baking soda: Both are essential here for the lift that makes these puff up beautifully in the oven
- Unsalted butter (softened): Room temperature butter is non negotiable—cold butter will not cream properly and your cookies will not have that signature softness
- Granulated sugar (1 cup): Cream this thoroughly with the butter until the mixture looks pale and fluffy—this step creates air pockets that make the cookies tender
- Red food coloring (1 tablespoon): Gel coloring will give you a deeper red with less liquid, but liquid works perfectly fine if that is what you have
- Buttermilk (½ cup): This is the secret ingredient that activates the baking soda and adds subtle tanginess—regular milk will make these denser
- Marshmallow crème (7 oz jar): Do not attempt to make homemade marshmallow for the filling unless you have a candy thermometer and excellent life insurance
- Powdered sugar (1 ½ cups): Sift this first or your filling will have tiny lumps that I have spent many minutes trying to whisk smooth
Instructions
- Get your oven ready:
- Preheat to 350°F and line two baking sheets with parchment paper—the cookies will stick to bare sheets and nobody has time for that tragedy.
- Whisk the dry ingredients:
- In a medium bowl, combine flour, cocoa powder, baking powder, baking soda, and salt—set this aside for later.
- Cream the butter and sugar:
- Beat together on medium high speed for a full 2 to 3 minutes until the mixture turns pale and fluffy—this is not the step to rush.
- Add the wet ingredients:
- Mix in the egg and vanilla extract, then add the red food coloring until the batter is uniformly red.
- Combine everything:
- Alternately add the flour mixture and buttermilk in three parts, starting and ending with the dry ingredients—stop mixing as soon as no flour streaks remain.
- Scoop the batter:
- Drop 24 even mounds onto the prepared sheets, leaving 2 inches between them—a small cookie scoop is your friend for consistency.
- Bake to perfection:
- Bake for 10 to 12 minutes until the cookies spring back when lightly touched—they will look slightly underbaked but that is exactly right.
- Cool completely:
- Let them rest on the baking sheets for 5 minutes before moving to a wire rack—warm cookies will melt your filling into a sad puddle.
- Make the marshmallow filling:
- Beat the butter until smooth, gradually add powdered sugar, then mix in the marshmallow crème, vanilla, and pinch of salt until fluffy.
- Assemble your masterpieces:
- Pair cookies by size, spread or pipe 1 to 2 tablespoons of filling on one half, and gently press together until the filling reaches the edges.
 Pin It
 Last Christmas, my niece decided whoopie pies were actually called happy sandwiches and refused to call them anything else. She helped me assemble them, which mostly involved eating more filling than made it onto the cookies, but seeing her red stained hands and absolute joy made the extra cleanup worth it.
Getting the Right Red
Gel food coloring is more concentrated than liquid, so you will need less of it to achieve that classic red velvet hue. If you are using liquid coloring, do not be alarmed if you need to add more than the recipe calls for—some batches of cocoa are darker than others and can mask the red.
Storage Secrets
These actually improve after sitting for a few hours as the cookie softens slightly from the filling. Room temperature storage is best for up to two days, though the refrigerator extends their life if you can resist eating them all immediately.
Serving Suggestions
Chill the assembled whoopie pies for 15 minutes before serving to help the filling set, making them easier to handle and less likely to squish when you bite into them.
- Dust the tops with a little powdered sugar for a snow topped effect
- Try adding a drop of peppermint extract to the filling for holiday variation
- Cut them in half to see the beautiful red and white layers when serving
 Pin It
 These red velvet whoopie pies have become my go to for bake sales and potlucks because they are impossible to forget and even harder to stop eating.
Recipe FAQs
- → What gives the cookies their red color?
-
The vibrant red hue comes from red food coloring added to the cookie batter.
- → How do I achieve a soft texture in these cookies?
-
Mixing the dry ingredients gently into the wet, and avoiding overmixing, helps maintain a tender, cake-like crumb.
- → Can I substitute ingredients in the filling?
-
Yes, adding softened cream cheese to the marshmallow filling adds tanginess and richness.
- → What is the best way to assemble the whoopie pies?
-
Pair cookies by size and spread or pipe the marshmallow filling onto one cookie, then sandwich with its match for even layers.
- → How should these be stored for freshness?
-
Store assembled pies in an airtight container at room temperature up to two days, or refrigerate for extended freshness.
