 Pin It
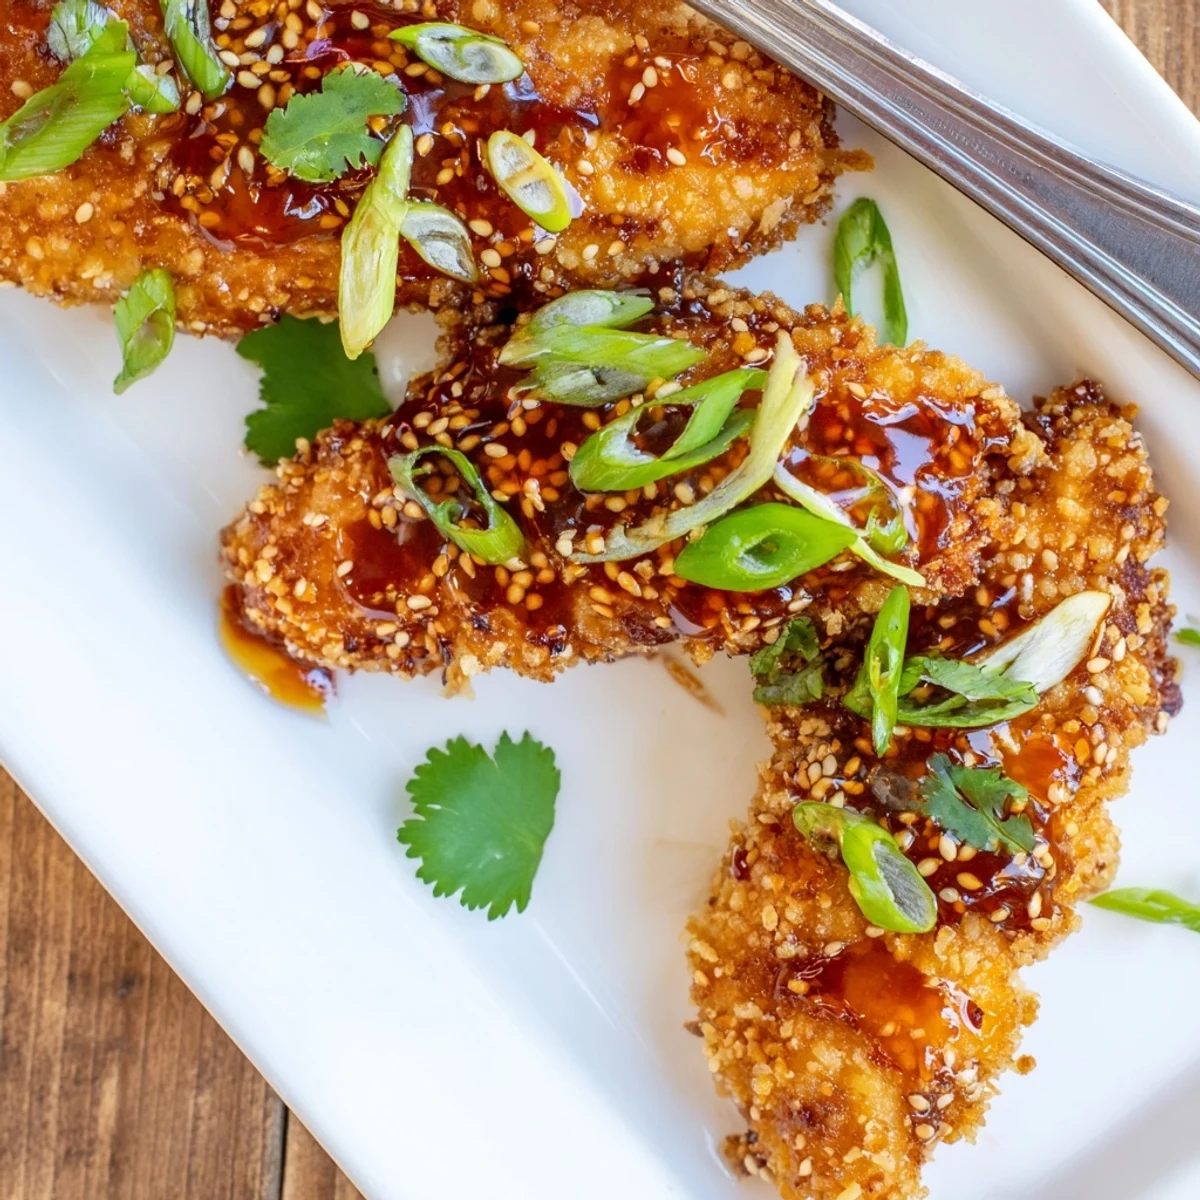
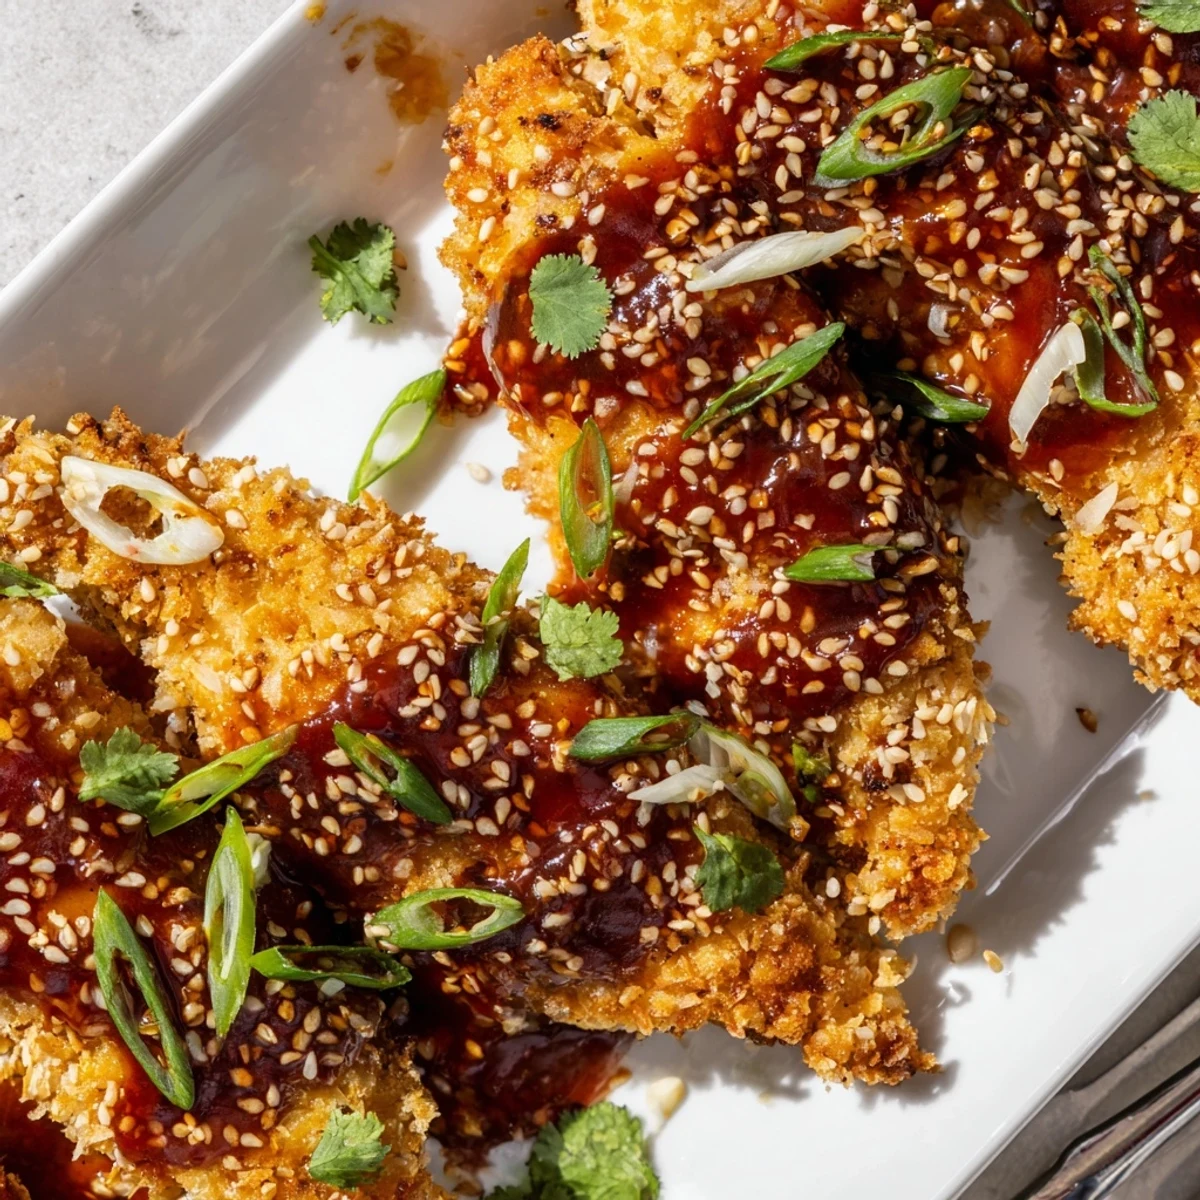
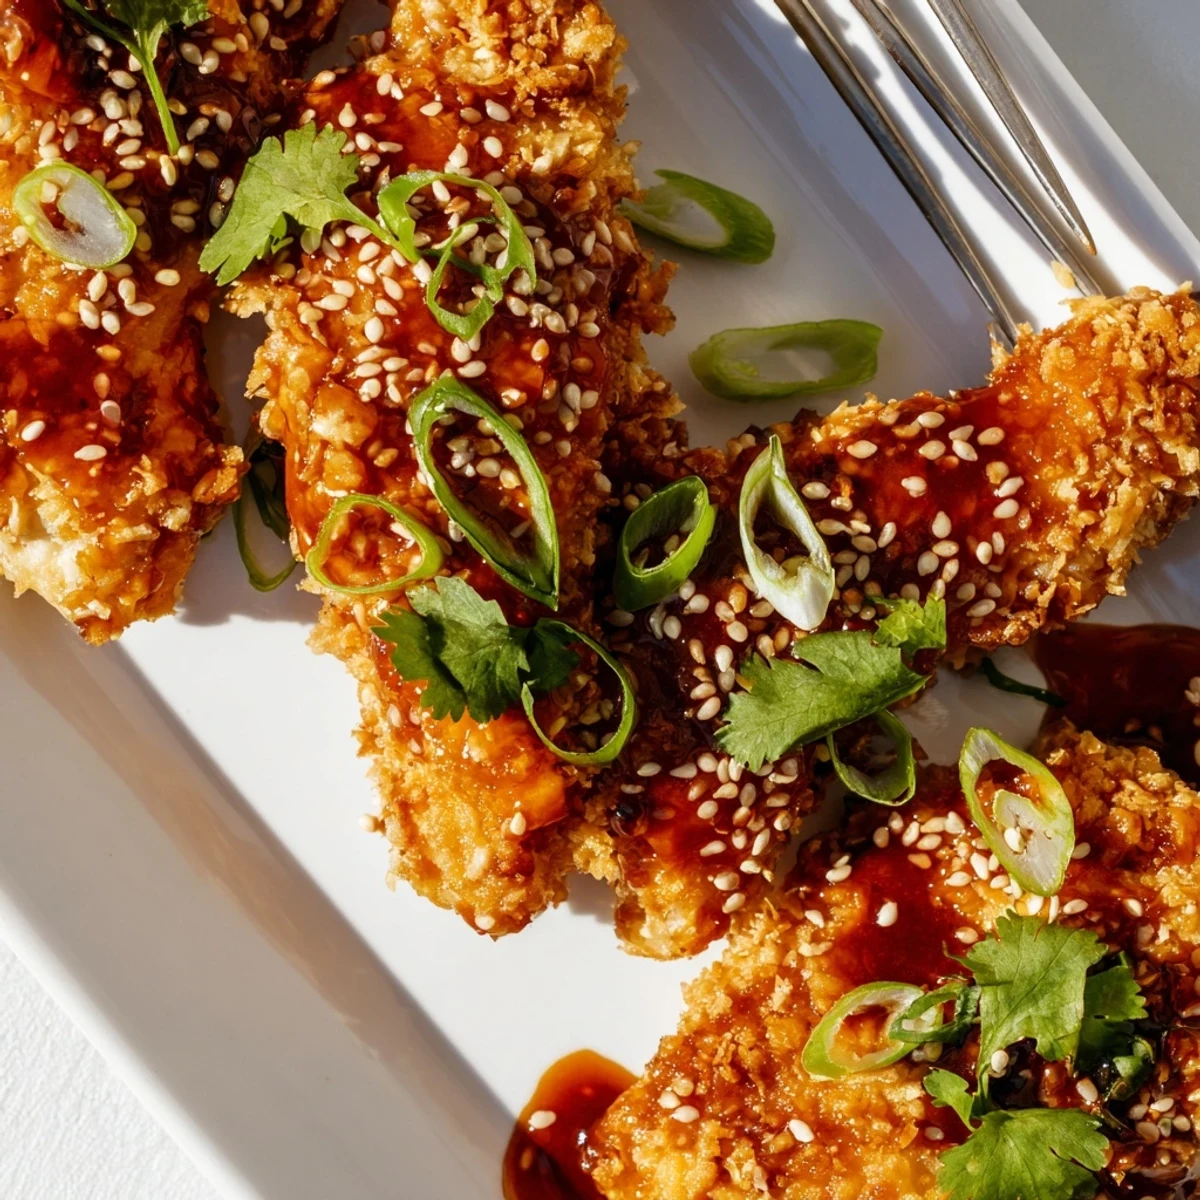
 Golden chicken tenders are breaded with seasoned panko and baked until perfectly crispy. They're then tossed in a warm, glossy sauce made from sweet chili, soy, honey, ginger, and garlic, creating that beloved sticky Thai restaurant-style coating. Finished with toasted sesame seeds, fresh spring onions, and cilantro for layers of flavor and crunch.
My friend Mai hosted a dinner party last winter and served these sticky chicken fingers that disappeared faster than she could plate them. She laughed about how her grandmother in Bangkok would never deep fry anything, but somehow this fusion became the most requested dish at every gathering. The kitchen smelled like ginger and caramelized sugar, and we stood around the stove picking at pieces straight from the pan.
Last month I made these for my nephews birthday party and the kids were actually fighting over the last piece. I doubled the batch and still ran out, which is basically the highest compliment a cook can receive from a room full of ten year olds. My sister asked for the recipe before she even finished her first serving.
Ingredients
- Boneless chicken tenders or breasts: Cutting them into uniform strips helps everything cook evenly and makes them perfect for dipping
- Salt and black pepper: A simple seasoning that makes sure the chicken itself tastes good, not just the coating
- All-purpose flour: The first layer that helps the egg wash stick and creates that essential crunch foundation
- Eggs: Beaten until completely smooth for the most even coating possible
- Panko breadcrumbs: These Japanese breadcrumbs create that lighter, airier crunch that regular crumbs just cannot achieve
- Garlic powder and smoked paprika: Mixed right into the panko so every bite has that subtle smoky depth
- Sweet chili sauce: The backbone of the glaze, bringing that signature Thai balance of sweet and heat
- Soy sauce: Adds the necessary saltiness and umami that rounds out the sugar
- Honey: Helps the sauce coat the chicken beautifully and creates that gorgeous lacquered look
- Rice vinegar: Just enough acid to cut through all the sweetness and keep everything balanced
- Sesame oil: A tiny amount goes a long way for that nutty aroma we associate with Asian cuisine
- Fresh garlic and ginger: Minced and grated as finely as possible so they dissolve into the sauce
- Toasted sesame seeds and spring onions: The finishing touches that make these look like they came from a restaurant kitchen
Instructions
- Get your oven ready:
- Preheat to 220°C (425°F) and line a baking tray with parchment paper, which saves you from scrubbing baked on sauce later
- Season the chicken:
- Sprinkle the strips with salt and pepper on both sides, getting into all the nooks and crannies
- Set up your coating station:
- Arrange three shallow bowls in order: flour first, beaten eggs second, then panko mixed with garlic powder and smoked paprika
- Coat each piece:
- Dredge chicken in flour, shake off excess, dip in egg until fully covered, then press into the panko mixture until thoroughly coated
- Arrange and prep:
- Place the coated strips on your prepared tray and lightly spray or brush with oil to help them golden properly
- Bake until crispy:
- Cook for 20 to 25 minutes, flipping halfway through, until deep golden brown and cooked through completely
- Make the magic sauce:
- Combine sweet chili sauce, soy sauce, honey, rice vinegar, sesame oil, sriracha, garlic, and ginger in a small saucepan over medium heat, simmering for 2 to 3 minutes until slightly thickened
- Bring it all together:
- Toss the hot chicken fingers in the warm sauce until every piece is glossy and coated
- Finish with flair:
- Sprinkle with toasted sesame seeds, scatter fresh spring onions on top, and add cilantro leaves if you want that extra pop of color
 Pin It
 These have become my go to whenever someone asks what to bring to a party because they travel surprisingly well and reheat beautifully in the oven. The first time I made them for a potluck, three different people asked for the recipe before they even finished eating.
Making Them Ahead
You can bread the chicken strips up to 4 hours before baking if you keep them refrigerated on the parchment lined tray. Cover them loosely with plastic wrap so the coating stays dry, then bake straight from the refrigerator, adding about 2 minutes to the cooking time.
The Sauce Secret
The sauce thickens quickly as it cools, so if you are making it ahead, warm it gently with a splash of water before tossing with the chicken. I learned this the hard way when my sauce turned into glue and I had to start over.
Serving Suggestions
These work beautifully with jasmine rice to soak up any extra sauce, or alongside fresh cucumber and carrot sticks for something cool and crisp. Serve them while they are still hot and the coating is at its maximum crunchiness.
- Set out extra napkins because this sauce is gloriously messy
- Make double the sauce if you are serving a crowd, people will want to drizzle more
- A quick squeeze of fresh lime right before serving brightens everything up
 Pin It
 Hope these bring as much joy to your table as they have to mine over the years.
Recipe FAQs
- → Can I make these chicken fingers ahead of time?
-
Prepare the breaded chicken up to 24 hours in advance and refrigerate. Bake fresh when ready to serve, or bake completely and reheat in a 350°F oven for 10 minutes. The sauce can be made 2-3 days ahead and stored in the refrigerator.
- → What's the best way to get extra crispy results?
-
Lightly spray the breaded chicken with oil before baking, and flip halfway through cooking. For maximum crunch, broil for 1-2 minutes at the end—watch closely to prevent burning. Ensure the baking tray isn't overcrowded so air can circulate.
- → Can I fry these instead of baking?
-
Absolutely. Heat 2 inches of oil to 350°F and fry for 3-4 minutes until golden brown and cooked through. Drain on paper towels before tossing with the sauce. Frying gives an even crunchier exterior.
- → Is the sauce very spicy?
-
The sauce has mild to medium heat from sweet chili sauce and optional sriracha. It's more sweet and tangy than spicy. Adjust by adding more sriracha for heat or more honey to balance flavors. Perfect for those who enjoy gentle warmth.
- → What sides pair well with these?
-
Serve with steamed jasmine rice, fresh vegetable crudites, or a crisp cucumber salad. They also work wonderfully alongside coconut rice or wrapped in lettuce cups with herbs. A cold lager or Riesling complements the flavors beautifully.
- → Can I use chicken breasts instead of tenders?
-
Yes, slice chicken breasts against the grain into 1-inch strips. Pound slightly to even thickness for consistent cooking. Tenders are ideal as they're naturally uniform and tender, but breasts work perfectly when cut properly.
