 Pin It
 Craft your own creamy plant-based butter with just a few simple ingredients. Refined coconut oil and neutral oils create the perfect spreadable consistency, while soy milk adds creaminess and apple cider vinegar provides a subtle tang. The addition of lecithin ensures proper emulsification for a smooth texture that performs beautifully in baking and cooking.
This versatile alternative comes together in minutes and keeps for up to two weeks in the refrigerator. Customize with nutritional yeast for extra depth or turmeric for a golden hue. Perfect for those avoiding dairy or seeking a wholesome homemade option.
The first time I made homemade vegan butter, I stood in my kitchen staring at two tiny bowls of oil and plant milk, convinced this would never work. Ten minutes later, I was spreading golden creamy perfection on toast and questioning everything I thought I knew about dairy alternatives. Now I keep a batch in my fridge constantly, and my non-vegan family members actually request it when they visit.
Last summer, my neighbor dropped by unexpectedly and I served her warm sourdough with this butter. She took one bite, eyes went wide, and immediately asked for the recipe thinking it was some fancy European cultured butter. The revelation that it was coconut oil and nutritional yeast made her grab her phone to take notes right there at my kitchen counter.
Ingredients
- Refined coconut oil: Using refined is crucial here unless you want everything tasting like coconut, which works for some recipes but not everything
- Neutral oil: Sunflower or grapeseed oil keeps the butter soft and spreadable straight from the fridge, something olive oil would mess up completely
- Unsweetened soy milk: The protein in soy milk helps emulsify everything together, though oat milk works surprisingly well if you need soy free
- Apple cider vinegar: This tiny amount mimics the slight tang of cultured butter and helps activate the lecithin
- Sea salt: Do not skip this, salt is what makes butter taste like butter instead of just oily spread
- Nutritional yeast: The secret ingredient that adds that irresistible buttery umami flavor without any dairy whatsoever
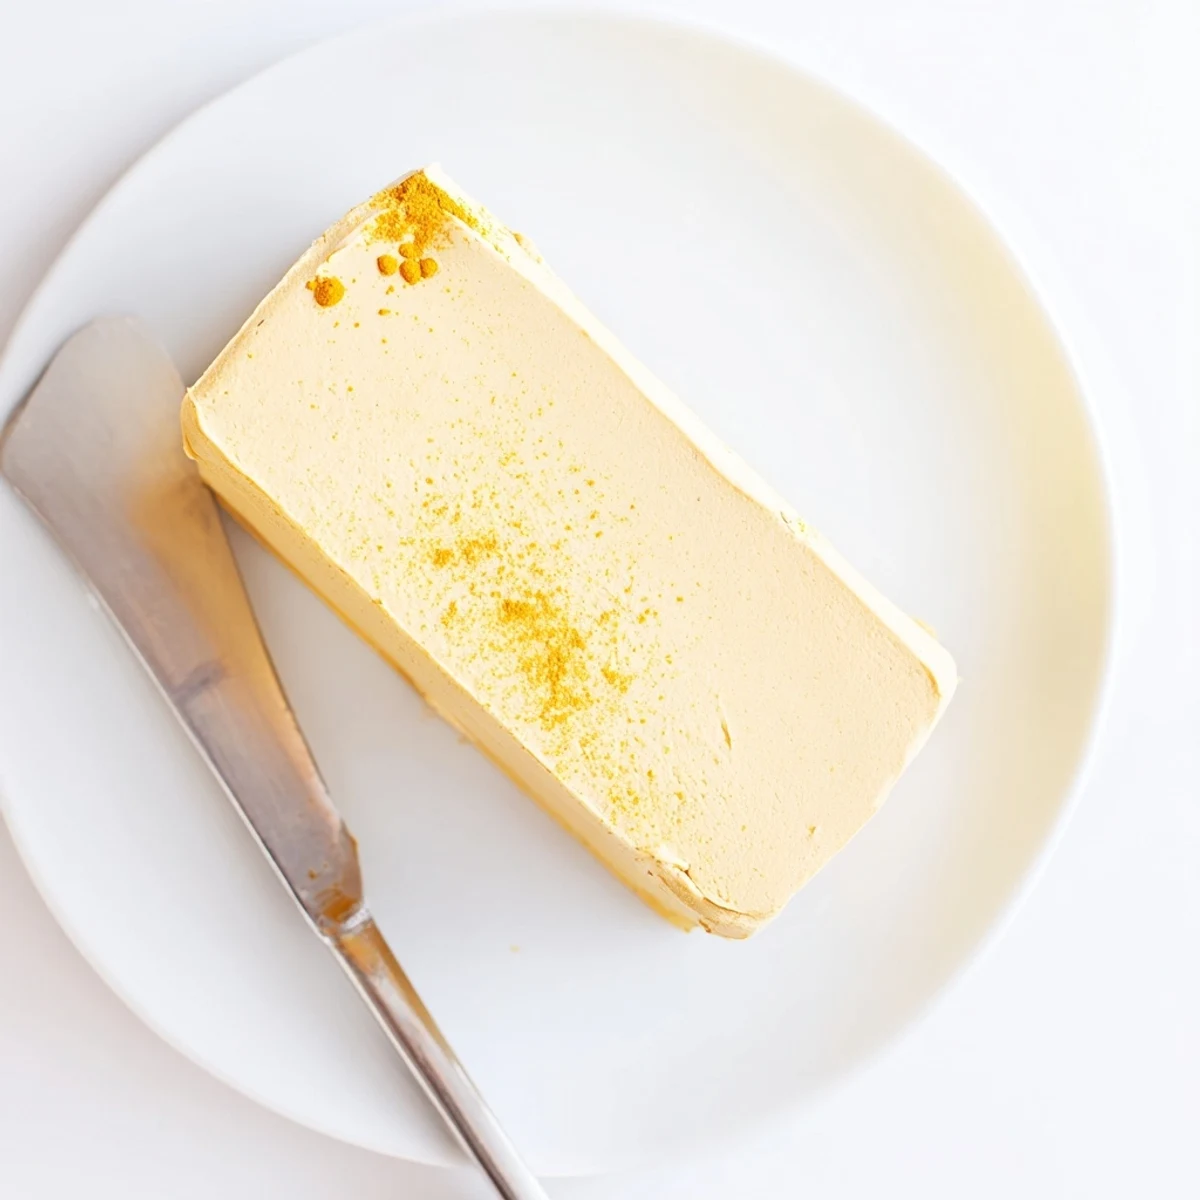
- Ground turmeric: Just a pinch gives that familiar yellow color we associate with butter, plus it adds subtle earthiness
- Sunflower lecithin: This is what binds oils and liquid into a creamy emulsion that stays smooth and does not separate
Instructions
- Melt and prepare your oils:
- Melt the coconut oil in the microwave or a small saucepan until completely liquid, then let it cool for about 2 minutes so it does not cook the milk when you combine them.
- Blend everything together:
- Pour all ingredients into your blender or food processor and blend on high speed for 1 to 2 minutes until the mixture looks thick and creamy, like magic happened in there.
- Check your emulsion:
- The mixture should look homogeneous and slightly opaque, not separated or oily, which means the lecithin did its job properly.
- Pour and set:
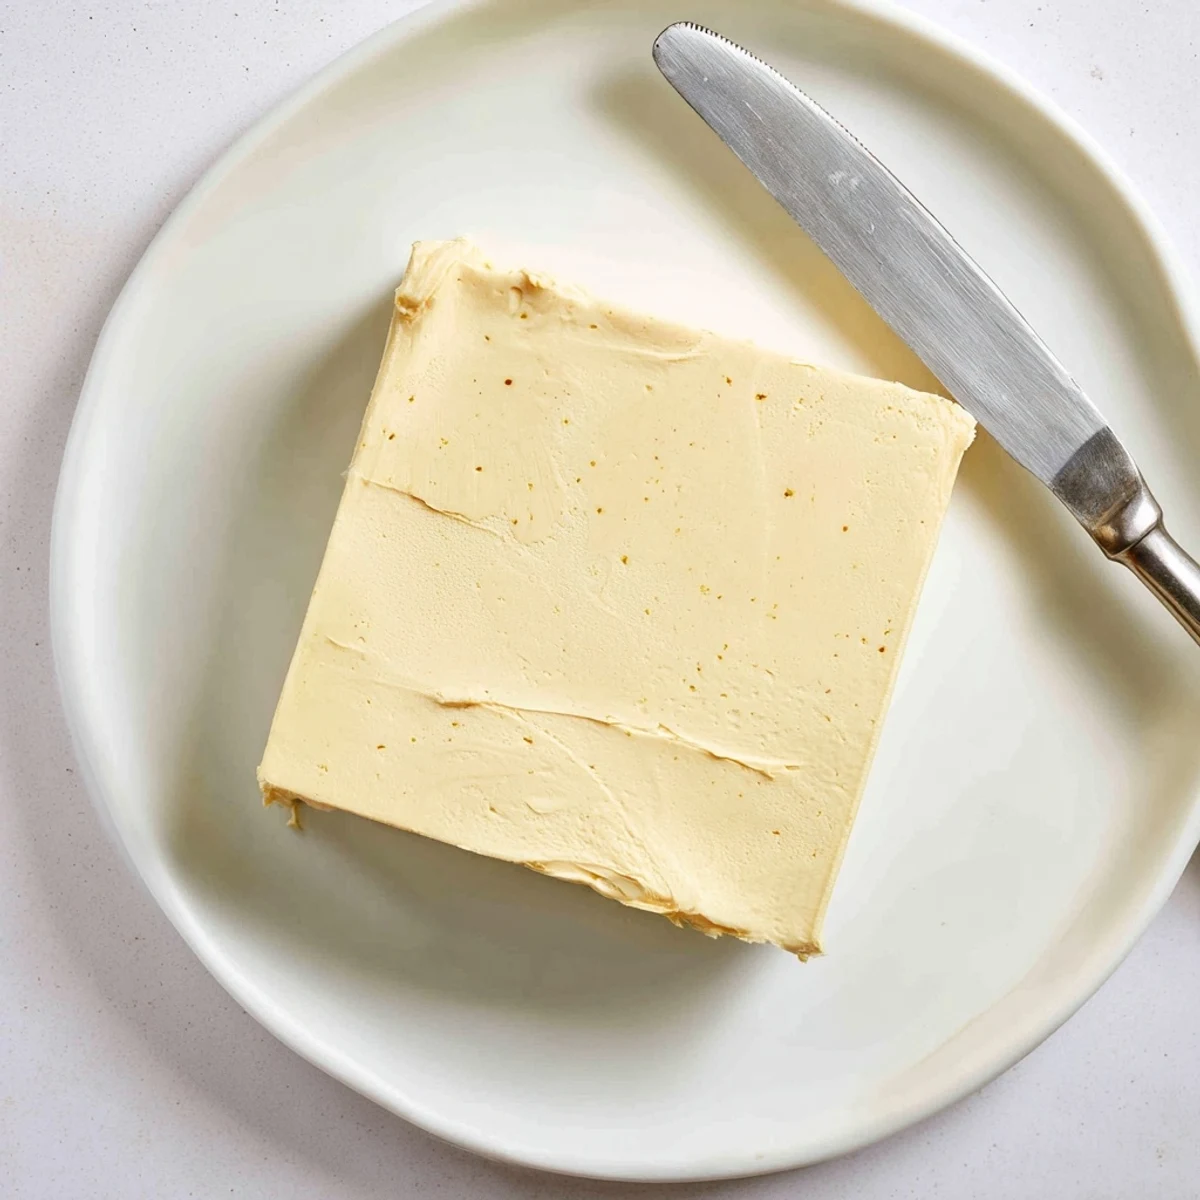
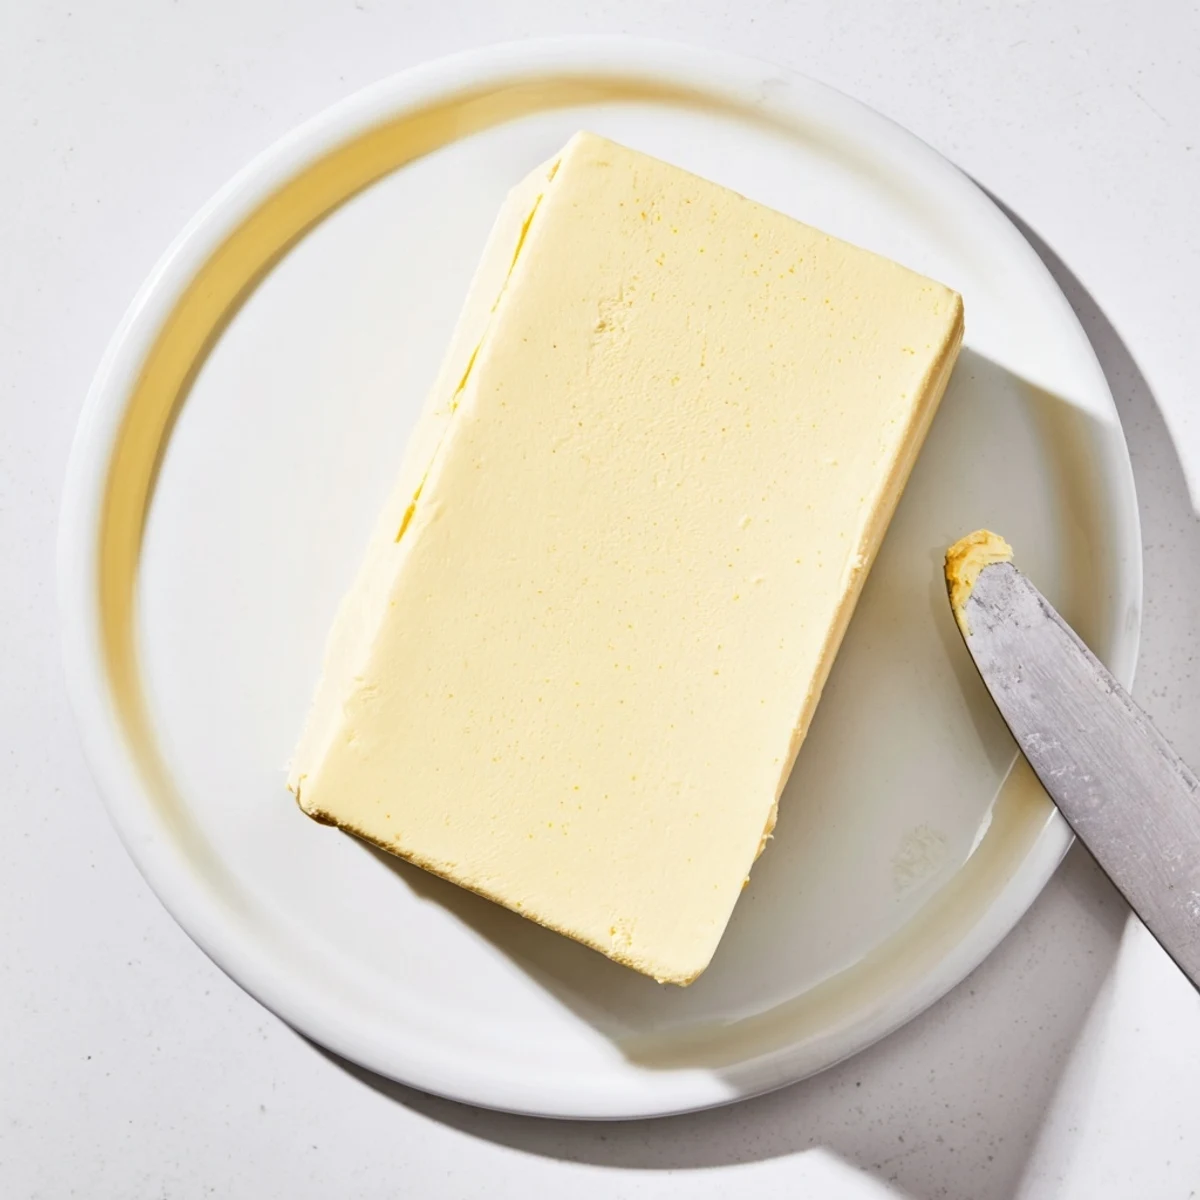
- Pour immediately into a clean container or butter mold, cover tightly, and refrigerate for at least 2 hours until firm enough to slice.
- Store and use:
- Keep refrigerated for up to 2 weeks, letting it soften on the counter for 5 minutes before spreading if it is too firm straight from the fridge.
 Pin It
 This recipe became my go-to when I realized I could customize it endlessly, adding garlic and herbs for dinner rolls or maple syrup for a sweet breakfast version. My toddler now asks for yellow butter on his pancakes, having no idea it is completely different from what his friends eat, and I love that I am giving him something wholesome without compromising on taste or experience.
Getting The Texture Right
The temperature of your coconut oil when you mix it makes a huge difference in the final texture. If it is too hot, the milk can curdle slightly and affect emulsification, but if it has started to solidify again, you will get chunks of coconut oil in your finished butter. Room temperature or slightly warm melted oil is the sweet spot.
Storage And Freezing
While this keeps beautifully in the fridge for two weeks, I often make a double batch and freeze half in tablespoon sized portions using an ice cube tray. Once frozen, pop them into a freezer bag and you have perfectly portioned butter ready for baking or spreading anytime without having to wait for it to soften.
Flavor Variations To Try
Once you have mastered the basic recipe, the variations are endless and fun to experiment with based on what you are cooking that week.
- Add three cloves of roasted garlic for an incredible savory spread on crusty bread
- Mix in two tablespoons of maple syrup and a teaspoon of cinnamon for the best pancakes you have ever had
- Stir in fresh herbs like rosemary and thyme for finishing vegetables or grilled corn
 Pin It
 There is something deeply satisfying about making something most people assume they have to buy, and watching friends realize they can make their own butter has become one of my favorite kitchen moments to share.
Recipe FAQs
- → Can I use unrefined coconut oil instead?
-
Yes, though unrefined coconut oil will impart a subtle coconut flavor to your final product. For a neutral taste that mimics traditional butter, refined coconut oil works best.
- → What can I substitute for soy milk?
-
Almond milk or oat milk both work excellently as alternatives. Just ensure they're unsweetened and unflavored for the best results.
- → Is lecithin necessary for this to work?
-
Lecithin acts as an emulsifier, helping the oils and liquids bind together properly. Without it, your mixture may separate. Sunflower or soy lecithin both work well.
- → How does this perform in baking?
-
This plant-based version works beautifully in most baking applications. It creates flaky pastries, tender cakes, and chewy cookies just like traditional dairy butter.
- → Can I make this without a blender?
-
An immersion blender or food processor works too. The key is achieving proper emulsification, so any tool that creates high-speed blending will get the job done effectively.
