 Pin It
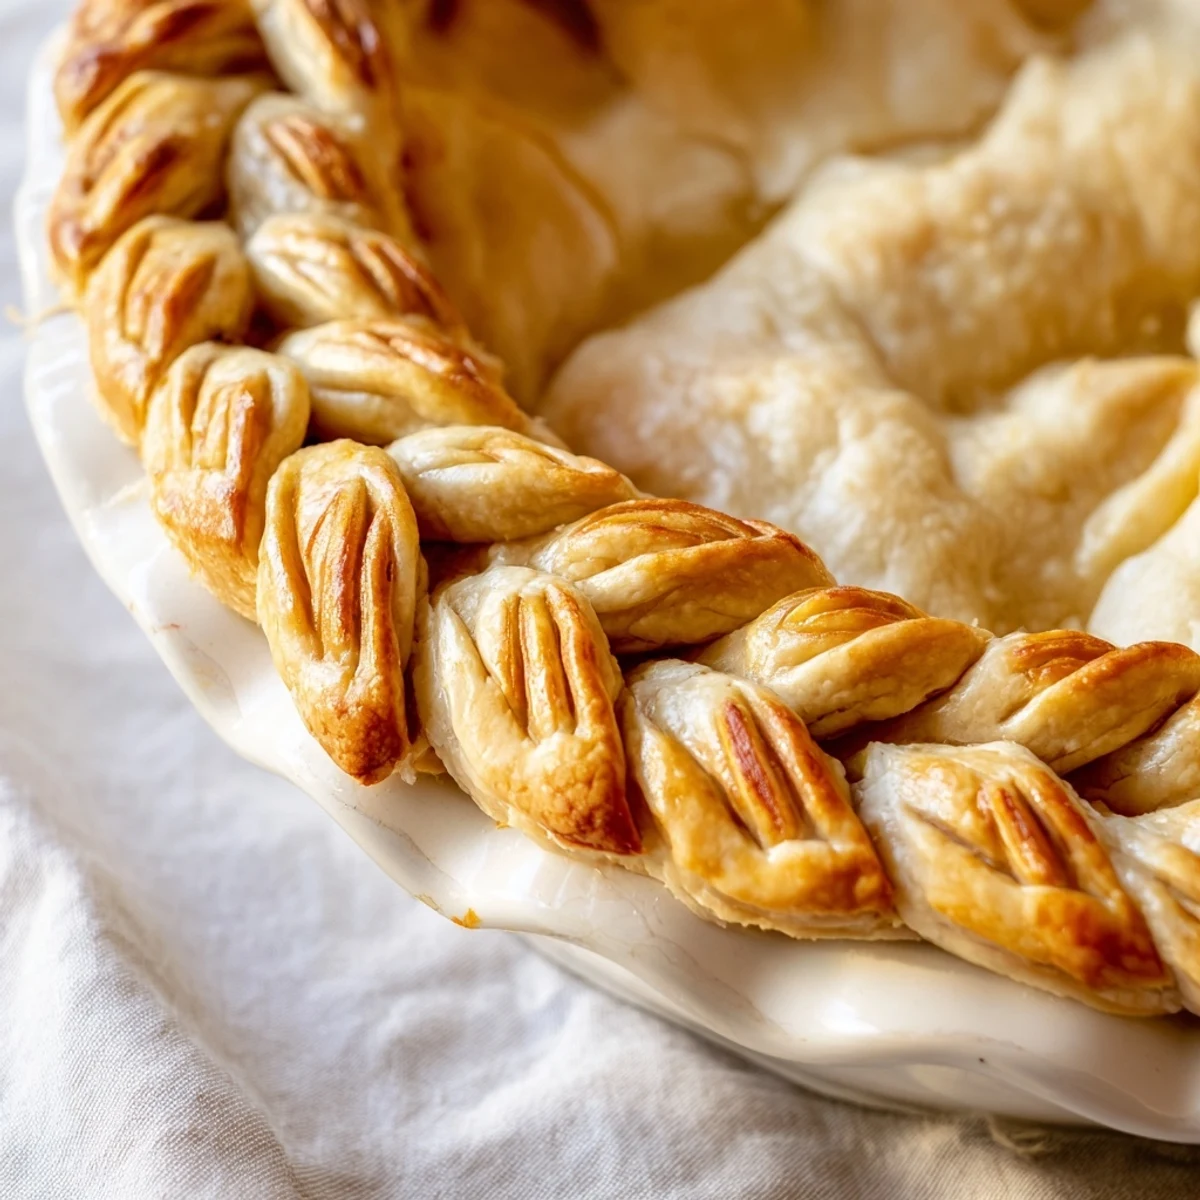
 Master the art of creating an impressive fishtail braid pie crust that adds professional elegance to your homemade pies. This decorative technique involves weaving four pastry strips in a distinctive pattern, resulting in a stunning braided edge that catches everyone's attention. The process requires basic pie dough, careful strip cutting, and patience as you create the intricate woven design. Perfect for holidays, dinner parties, or whenever you want to make your baking stand out.
The first time I attempted a braided crust, my kitchen looked like a flour bomb had gone off. I was trying to impress someone with an apple pie, and though the filling turned out perfect, the crust was a lopsided mess that barely held together. That humiliating afternoon taught me everything about what not to do, and eventually, what actually works.
Last autumn, I made this for a potluck dinner and watched three different people ask if I bought it from a bakery. The way the golden braids catch the light in the oven makes something as simple as fruit filling feel like a celebration. My friend Sarah still talks about that peach pie, though I suspect the memory has grown more impressive in her telling.
Ingredients
- 2 1/2 cups (315 g) all-purpose flour: The protein structure here creates strands that can actually hold up to braiding without tearing
- 1 cup (225 g) cold unsalted butter, cut into cubes: Keeping everything painfully cold is what gives you those gorgeous flaky layers instead of tough pastry
- 1 tsp (5 g) salt: This small amount balances sweetness and prevents the dough from tasting flat or cardboard-like
- 1 tbsp (15 g) sugar: Helps the crust brown beautifully and adds just enough sweetness to bridge any filling
- 6–8 tbsp (90–120 ml) ice water: Start with less and add gradually, dough hydration changes with humidity and kitchen temperature
- 1 egg, beaten (for egg wash): Creates that deep golden restaurant finish that makes people lean in closer
- 1 tbsp (15 ml) milk (optional, for egg wash): Thins the egg slightly for more even coverage and prevents over-browning edges
Instructions
- Prepare your dough foundation:
- Whisk flour, salt, and sugar in a large bowl, then cut in cold butter until you see coarse crumbs with some pea-sized bits remaining. Sprinkle ice water gradually, mixing gently until dough just holds together when pressed.
- Let the cold work its magic:
- Divide dough into two equal discs, wrap tightly, and refrigerate for at least one hour. This relaxation period prevents gluten from making your crust shrink and protest later.
- Build your base layer:
- Roll one disc on a floured surface to fit your 9-inch pie plate, press it in gently, trim the edges, and return it to the refrigerator while you prepare the braids. A cold base keeps everything from becoming a sticky disaster.
- Create your braiding strips:
- Roll the second disc to about 1/4 inch thickness and cut twelve long, even strips about 1/2 inch wide using a sharp knife or pastry wheel. Gather strips into three sets of four and pinch the tops of each set together to start.
- Master the fishtail weave:
- Working with one set, label your strips from left to right as one through four. Take strip one and cross it over two, under three, over four, then repeat with the new left-most strip until fully braided.
- Attach braids with care:
- Transfer each completed braid to the chilled pie edge, pressing gently to adhere and trimming any excess. Use a tiny amount of water as glue if the braids are not sticking to the base crust.
- Give it one final chill:
- Refrigerate the assembled pie for 15 minutes while preheating your oven to 400 degrees Fahrenheit. This firming step is absolutely crucial for maintaining that gorgeous braided shape during baking.
- Add the finishing touches:
- Brush the braids generously with your egg wash mixture. If blind baking, line the crust with parchment paper and fill with pie weights to prevent the bottom from puffing up or shrinking away from the edges.
- Bake until beautifully golden:
- Bake for 12 to 15 minutes until the braids are deeply golden and fragrant. Remove weights and continue baking if your recipe requires a fully crisp bottom crust before adding your filling.
 Pin It
 My daughter now requests this crust for her birthday pie every year, claiming the braids make the filling taste better. The way people instinctively admire the pattern before taking that first bite has become my favorite part of serving it.
Making It Your Own
Substitute whole wheat flour for half the all-purpose flour to add nutty depth, especially for autumn fruit pies. A pinch of cinnamon in the dough transforms this into something that feels like it came from a grandmother who kept secrets.
Assembly Shortcuts
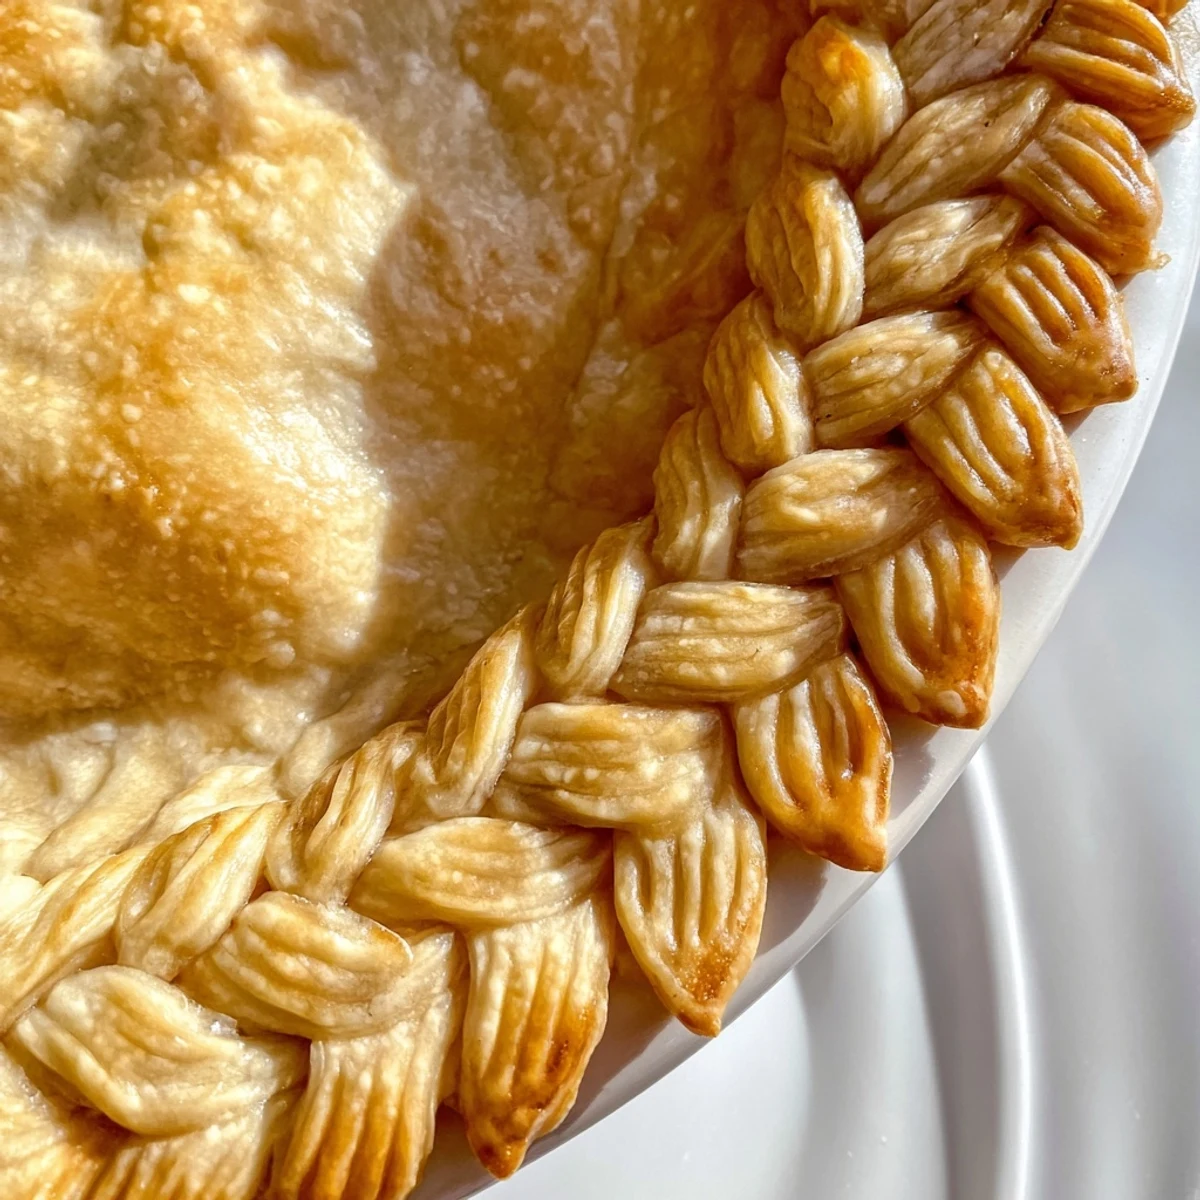
The braids can be formed in shorter sections and joined along the crust edge rather than creating one continuous piece. Sometimes this actually looks more interesting and feels less stressful when time is tight.
Serving Suggestions
This crust handles both sweet and savory fillings remarkably well, though fruit fillings tend to show off the braiding pattern most beautifully. A knife dipped in hot water between slices helps preserve those intricate woven edges.
- Serve slightly warm rather than piping hot
- Let the pie rest for at least two hours before slicing
- Cover leftovers loosely to prevent the braids from softening
 Pin It
 Something about serving food this visibly made with care changes the whole energy of a meal. That first compliment when the pie hits the table makes every flour-dusted minute worth it.
Recipe FAQs
- → What makes fishtail braiding different from regular braiding?
-
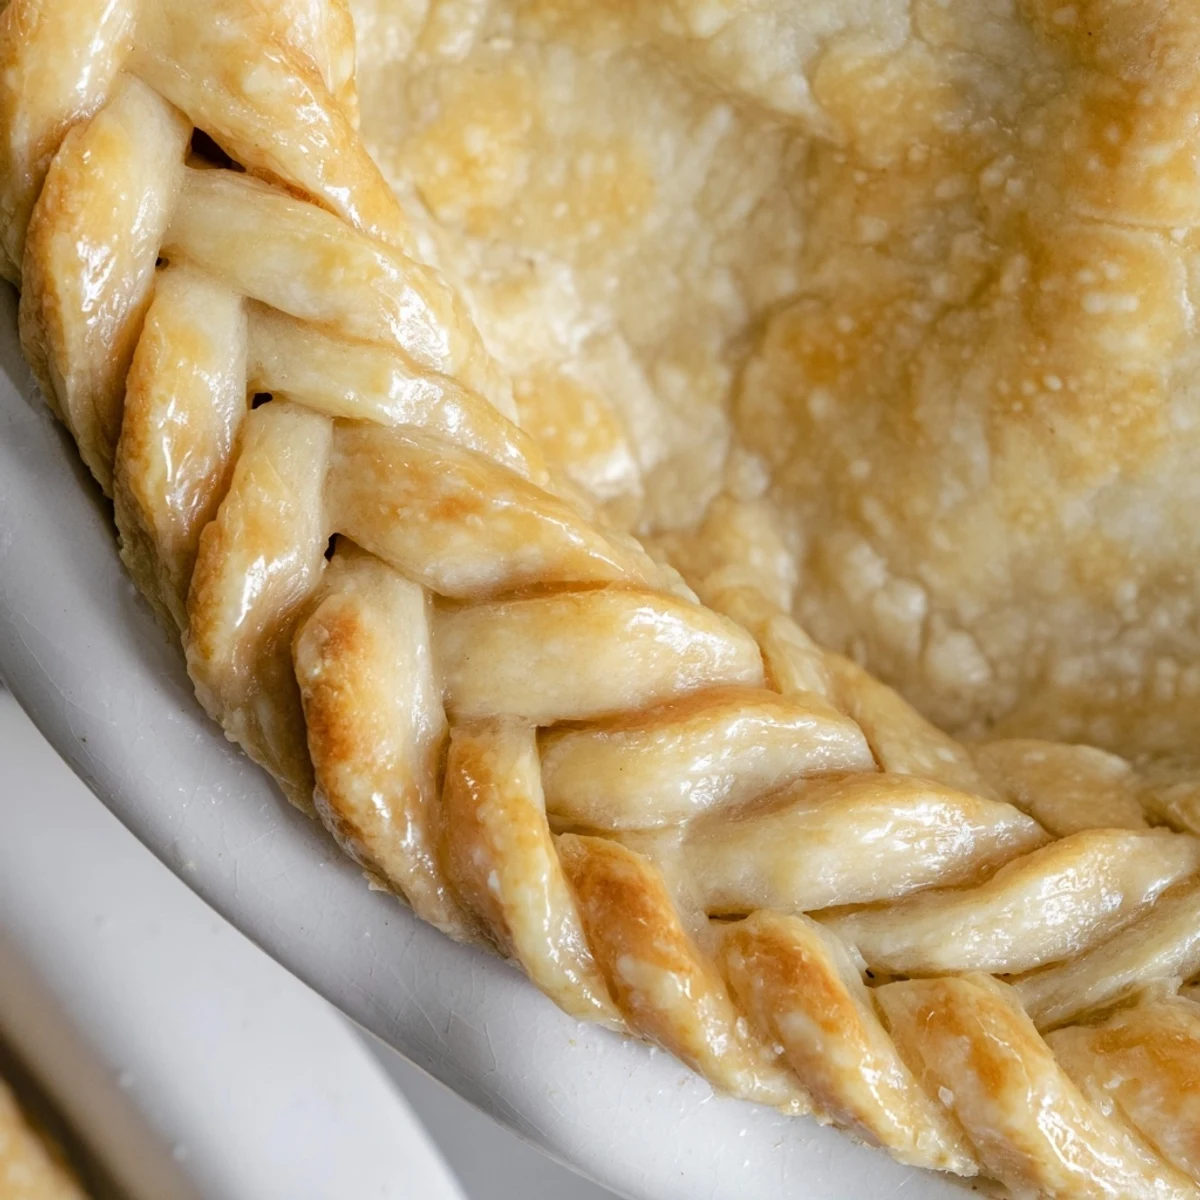
Fishtail braiding uses four strips instead of three, creating a distinctive woven pattern that resembles a fishtail. The technique involves crossing the outermost strip over and under adjacent strips in a specific sequence, producing a flatter, wider decorative edge than traditional braids.
- → Can I make this crust ahead of time?
-
Absolutely. Prepare the dough discs and chill them up to 2 days before assembling. You can also braid the strips separately, freeze them on a baking sheet, then transfer to a container for later use. Thaw briefly before attaching to your pie edge.
- → How do I prevent the braids from coming apart during baking?
-
Ensure your dough remains cold throughout assembly. Pinch strip ends firmly together before braiding. When attaching to the pie crust, brush the edge with water and press the braid gently but securely. A final 15-minute chill before baking helps everything set properly.
- → What fillings work best with this decorative crust?
-
This versatile decoration suits both sweet and savory creations. Try it with apple, cherry, or pumpkin fillings for autumn gatherings. For savory options, it complements chicken pot pie, quiche, or vegetable tart fillings beautifully.
- → Can I use store-bought dough for this technique?
-
Yes, refrigerated pie dough works well. Roll it slightly thinner than usual to achieve clean, even strips. Keep dough chilled between steps to prevent sticking and maintain clean edges for the most professional-looking results.
- → What if my strips break while braiding?
-
Don't worry—small breaks can be pinched back together and smoothed over. If strips become too soft, refrigerate briefly to firm them up. The egg wash applied before baking helps seal minor imperfections, and the golden-brown finish camouflages most small flaws.
