 Pin It
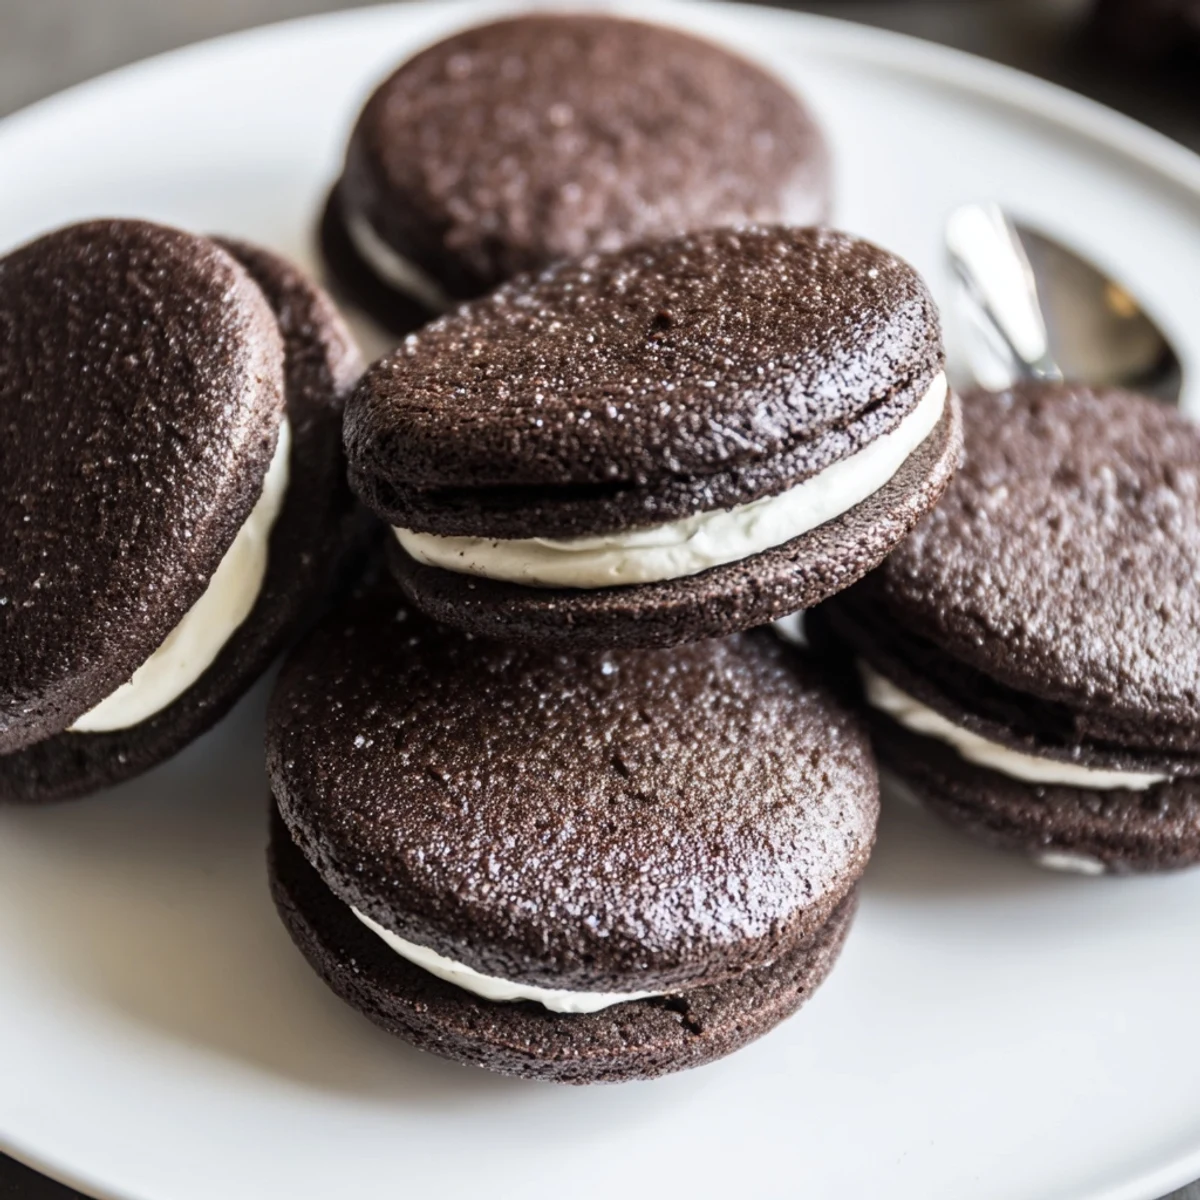
 These classic dark chocolate sandwich cookies pair crisp cocoa biscuits with a smooth vanilla butter-cream. The dough is made by creaming butter and sugar, folding in sifted flour and Dutch-process cocoa, then baking 10–12 minutes at 350°F (175°C). The filling combines butter, shortening and powdered sugar; pipe or spread about 1 tbsp per sandwich. Makes 18; let set 10–15 minutes before serving.
The smell of dark cocoa hitting a hot oven pan is enough to make anyone drop whatever they are doing and wander into the kitchen. These homemade Oreo style cookies came out of a rainy Saturday experiment that went surprisingly right on the first try. That almost never happens in my kitchen. Most of my best recipes take three or four attempts before they are worth sharing.
I brought a plate of these to a friends barbecue last summer and watched three adults quietly fight over the last two cookies while the grill sat unattended. Someone actually hid a few in their jacket pocket for later. That is the kind of recipe this is.
Ingredients
- All purpose flour (1 cup, 125 g): Provides structure without making the cookies tough, so measure carefully and do not pack it down.
- Unsweetened Dutch process cocoa powder (3/4 cup, 70 g): This is the soul of the cookie, giving it that deep almost black color and intense chocolate flavor.
- Granulated sugar (1 cup, 200 g): Balances the bitterness of the cocoa and helps the edges crisp up during baking.
- Baking soda (1/2 tsp): Just enough lift to keep the wafers from turning into hard little disks.
- Salt (1/4 tsp): A small amount that makes the chocolate taste more like itself.
- Unsalted butter, softened (1/2 cup, 115 g): Bring it to room temperature so it creams smoothly with the sugar.
- Large egg (1): Binds everything together and adds a touch of richness to the dough.
- Vanilla extract (1 tsp for dough, 1 tsp for filling): Use the real stuff here because it carries both the cookie and the cream.
- Unsalted butter for filling (1/4 cup, 60 g): Softened butter gives the filling its buttery backbone.
- Vegetable shortening (1/4 cup, 55 g): This is what makes the filling stable and fluffy like the original cookies.
- Powdered sugar, sifted (1 1/2 cups, 180 g): Sifting is nonnegotiable unless you want lumpy filling.
- Salt for filling (pinch): Just a tiny pinch to keep the sweetness from becoming cloying.
Instructions
- Get the oven ready:
- Preheat to 350 degrees F and line two baking sheets with parchment paper. This is also a good time to clear some counter space because you will need it for rolling dough.
- Whisk the dry ingredients:
- Sift the flour, cocoa powder, baking soda, and salt together in a medium bowl. Watch the cocoa puff up in a little cloud because it always does, and it will get on your shirt.
- Cream butter and sugar:
- Beat the softened butter and granulated sugar in a large bowl until the mixture turns pale and looks light and fluffy. Scrape down the sides once or twice so nothing hides at the bottom.
- Add egg and vanilla:
- Drop in the egg and vanilla extract, then beat until everything is combined and smooth. The dough will look glossy and smell like a bakery already.
- Bring it all together:
- Gradually add the dry mixture to the wet ingredients and mix until a stiff dough forms. It will feel firm and slightly crumbly at first, but keep mixing and it will come together.
- Shape the cookies:
- Roll tablespoon sized portions into balls and place them two inches apart on the prepared sheets. Flatten each one gently with your palm or the bottom of a glass dipped in cocoa powder.
- Bake and cool:
- Bake for 10 to 12 minutes until the tops look set and feel slightly firm to the touch. Let them rest on the sheet for five minutes before moving them to a wire rack to cool completely.
- Make the filling:
- Beat the butter, shortening, powdered sugar, vanilla, and salt together until the mixture is smooth, fluffy, and pipeable. Taste it, because you deserve to.
- Assemble the sandwiches:
- Spread or pipe about one tablespoon of filling onto the flat side of half the cookies. Press the remaining cookies on top gently until the filling reaches the edges.
 Pin It
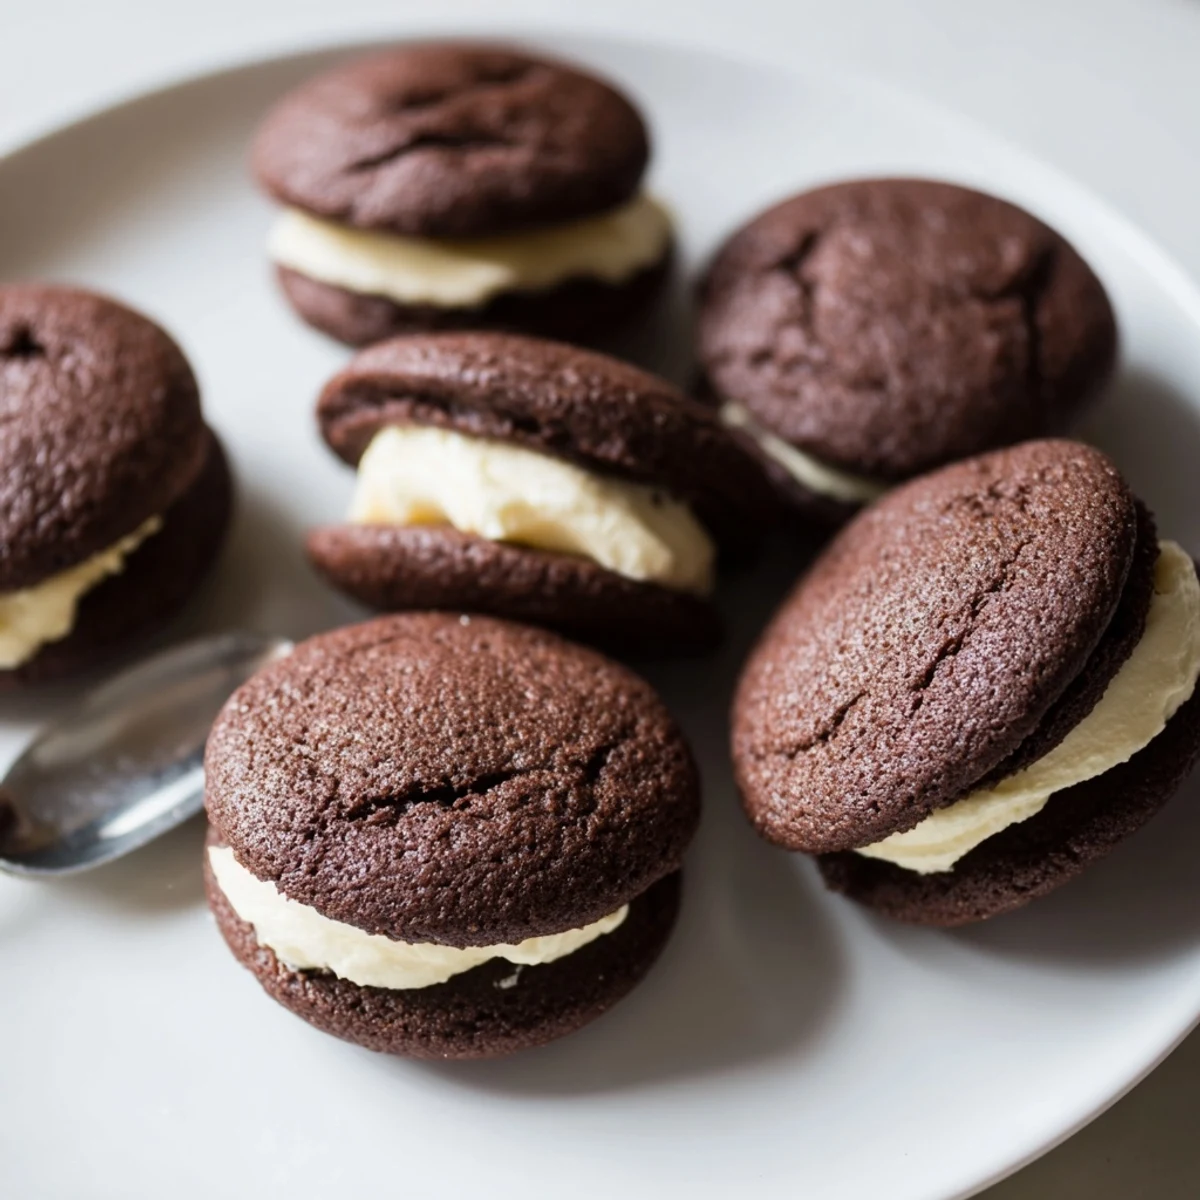
 There is something deeply satisfying about twisting apart a cookie you made yourself and seeing that perfect layer of cream. My niece calls them fancy Oreos and honestly that might be the best compliment I have ever received.
Storing Your Cookies
These keep beautifully in an airtight container at room temperature for up to five days, though they rarely last that long in my house. The cookies actually improve after a few hours as the filling sets and the textures meld together. If you stack them, place a piece of parchment between layers so they do not stick.
Getting Creative With Flavors
The basic recipe is a canvas for all kinds of experiments once you feel confident with the original. A teaspoon of espresso powder in the dough deepens the chocolate without adding any coffee taste. You could also swap the vanilla filling for peppermint, lemon, or even a swipe of peanut butter for a totally different cookie.
Tools That Make This Easier
You do not need much specialized equipment, but a hand mixer or stand mixer will save your arm during the creaming and filling steps. A small cookie scoop helps keep the wafers uniform so they sandwich together neatly.
- A piping bag makes filling faster and neater, but a zip top bag with the corner snipped works in a pinch.
- Parchment paper is worth using every single time because these cookies stick stubbornly to bare pans.
- A wire rack prevents the bottoms from getting soggy while cooling.
 Pin It
 Homemade sandwich cookies are a small labor of love that pay off the moment someone takes a bite and immediately reaches for another. They are worth every minute you spend rolling, baking, and filling.
Recipe FAQs
- → Can I use regular cocoa instead of Dutch-process cocoa?
-
Yes, regular cocoa will work but flavor and color may be slightly brighter and more acidic. You can add a pinch of baking soda or ½ tsp espresso powder to deepen the chocolate flavor.
- → How do I get even, flat cookie bottoms for assembly?
-
Roll uniform 1-inch balls and flatten each slightly with the bottom of a glass or your hand before baking. Chill the dough briefly if it spreads too much in the oven.
- → Can I replace shortening in the filling?
-
Yes. Substitute the shortening with an equal amount of butter for a richer, more buttery filling, though the texture may be a bit softer at room temperature.
- → How should I store the assembled sandwiches?
-
Store in an airtight container at room temperature for up to 5 days. For longer storage, refrigerate for up to 2 weeks and bring to room temperature before serving.
- → What's the best way to pipe the filling neatly?
-
Use a piping bag fitted with a round tip or snip the end of a disposable bag. Pipe about 1 tablespoon onto each cookie base, then top and press gently to spread to the edges.
- → How can I boost the chocolate intensity?
-
Stir in 1 teaspoon of espresso powder to the dry ingredients or melt in a tablespoon of bittersweet chocolate to the dough for a deeper chocolate profile.
