 Pin It
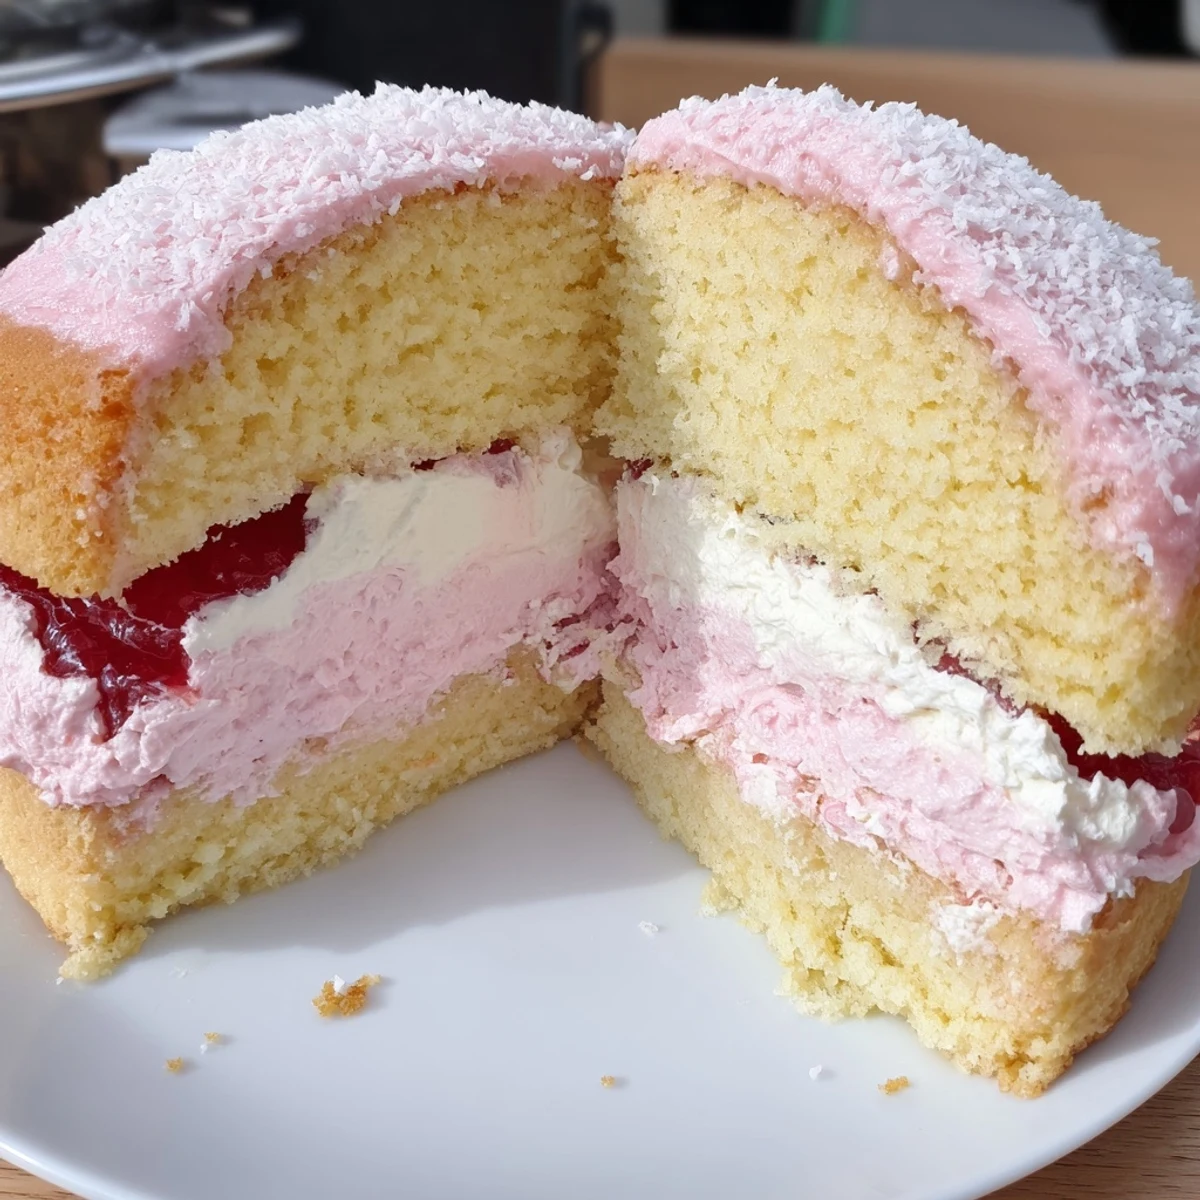
 Make a light sponge, bake until golden, then cool and cut into 24 squares. Dissolve raspberry jelly and chill until semi-set to create a glossy coating. Whip cream with a touch of vanilla and sandwich between squares. Dip each sandwich into the semi-set jelly, roll in desiccated coconut and chill for 30 minutes. Yields 12 cakes; allow 2 hours including chilling.
My nan kept a tin of pink jelly cakes on her kitchen bench every summer, and my sister and I would sneak them two at a time until the tin was mysteriously empty by Thursday. The coconut always ended up on the floor, stuck to our socks, trailing through the house like a breadcrumb trail straight to the scene of the crime. I rebuilt her recipe from memory years later, tweaking the sponge until it had that same soft bounce I remembered from childhood. These little cakes are fiddly, messy, and completely worth every sticky finger.
I made a batch for my neighbours moving in day and stood in the kitchen dipping cakes while my dog waited patiently below for any coconut that hit the floor. Three hours later the bench was a disaster zone but the cakes were gorgeous and every single one vanished before the furniture arrived.
Ingredients
- Unsalted butter (125 g, softened): Room temperature butter is non negotiable here, cold butter leaves lumps that ruin the sponge texture.
- Caster sugar (125 g): The fine grains dissolve faster than regular sugar, giving you a smoother, lighter crumb.
- Large eggs (2): Add them one at a time to keep the batter from curdling.
- Vanilla extract (1 tsp): A small amount lifts the whole sponge without overpowering the jelly.
- Self-raising flour (180 g, sifted): Sifting adds air, which is half the leavening in a sponge like this.
- Milk (100 ml): Brings the batter to a soft dropping consistency.
- Raspberry or strawberry jelly crystals (1 packet, 85 g): The classic pink colour comes from raspberry, but strawberry works beautifully too.
- Boiling water (250 ml): Dissolves the crystals completely so you get a smooth coating.
- Cold water (150 ml): Brings the jelly temperature down so it sets faster in the fridge.
- Thickened cream (200 ml): Heavy cream whipped to firm peaks holds the two sponge layers together without oozing.
- Icing sugar (1 tbsp): Just enough sweetness for the filling without making it cloying.
- Vanilla extract (1/2 tsp, for filling): A whisper of vanilla in the cream ties it to the sponge.
- Desiccated coconut (100 g): Toast it lightly first if you want a deeper, nuttier flavour.
Instructions
- Preheat and prepare:
- Set your oven to 180 degrees Celsius and grease then line a 20 by 30 centimetre baking tin with baking paper.
- Cream butter and sugar:
- Beat the softened butter and caster sugar with an electric mixer until the mixture turns pale and looks fluffy, about three minutes.
- Add eggs and vanilla:
- Crack in one egg at a time, beating well after each addition, then pour in the vanilla and mix until combined.
- Fold in flour and milk:
- Alternate folding the sifted flour and milk into the batter, stopping as soon as everything is just combined to keep the air in.
- Bake the sponge:
- Spread the batter evenly in your prepared tin and bake for 12 to 15 minutes until the top springs back lightly and a skewer comes out clean.
- Cool the sponge:
- Let the sponge sit in the tin for 10 minutes to firm up, then gently turn it out onto a wire rack to cool completely.
- Prepare the jelly:
- Dissolve the jelly crystals in boiling water, stir in the cold water, pour into a shallow dish, and refrigerate until it just begins to set around the edges.
- Cut and fill:
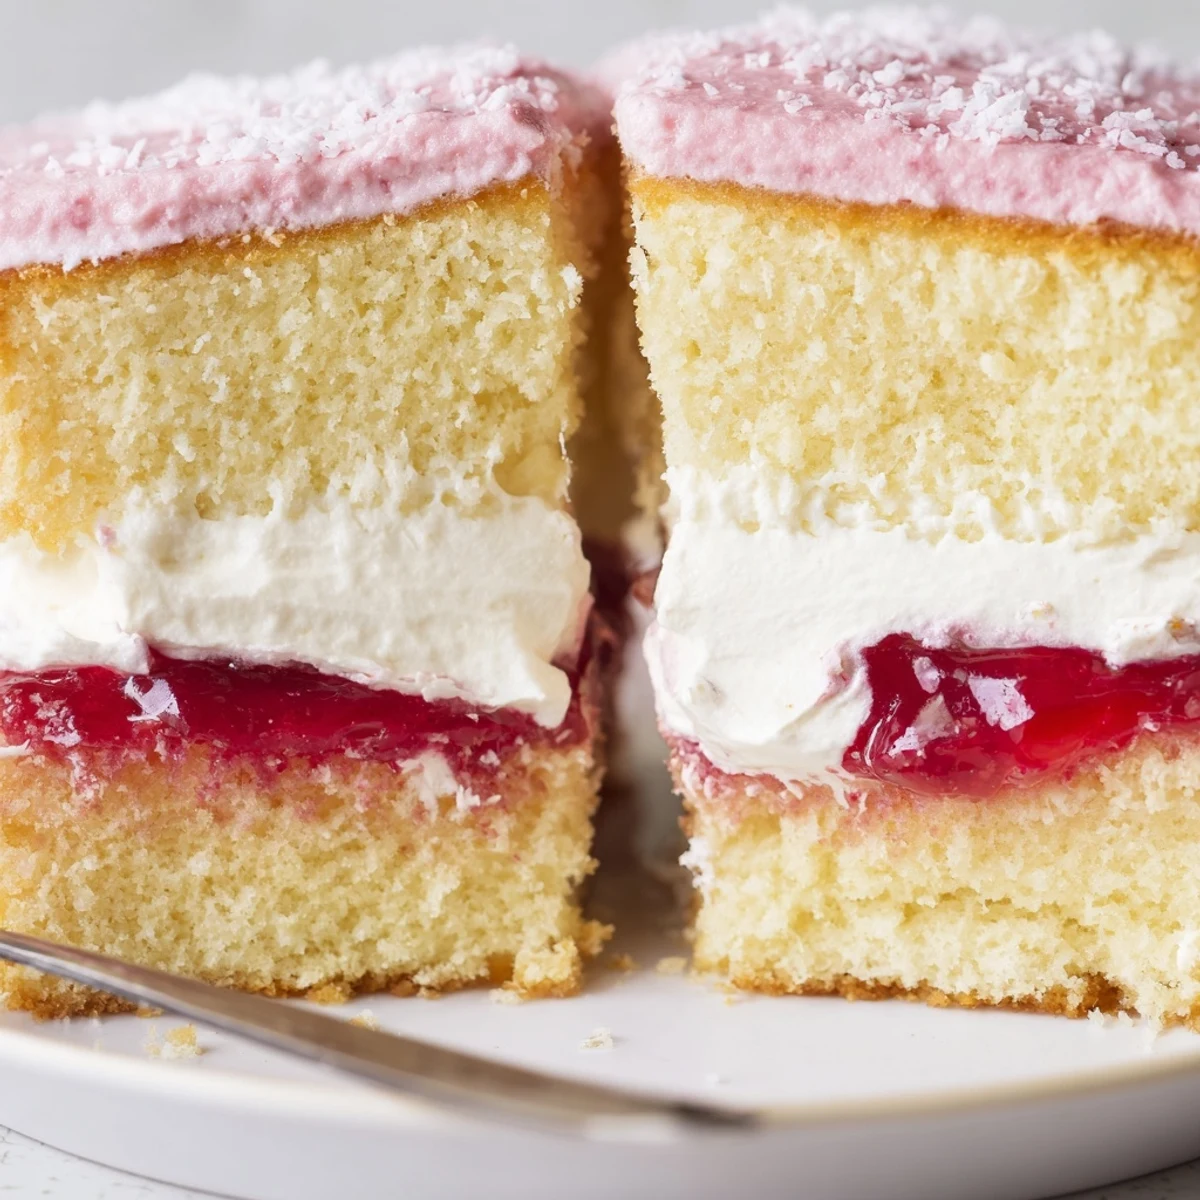
- Cut the cold sponge into 24 even squares, whip the cream with icing sugar and vanilla to firm peaks, and sandwich pairs of sponge together with a generous spoonful.
- Dip and coat:
- Roll each sandwiched cake quickly through the semi set jelly, letting excess drip off, then roll immediately in coconut and place on a wire rack.
- Chill and serve:
- Refrigerate the finished cakes for at least 30 minutes so the jelly sets firm and the coconut adheres properly.
 Pin It
 The moment my daughter licked coconut off her fingers and declared them better than anything from a shop was the moment this recipe stopped being nans and started being ours.
Getting the jelly consistency right
Check the jelly at the 45 minute mark by tilting the dish. It should cling to the sides like thick syrup but still flow. If it has already firmed into a wobble, microwave it for 10 seconds to loosen it back up.
Cutting neat sponge squares
A serrated knife and a very gentle sawing motion will give you clean edges without compressing the sponge. Trim the crusty edges off first if you want uniform cakes, though I never bother because those bits taste just as good.
Storing and serving
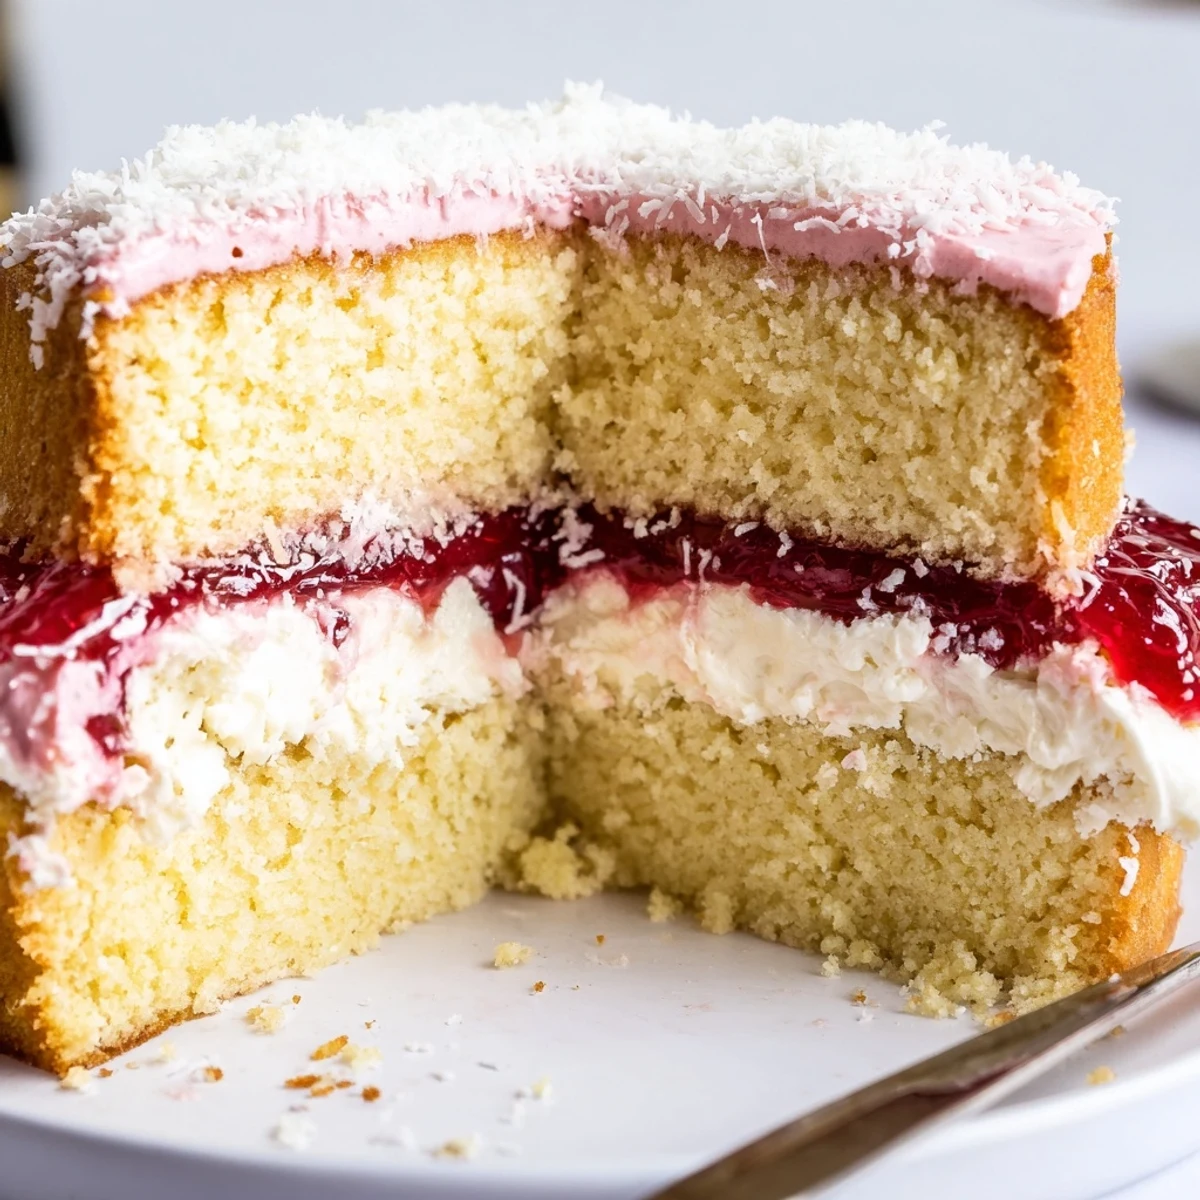
These cakes are at their best on the day they are made because the jelly keeps the sponge soft but not soggy for about eight hours.
- Keep them in a single layer on a plate covered loosely with foil in the fridge.
- For a dairy free version, swap the cream for whipped coconut cream and use dairy free butter in the sponge.
- Passionfruit jelly crystals give a tart twist that cuts through the sweetness beautifully.
 Pin It
 Fingers stained pink, coconut everywhere, and a plate of little cakes that taste like childhood itself. That is the real recipe right there.
Recipe FAQs
- → How do I know when the sponge is done?
-
The sponge should be golden and spring back slightly when touched. A skewer inserted into the center should come out clean or with a few dry crumbs—avoid overbaking to keep it tender for sandwiching.
- → How firm should the jelly be before dipping?
-
Chill the dissolved jelly until it reaches a semi-set, syrupy stage that still coats the back of a spoon. That texture clings to the sponge without running off completely, giving an even fruity glaze.
- → How can I get the coconut to stick evenly?
-
Work quickly while the jelly is tacky: dip the sandwiched cake, let excess drip, then roll immediately in desiccated coconut for an even coating. A wire rack helps any drips fall away before final chilling.
- → Can I make a dairy-free version?
-
Yes—use whipped coconut cream in place of thickened dairy cream and a vegan butter or margarine in the sponge. Ensure any jelly mix used is free from animal-derived ingredients.
- → What variations work well with this method?
-
Try passionfruit or orange gel for different flavours, or add a light citrus zest to the sponge batter. For extra texture, fold a spoonful of finely chopped toasted coconut into the whipped filling.
- → How long will the finished cakes keep?
-
Store refrigerated in a single layer for best texture; enjoy within 24 hours as the sponge softens over time. If needed, keep for up to 48 hours but expect some loss of crispness in the coating.
