 Pin It
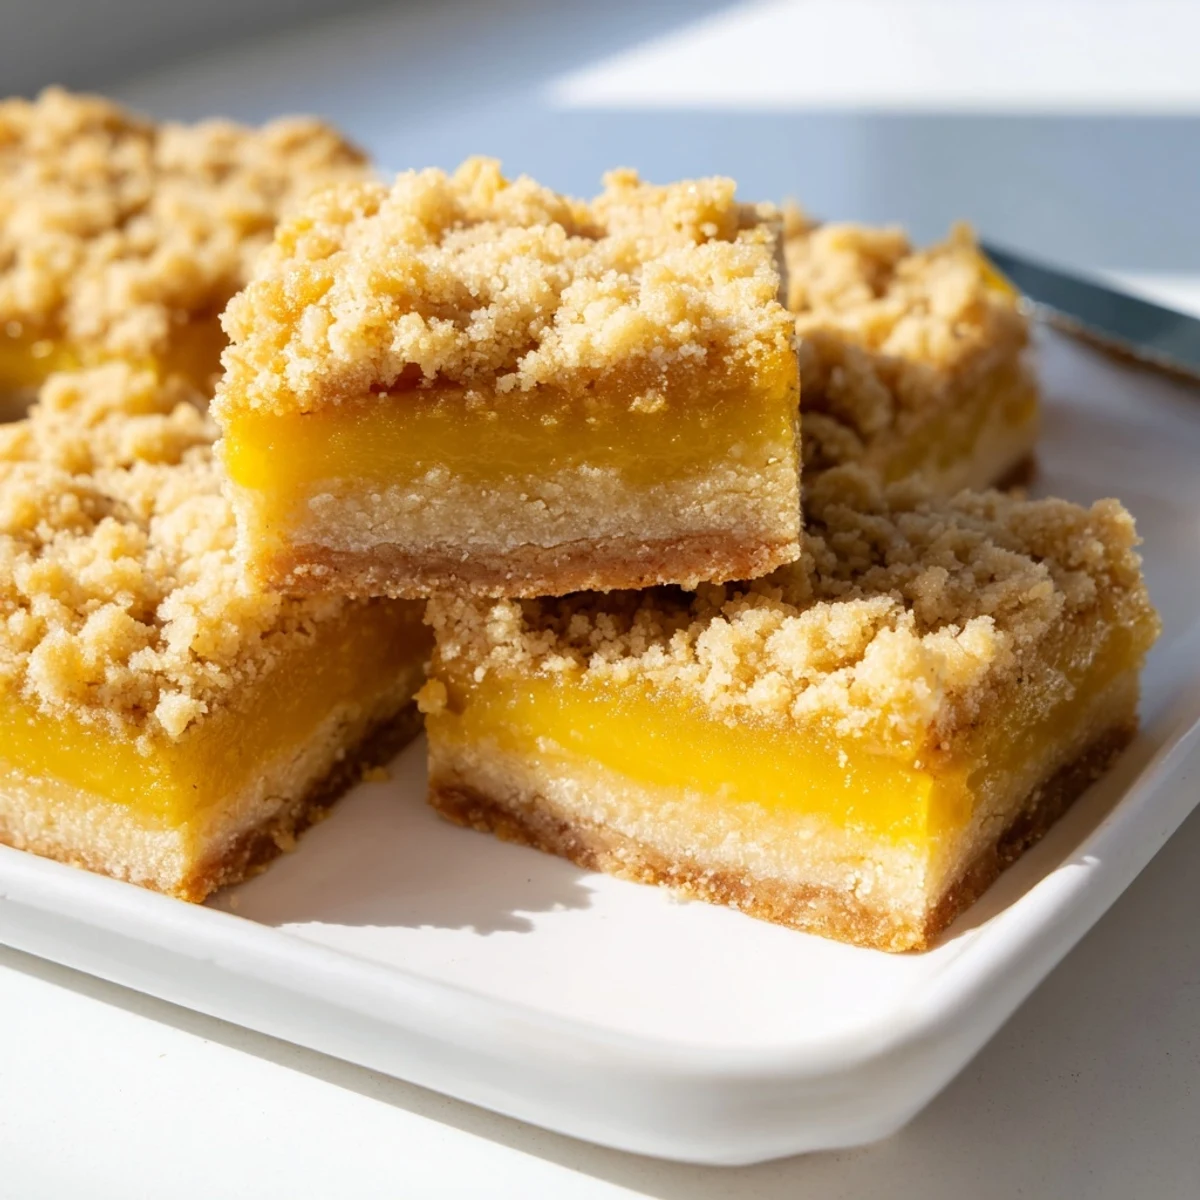
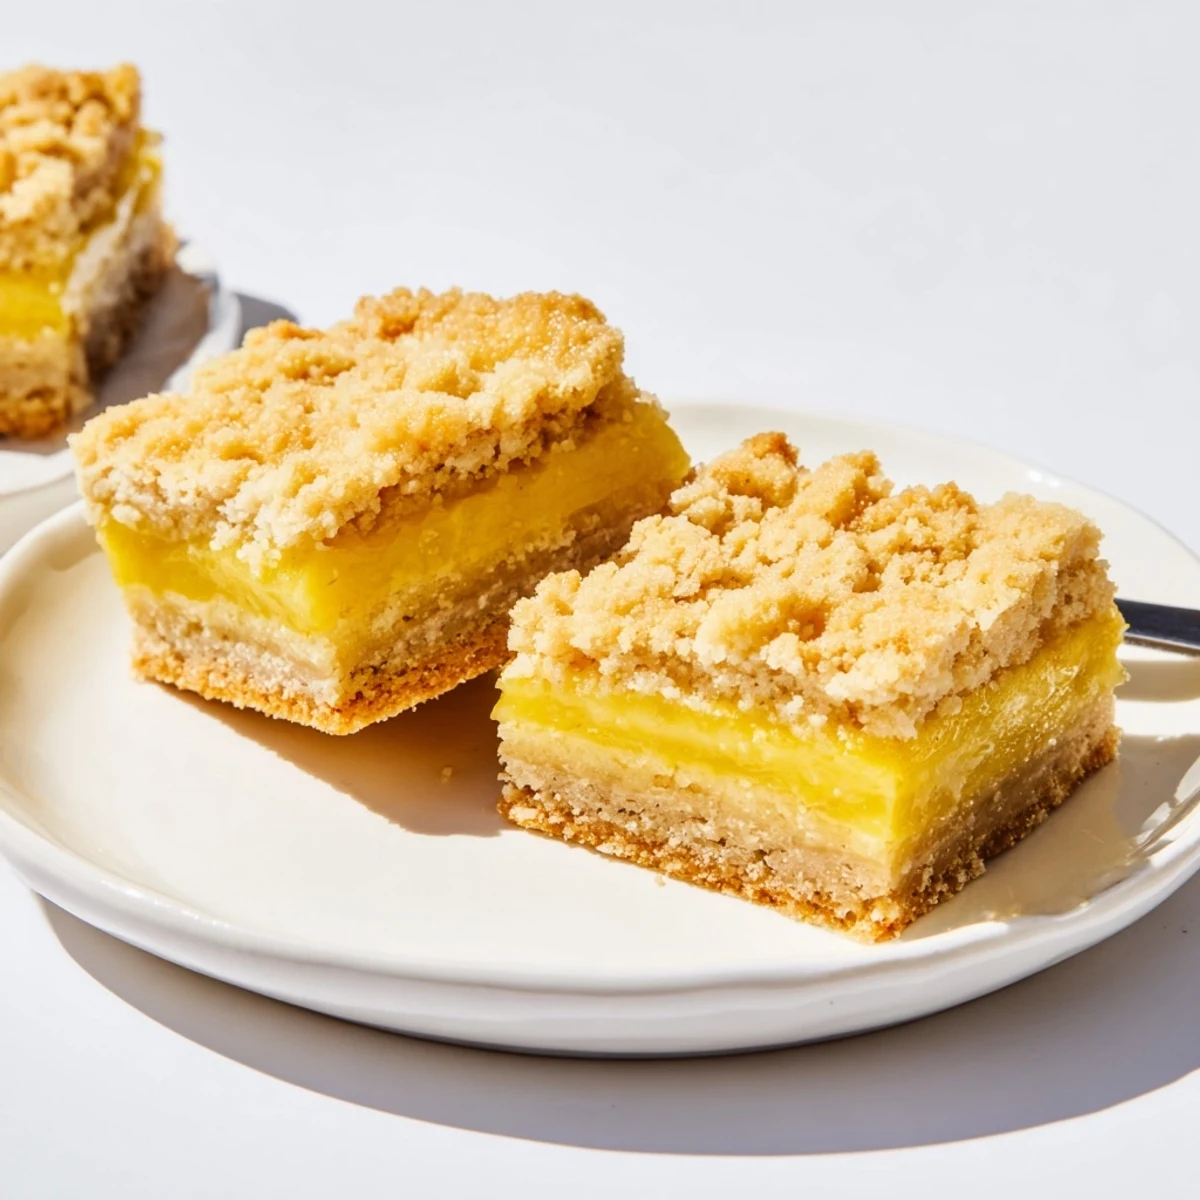
 These lemon crumb bars feature a bright, tangy lemon filling nestled between layers of buttery crumb mixture. The base provides a sturdy, slightly sweet foundation while the topping adds delightful texture. Fresh lemon zest and juice create that signature citrus punch that cuts through the sweetness perfectly.
The beauty of these bars lies in their simplicity—basic pantry ingredients come together in under an hour to create something truly special. The crumb mixture serves double duty as both crust and topping, making preparation straightforward. Once baked, the golden surface and set filling promise a handheld dessert that balances sweet and tart flavors beautifully.
My grandmother kept lemons in a ceramic bowl on her windowsill, and I never understood why until the day she taught me these bars. The whole house would fill with this bright, citrusy warmth that made even the grayest winter afternoon feel like spring. Now whenever life feels heavy, I find myself reaching for lemons and butter.
Last summer I made three batches in one week because my neighbor kept casually mentioning how much she loved lemon anything. The third time, she showed up with an empty container and a knowing look. We ended up eating them warm on her back porch while her kids chased fireflies.
Ingredients
- 2 cups all purpose flour: This creates the structure for both crust and those irresistible buttery crumbs
- 1/2 teaspoon baking powder: Just enough lift to keep the crust from becoming too dense
- 1/4 teaspoon salt: Balances all that sweetness and lets the lemon shine through
- 1 cup granulated sugar: Sweetens the crumb layer and creates that perfect sandy texture
- 1 cup unsalted butter, cold and cubed: Cold butter is the secret to flaky crumbs that melt in your mouth
- 2 large eggs: These bind the filling together into that smooth, custard like texture
- 1 cup granulated sugar: Sweetens the tart lemon juice just enough without masking it
- 2 tablespoons all purpose flour: Helps set the filling so each bar holds its shape beautifully
- Zest of 2 lemons: This is where all that bright lemon flavor actually lives
- 1/3 cup freshly squeezed lemon juice: Fresh is absolutely essential here, nothing else will taste right
- Powdered sugar for dusting: The finishing touch that makes these look bakery worthy
Instructions
- Preheat and prepare your pan:
- Heat your oven to 350°F and line an 8x8 inch pan with parchment paper, letting the edges hang over like little handles for easy lifting later.
- Make the crumb mixture:
- Whisk together flour, baking powder, salt, and sugar in a large bowl. Work in the cold cubed butter with your fingers until it looks like coarse crumbs scattered across a sandy beach.
- Press in the crust:
- Firmly press half of your crumb mixture into the bottom of the pan. I use the bottom of a measuring cup to get it really even and compact.
- Whisk the lemon filling:
- In another bowl, beat the eggs until theyre pale and frothy. Whisk in sugar, flour, lemon zest, and that fresh juice until everything is smooth and combined.
- Layer it all together:
- Pour the bright yellow filling over your crust. Sprinkle the remaining crumbs evenly across the top like youre tucking it in for a nap.
- Bake until golden:
- Slide the pan into the oven for 32 to 35 minutes. Youll know theyre done when the top is lightly golden and the filling no longer jiggles when you gently shake the pan.
- Cool completely before cutting:
- This is the hardest part, but letting them cool completely in the pan ensures clean cuts. Lift them out using those parchment paper handles and slice into 16 perfect squares.
 Pin It
 My daughter asked if we could bring these to her school bake sale, and they sold out in ten minutes flat. Now she requests them for every class party, and I secretly love having an excuse to make them twice a month.
Getting The Most Lemon Flavor
I learned to roll the lemons firmly on the counter before cutting them open. Something about breaking down those little juice pockets inside makes such a difference in how much you can extract. Also, zest your lemons before you juice them, it is so much easier that way.
Storage Secrets
These actually taste better on day two, after the flavors have had time to get friendly with each other in the refrigerator. The crust stays surprisingly crisp, and that lemon filling becomes even more velvety. I keep them layered between wax paper in an airtight container.
Serving Ideas
Sometimes I serve these slightly warmed with a scoop of vanilla bean ice cream for dessert. Other times they are perfect alongside afternoon coffee, still dusted with that snowy powdered sugar.
- A cup of Earl Grey tea brings out the floral notes in the zest
- Fresh berries on the side make them feel extra fancy
- They are incredible crumbled over vanilla yogurt for breakfast
 Pin It
 There is something about pulling these golden bars out of the oven that feels like coming home. Hope they bring as much brightness to your kitchen as they have to mine.
Recipe FAQs
- → How do I know when lemon bars are done?
-
The bars are ready when the top is light golden and the filling is set—no longer jiggly in the center. A toothpick inserted should come out mostly clean, with moist crumbs but not wet batter.
- → Can I use bottled lemon juice?
-
Freshly squeezed lemon juice delivers the brightest flavor, but bottled juice works in a pinch. However, fresh zest is essential for that authentic citrus essence.
- → Why must I cool the bars completely?
-
Cooling allows the lemon filling to fully set. Cutting while warm causes the filling to ooze, making neat slices impossible. Patience yields clean, beautiful bars.
- → How should I store leftover bars?
-
Keep in an airtight container in the refrigerator for up to 4 days. The cold also enhances the refreshing citrus flavor. Bring to room temperature before serving.
- → Can I freeze these bars?
-
Yes! Wrap individual bars tightly in plastic and freeze for up to 3 months. Thaw in the refrigerator overnight, then dust with powdered sugar before serving.
- → What's the purpose of butter being cold?
-
Cold butter creates distinct crumb pieces when cut into the flour mixture. Warm butter would blend in completely, resulting in a dough rather than the desired crumbly texture.
