 Pin It
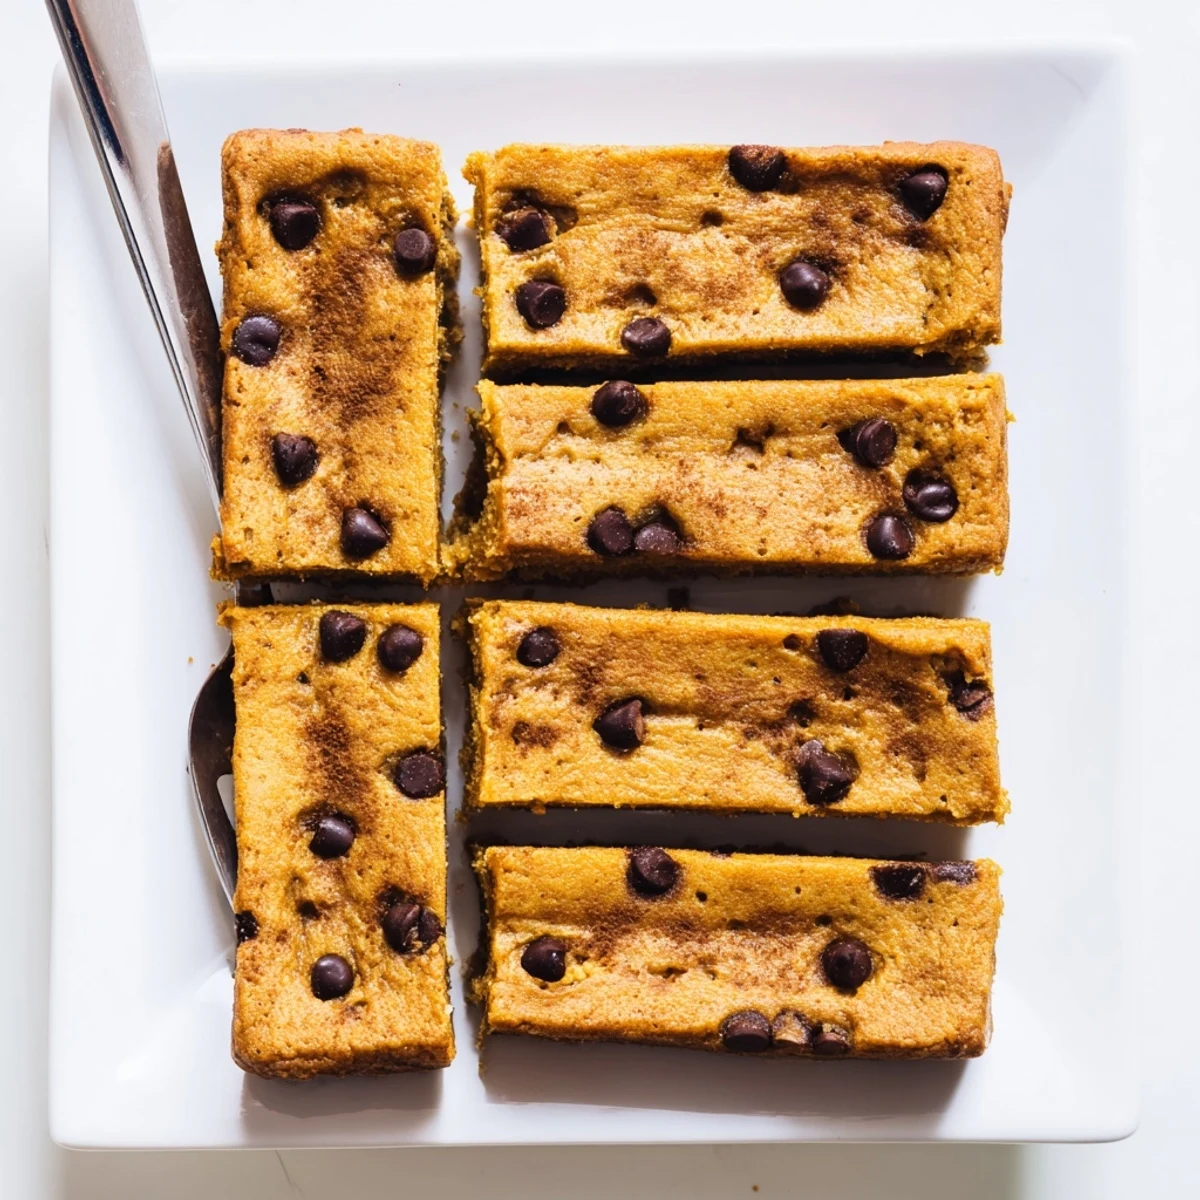
 These flourless bars deliver incredible moisture and richness without any flour, relying on the natural creaminess of ripe bananas combined with protein-packed peanut butter. The texture is dense yet tender, with a satisfying fudge-like consistency that sets beautifully while baking.
Preparation comes together in just 10 minutes using simple pantry staples—no mixer required. The natural sweetness from mashed bananas eliminates the need for excessive added sugar, while pure maple syrup provides just enough balance. Dark chocolate chips add optional bursts of bittersweet contrast that pairs exceptionally well with the nutty profile.
Perfect for meal prep, these bars hold their texture well for days and actually develop deeper flavors when allowed to rest. They're naturally gluten-free while remaining satisfyingly substantial enough to serve as breakfast, an afternoon snack, or a wholesome dessert that won't leave you feeling overly heavy or sugared out.
Last Tuesday morning I stood in my kitchen at 6 AM craving something substantial but not heavy. My bananas had gone completely spotted brown, practically demanding to be used. I smashed them into peanut butter on a whim and the whole apartment smelled like a warm hug. Sometimes the most satisfying baked goods come from pure kitchen impulse rather than careful planning.
My sister-in-law Sarah is gluten-free and always feels left out at family gatherings. I brought these to our Sunday brunch last month and watched her face light up when I told her she could eat every single bite. Now she requests them for every birthday celebration and honestly, nobody else misses the flour either.
Ingredients
- 2 large ripe bananas: The blacker and spottier the better, they become sweeter and more flavorful as they break down
- 1 cup creamy peanut butter: Natural peanut butter gives the best texture but regular works fine too, just avoid the oily separation kind
- 2 large eggs: Room temperature eggs incorporate more easily into the thick batter
- 1/4 cup pure maple syrup: Honey works just as well but maple adds a subtle depth that pairs beautifully with banana
- 1 tsp vanilla extract: Pure vanilla makes all the difference here, imitation can taste oddly artificial in such a simple recipe
- 1/2 tsp ground cinnamon: Wakes up all the flavors and makes your kitchen smell incredible while baking
- 1/4 tsp fine sea salt: Crucial for balancing the sweet bananas and rich peanut butter
- 1/2 tsp baking soda: Helps lift these dense ingredients into something light and tender
- 1/3 cup dark chocolate chips: Optional but honestly recommended, the bittersweet chocolate cuts through all that sweet richness
Instructions
- Get your oven ready:
- Preheat to 350°F and line an 8x8 pan with parchment paper, leaving overhang on the sides for easy lifting later
- Mash your bananas:
- Use a fork or potato masher until theyre completely smooth with only tiny lumps remaining
- Combine the wet ingredients:
- Mix the bananas, peanut butter, eggs, maple syrup and vanilla until everything is incorporated and glossy
- Add the dry ingredients:
- Sprinkle in the cinnamon, salt and baking soda, folding gently until you no longer see white powder
- Fold in the chocolate:
- Use a spatula to gently distribute the chips without overworking the batter
- Bake until set:
- The edges should pull away slightly from the pan and a toothpick in the center comes out clean
- Cool completely:
- This is the hardest part but these cut much cleaner when theyve fully cooled, about an hour
 Pin It
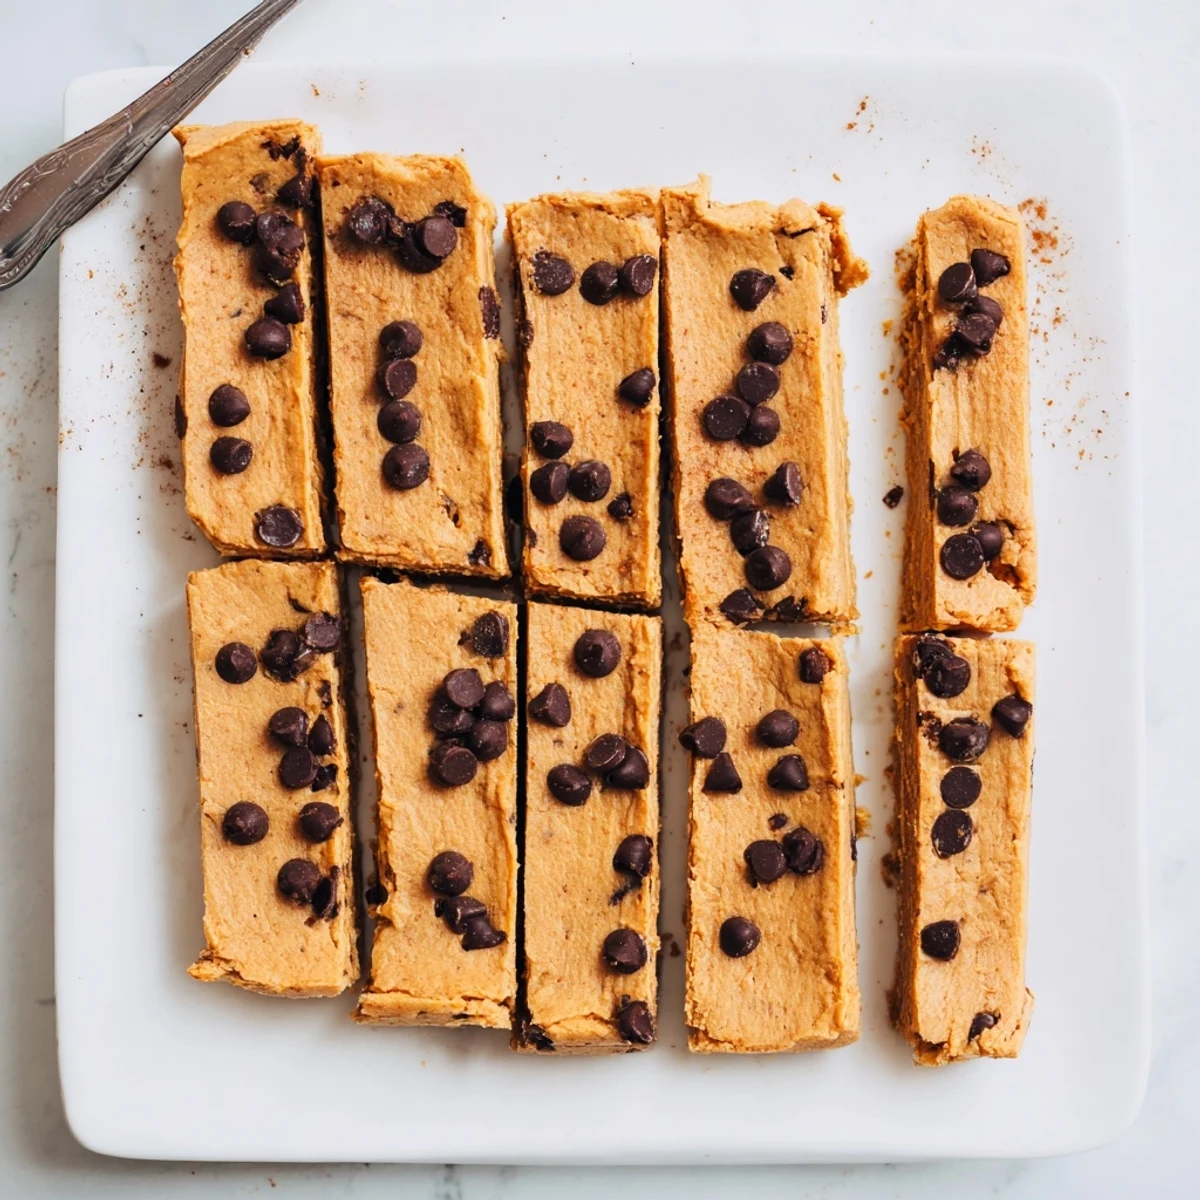
 My three year old nephew helped me make a batch last week and got peanut butter everywhere except the bowl. We ended up eating half the bars warm from the pan while cleaning up the mess. Some of the best kitchen memories involve more laughter than perfection.
Making Them Vegan
My friend Sarah adapted this recipe using flax eggs and was shocked how well it worked. The texture becomes slightly denser but in a really pleasant, fudgy way. Just remember to use dairy-free chocolate chips and let the bars cool completely before slicing.
Storage Tips
These keep beautifully at room temperature for about three days, though they rarely last that long in my house. For longer storage, wrap individual bars in plastic and freeze them up to three months. They thaw beautifully on the counter in about an hour.
Serving Suggestions
Warm a bar for 15 seconds in the microwave and top with a scoop of vanilla ice cream for an incredible dessert. These also make an excellent breakfast on the go, substantial enough to keep you full until lunch. The texture becomes even more fudgy the next day.
- Try crumbling a bar over Greek yogurt with extra banana slices
- A sprinkle of flaky sea salt on top makes them feel extra special
- Melted chocolate drizzle turns these into party worthy treats
 Pin It
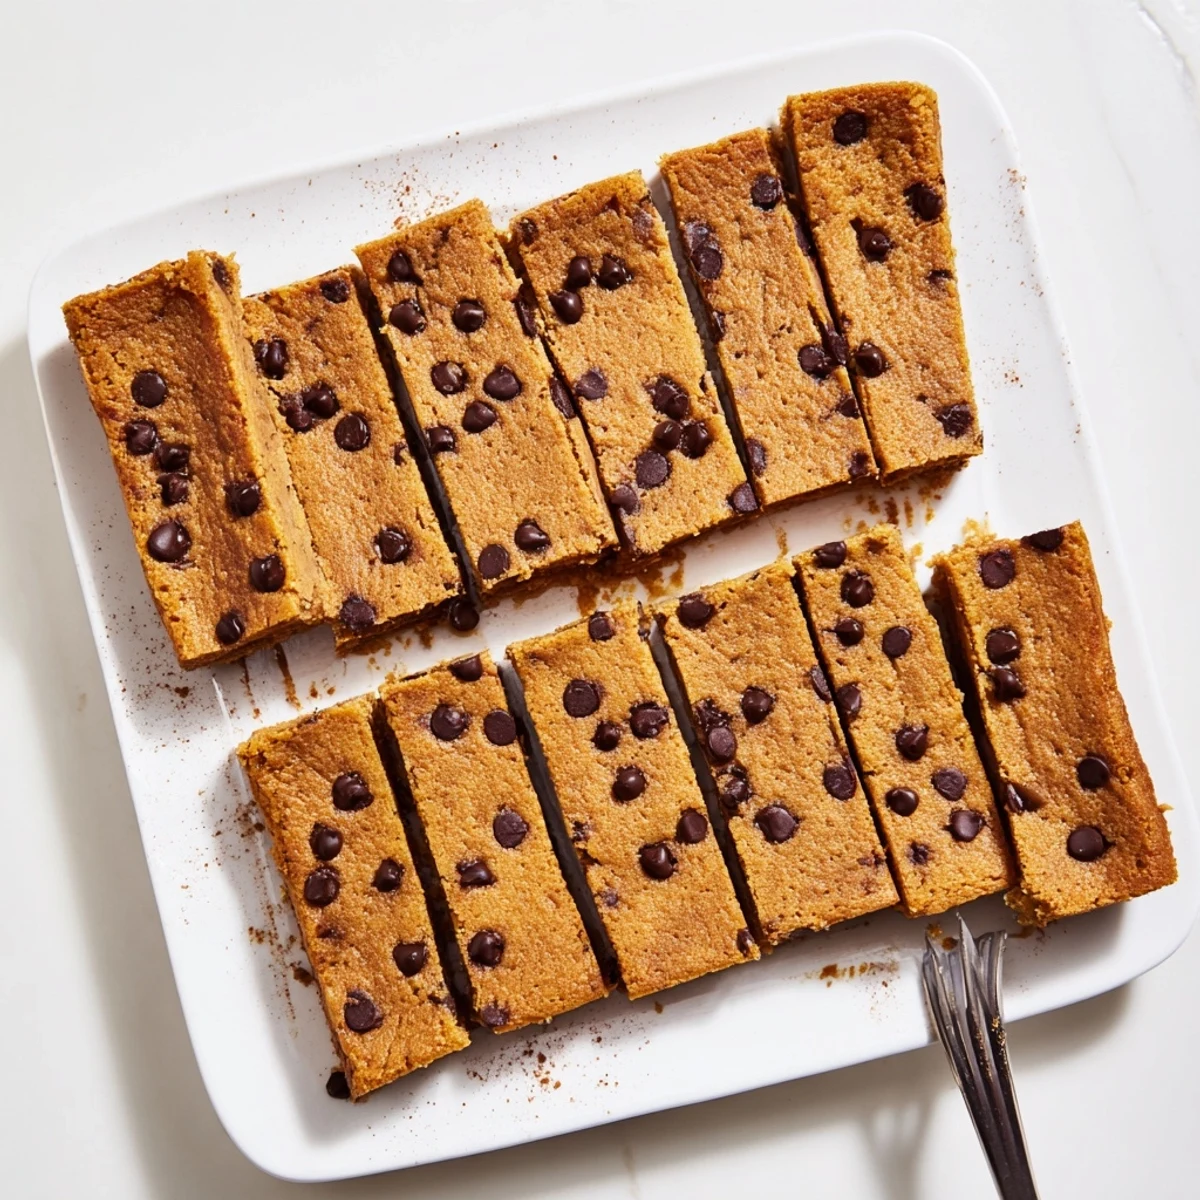
 These bars have become my emergency baked good for every occasion. Simple enough for Tuesday breakfast but special enough for company. Hope they find their way into your regular rotation too.
Recipe FAQs
- → Can I use natural peanut butter?
-
Natural peanut butter works beautifully and actually enhances the peanut flavor. Just ensure it's well-stirred and pourable—thick, separated natural peanut butter may slightly affect the texture. If your natural peanut butter is very stiff, warm it gently before mixing for easier incorporation.
- → How ripe should the bananas be?
-
Use bananas with plenty of brown spots for optimal sweetness and moisture. Bright yellow bananas lack the developed natural sugars needed for proper sweetness and may result in a less tender texture. Overripe bananas work exceptionally well—just mash until smooth before combining with other wet ingredients.
- → Can I make these nut-free?
-
Sunflower seed butter creates a similar creamy texture and binds equally well, though the flavor will naturally differ. Almond butter works as a direct substitute but will alter the traditional peanut butter taste profile. Both alternatives maintain the flourless characteristic and overall structure of the bars.
- → How should I store these bars?
-
Store in an airtight container at room temperature for up to 3 days—the texture remains perfectly moist and fudgy. For longer storage, refrigerate for up to a week, though they'll become slightly denser when chilled. Individual bars freeze exceptionally well wrapped in plastic and placed in a freezer bag for up to 3 months.
- → Why are my bars undercooked in the center?
-
These bars are naturally dense and fudgy, which can sometimes feel undercooked compared to traditional flour-based baked goods. The toothpick test should come out mostly clean with a few moist crumbs—wet batter means they need more time. If the edges brown too quickly before the center sets, tent with foil for the last 5-8 minutes of baking.
- → Can I reduce the sugar content?
-
The maple syrup can be reduced to 2 tablespoons for less sweetness, though the bars will be slightly less tender. The bananas themselves provide substantial natural sweetness, so you have flexibility. For sugar-free versions, liquid stevia or monk fruit sweetener can replace the maple syrup—start with less and adjust to taste as concentrated sweeteners vary in strength.
