 Pin It
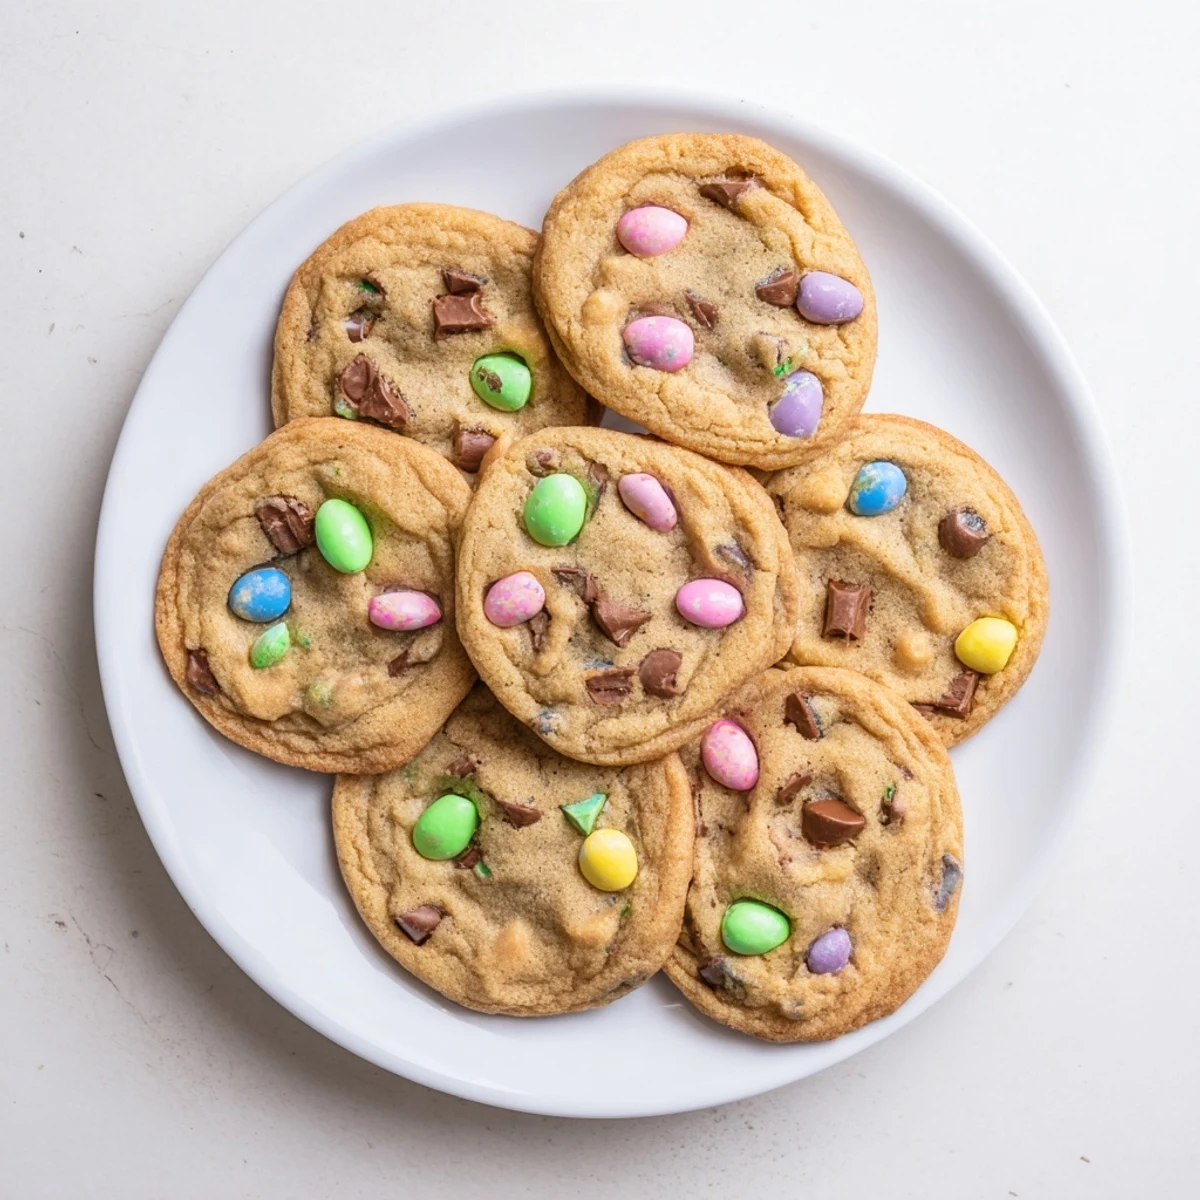
 These delightful cookies feature a rich, buttery dough studded with coarsely chopped mini chocolate eggs that create colorful pockets of chocolate throughout each bite. The dough comes together quickly—cream softened butter with brown and granulated sugar until fluffy, add eggs and vanilla, then fold in flour and the festive chocolate candy pieces.
Bake at 350°F for 10-12 minutes until edges turn golden while centers remain soft and chewy. Press extra mini egg pieces on top before baking for an eye-catching finish that makes these perfect for spring parties, Easter dessert spreads, or anytime you want a cheerful homemade treat.
My kitchen counter looked like a pastel explosion after my daughter decided to help unwrap all those colorful mini egg candies. She kept eating the evidence while I tried to measure them, and honestly, I can't blame her—those shiny speckled shells are impossible to resist. That afternoon we made three batches of dough, and by the time the last tray came out of the oven, we'd created a new spring tradition.
Last Easter I brought these to a neighborhood potluck, and watching adults and kids alike light up when they bit into that first cookie was genuinely heartwarming. My friend Sarah admitted she ate three before dinner even started, which I took as the highest compliment. Now every time spring rolls around, my neighbor's kids start asking about those egg cookies.
Ingredients
- 2 1/4 cups all-purpose flour: The foundation that gives these cookies their perfect structure, don't pack it down when measuring
- 1/2 teaspoon baking soda: Works with the powder to create that lovely rise and spread we want
- 1/2 teaspoon baking powder: The secret to keeping centers soft while edges get golden
- 1/2 teaspoon salt: Balances all that sweetness and makes the chocolate shine
- 3/4 cup unsalted butter, softened: Use room temperature butter so it creams properly with the sugars
- 1 cup light brown sugar, packed: Adds moisture and that deep caramel flavor
- 1/4 cup granulated sugar: Creates crisp edges while the middle stays chewy
- 2 large eggs: Room temperature eggs incorporate better into the dough
- 1 teaspoon vanilla extract: Don't skimp here, it bridges everything together
- 1 1/2 cups mini chocolate eggs, chopped: Rough chopping creates varied chocolate distribution
- 1/2 cup semisweet chocolate chips: Optional but adds extra chocolate richness
Instructions
- Get your oven ready:
- Preheat to 350°F and line two baking sheets with parchment paper so nothing sticks
- Whisk the dry team:
- In a medium bowl, combine flour, baking soda, baking powder, and salt until everything is evenly distributed
- Cream the butter and sugars:
- Beat softened butter with both sugars for 2-3 minutes until the mixture looks pale and fluffy
- Add the wet ingredients:
- Drop in eggs one at a time, beating well after each, then mix in the vanilla until fully combined
- Bring it all together:
- Gradually pour in your dry ingredients, mixing just until you don't see white streaks anymore
- Fold in the fun stuff:
- Gently incorporate chopped mini eggs and chocolate chips by hand so you don't break the candy pieces too much
- Scoop and space:
- Drop tablespoon-sized dough balls onto prepared sheets, leaving about 2 inches between each for spreading
- Make them pretty:
- Press a few extra mini egg chunks onto each dough ball for that bakery-style look
- Bake to perfection:
- Slide trays into the oven for 10-12 minutes until edges are golden but centers still look slightly soft
- Patience pays off:
- Let cookies rest on the hot baking sheet for 5 minutes before moving them to a wire rack to finish cooling
 Pin It
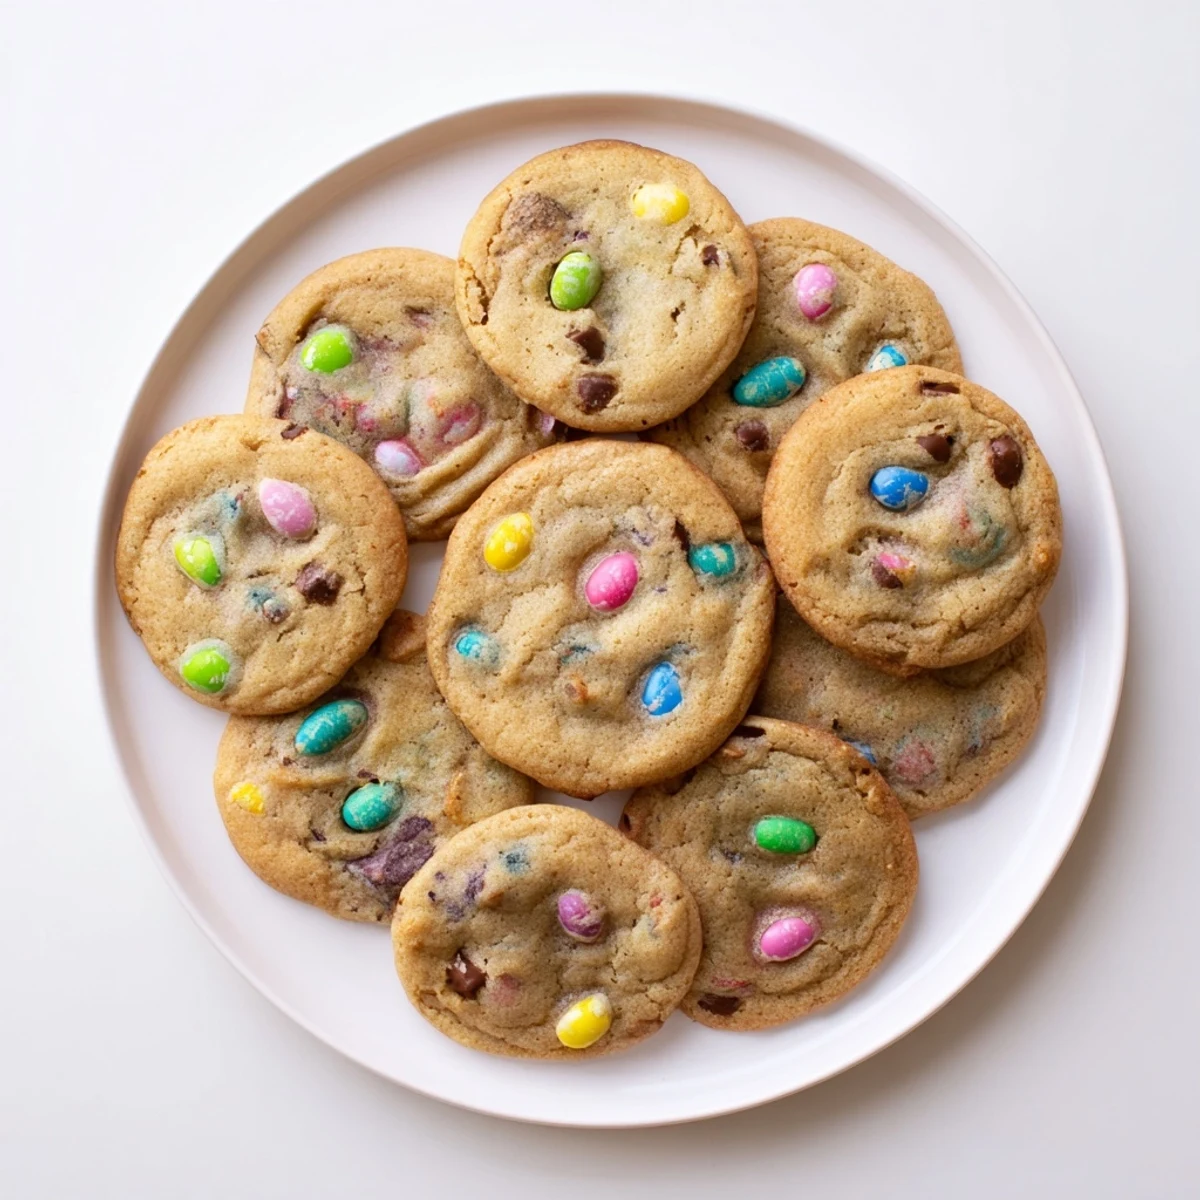
 These cookies have become my go-to whenever I need to bring something to spring gatherings or school events. The way the mini eggs melt into little puddles of chocolate while the cookie stays tender is something special.
Making Them Your Way
Feel free to swap those mini eggs for other seasonal candies—peppermint bark at Christmas, chopped candy corn in fall, or even crushed pretzels for a sweet and salty twist. The dough is forgiving and adapts beautifully to whatever you're craving.
Storage Secrets
I've learned that storing these with a slice of bread keeps them soft for days, though honestly, they've never lasted longer than 48 hours in my house. If you want to freeze the dough, scoop it into balls and freeze on a tray before transferring to a bag.
Serving Suggestions
Warm these up for 10 seconds in the microwave before serving and serve with cold milk. They're also incredible crumbled over vanilla ice cream for an impromptu spring dessert.
- Try sandwiching softened vanilla ice cream between two cookies
- Dip half a cookie in melted white chocolate for extra flair
- Pack them in clear bags tied with pastel ribbon for gifts
 Pin It
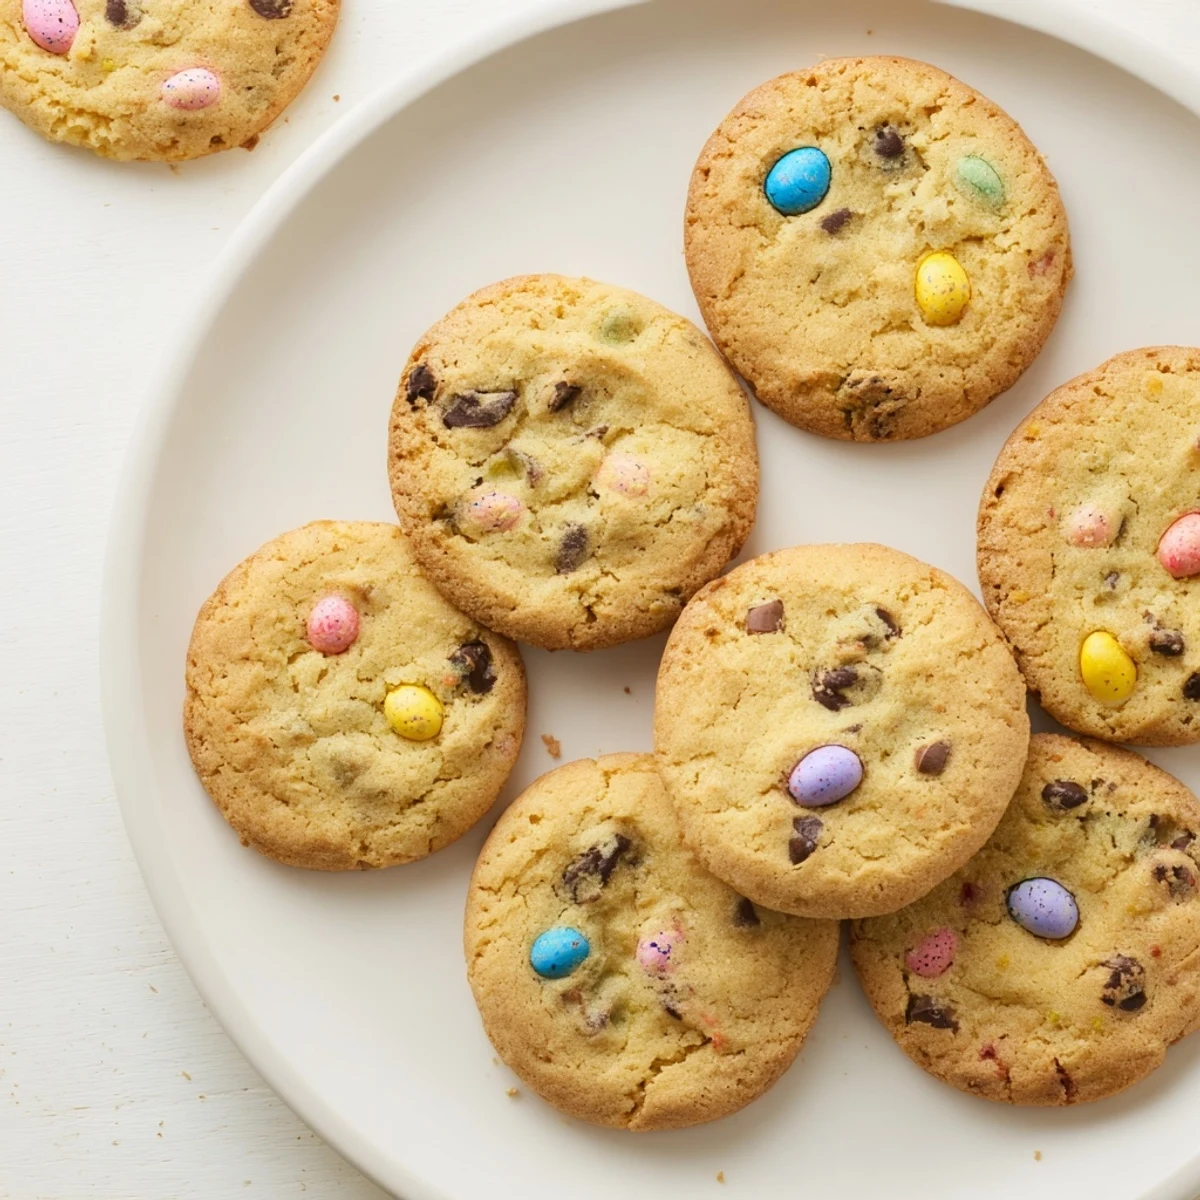
 Hope these bring as much joy to your kitchen as they've brought to mine over the years.
Recipe FAQs
- → Can I use whole mini eggs instead of chopped?
-
Whole mini eggs may be too large and could cause uneven baking. Coarsely chopped pieces distribute better throughout the dough, ensuring balanced texture in every bite.
- → How do I store these cookies?
-
Keep in an airtight container at room temperature for up to 5 days. Place parchment paper between layers to prevent sticking. For longer storage, freeze unbaked dough balls for up to 3 months.
- → Why are my cookies spreading too much?
-
Ensure butter is softened but not melted. Chill dough for 15-20 minutes before baking if your kitchen is warm. Also measure flour accurately—too little causes excess spread.
- → Can I make these ahead of time?
-
Absolutely. Scoop dough balls and refrigerate overnight or freeze. Bake frozen dough balls directly, adding 1-2 minutes to baking time. This lets you enjoy fresh-baked cookies anytime.
- → What can I substitute for mini eggs?
-
Try M&M's, chopped chocolate bars, Reese's pieces, or seasonal candies like candy corn or peppermint bits. The key is using something colorful that holds shape during baking.
- → How do I know when cookies are done?
-
Edges should appear lightly golden while centers look slightly underbaked and soft. They'll continue cooking on the hot baking sheet—this creates the perfect chewy texture once cooled.
