 Pin It
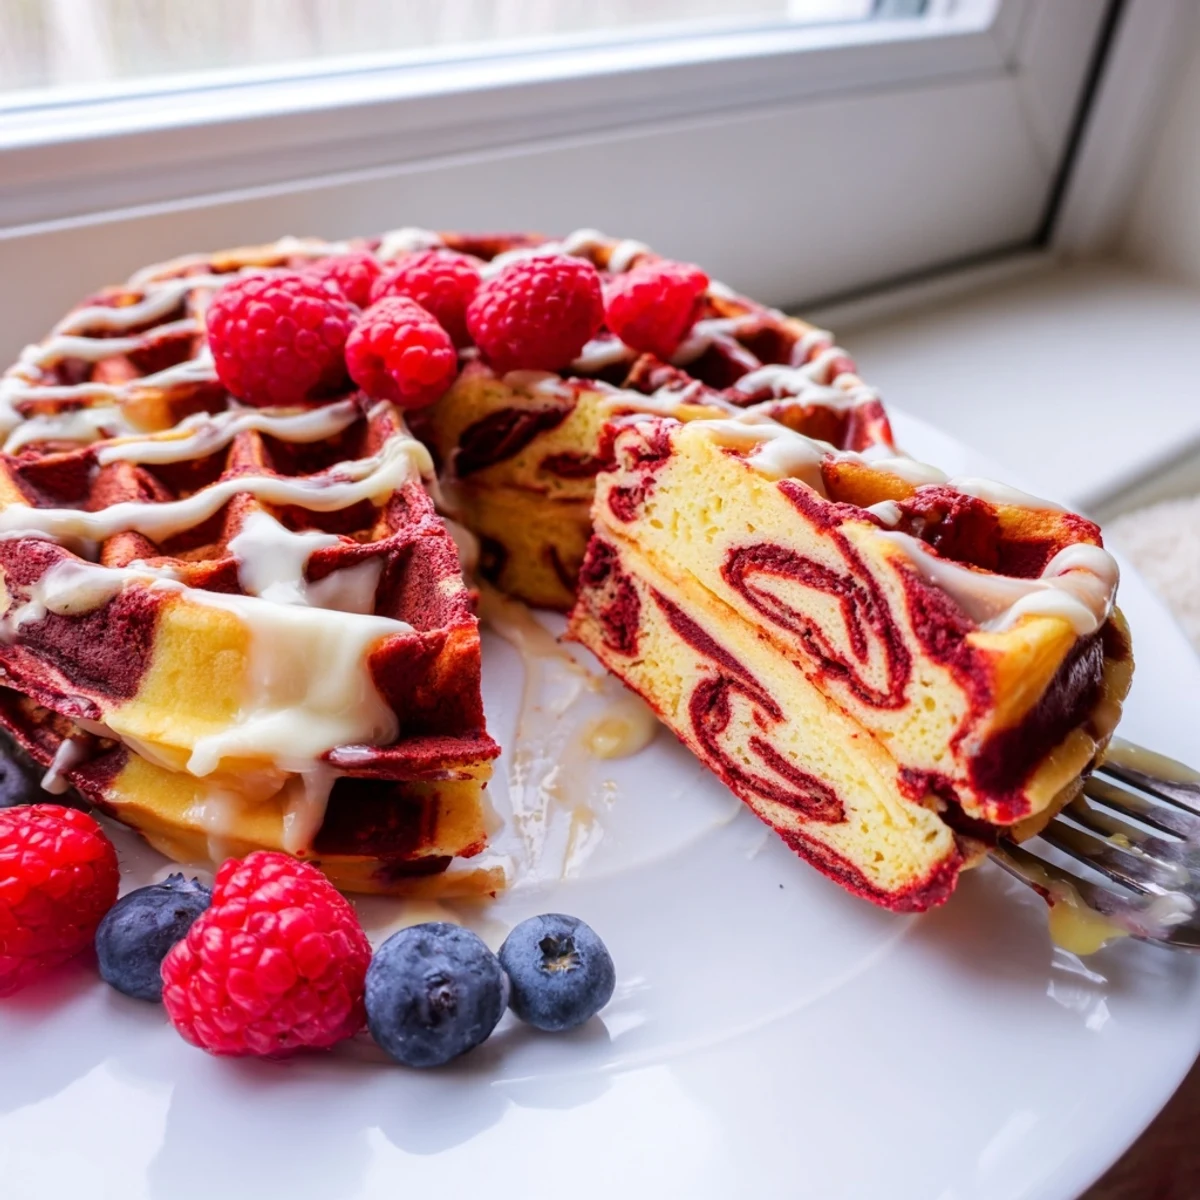
 Elevate your morning routine with these striking red velvet marble waffles featuring a classic buttermilk base swirled with vibrant cocoa-red batter. The marbling technique creates stunning visual appeal while delivering that signature red velvet flavor everyone loves.
Perfect for weekend brunches, holidays, or whenever you want to make breakfast feel extra special. The crispy exterior and tender interior pair beautifully with cream cheese glaze, though maple syrup or fresh berries work wonderfully too.
Ready in just 30 minutes with simple pantry ingredients, these waffles strike the perfect balance between impressive presentation and effortless preparation.
My sister accidentally bought red food coloring instead of chocolate syrup one Sunday morning, and these waffles were born. We were already halfway through mixing the batter when we realized her mistake, so I figured why not see what happens. The marbled pattern that emerged from the waffle iron looked like edible art, and suddenly our lazy breakfast felt like a celebration.
Last Valentine's Day, I made a batch for my family and watched my dad's face light up when he cut into his first waffle. He's usually a pancakes only person, but the combination of that slight cocoa tang and sweet vanilla won him over instantly. Now he specifically requests these for special weekend mornings.
Ingredients
- 2 cups all-purpose flour: The foundation that gives these waffles their structure and crisp exterior
- 2 tbsp granulated sugar: Just enough sweetness to balance the tangy buttermilk
- 2 tsp baking powder: Ensures your waffles rise properly and stay fluffy inside
- 1/2 tsp baking soda: Works with the buttermilk for extra lift
- 1/4 tsp salt: Enhances all the flavors and prevents the waffles from tasting flat
- 1 3/4 cups buttermilk, room temperature: The secret ingredient for tender waffles with that classic red velvet tang
- 2 large eggs: Binds everything together and adds richness
- 4 tbsp unsalted butter, melted and slightly cooled: Creates a crisp golden exterior and wonderful flavor
- 1 tsp vanilla extract: Complements the cocoa and highlights the vanilla portion of the marble
- 2 tbsp unsweetened cocoa powder: Gives the red velvet portion its signature depth
- 1 tbsp red food coloring: Creates that gorgeous ruby red color that makes these so striking
Instructions
- Mix your dry foundation:
- In a large bowl, whisk together flour, sugar, baking powder, baking soda, and salt until well combined
- Combine your wet ingredients:
- In another bowl, whisk together buttermilk, eggs, melted butter, and vanilla extract until completely smooth
- Bring them together gently:
- Fold the wet mixture into the dry ingredients just until combined; do not overmix or your waffles will be tough
- Create your two batters:
- Divide the batter evenly into two bowls; in one bowl, add cocoa powder and red food coloring and stir until well blended to make the red velvet batter, leaving the other plain vanilla
- Heat things up:
- Preheat waffle iron according to manufacturer instructions and lightly grease with oil or nonstick spray
- Make the marble magic:
- For each waffle, dollop alternating spoonfuls of red velvet and vanilla batters onto the center of the hot iron, then use a chopstick or butter knife to gently swirl for a marbled effect
- Cook to perfection:
- Close the lid and cook until waffles are golden, crisp, and cooked through, about 3 to 5 minutes per batch
- Serve them up:
- Serve warm with cream cheese glaze, maple syrup, or fresh fruit as desired
 Pin It
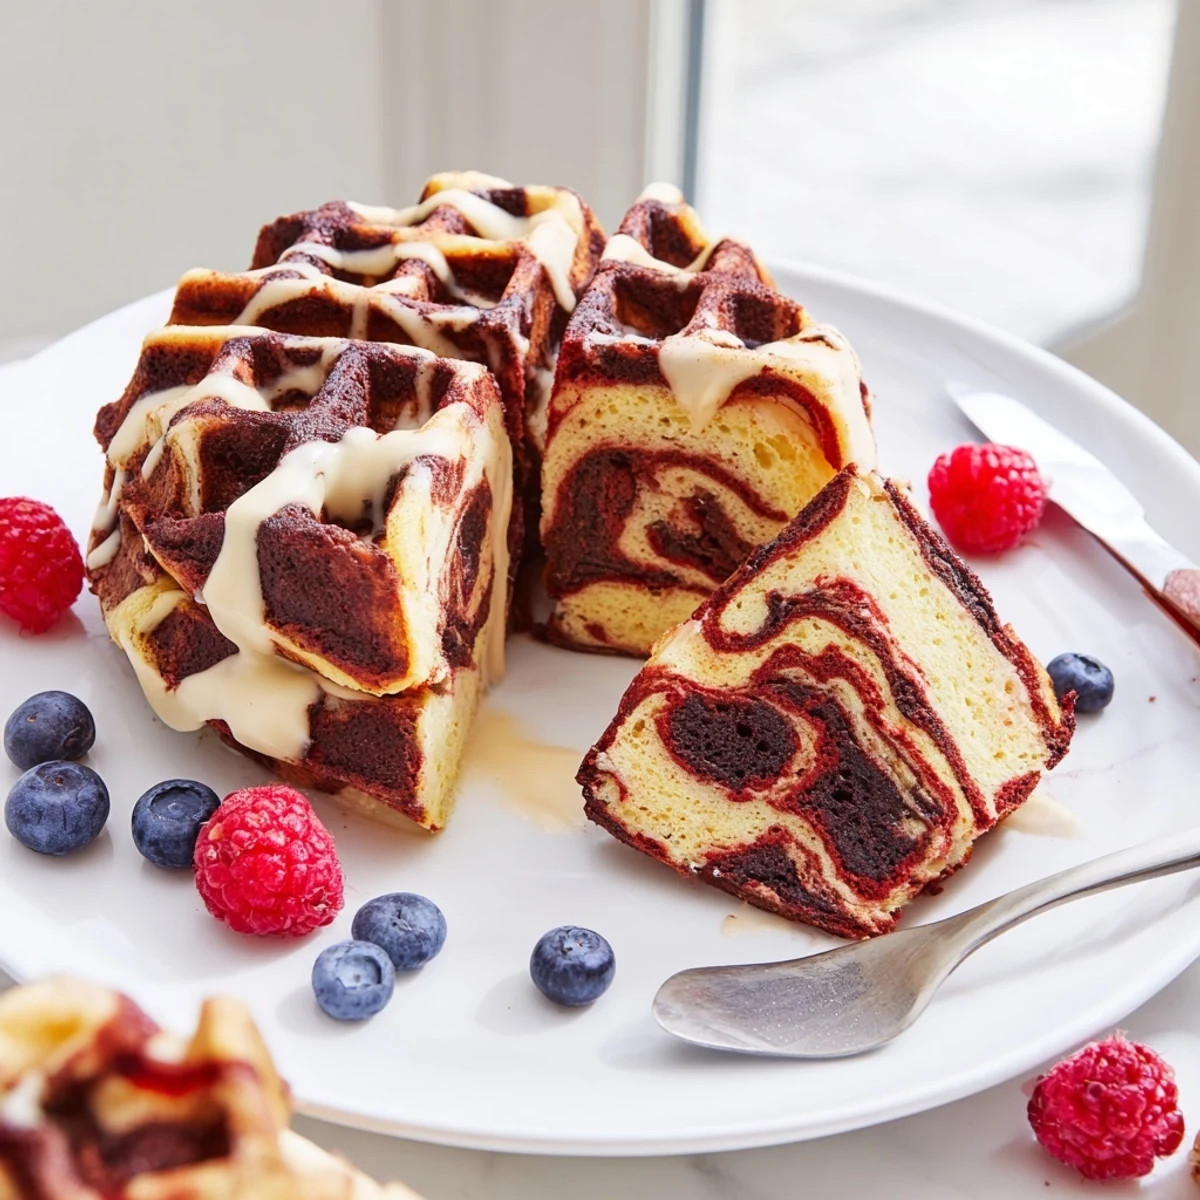
 These became my go-to contribution to potluck brunches because they're unexpectedly impressive. There's something joyful about cutting into a waffle that looks like a work of art but tastes like comfort food.
Getting The Best Marble
The key to that stunning marble pattern is placing the batters in alternating dollops rather than mixing them together. I usually do about three red and three vanilla drops per waffle, depending on the size of your iron. One gentle swirl through the center is enough; let the waffle iron do the rest of the work as it closes.
Storage And Reheating
Leftovers keep remarkably well in the refrigerator for up to three days or frozen for a month. I pop them in the toaster to reheat and they come back crispy on the outside while staying tender inside, almost as good as fresh.
Serving Suggestions
The cream cheese glaze is a game changer that really makes these feel special. I've also served them with a dusting of powdered sugar and fresh raspberries for a lighter option. My kids love them with whipped cream and chocolate chips sprinkled on top while they're still warm.
- Try topping with chopped pecans for a nice crunch contrast
- A drizzle of warm maple syrup enhances both the vanilla and cocoa notes
- Fresh strawberries complement the red color beautifully
 Pin It
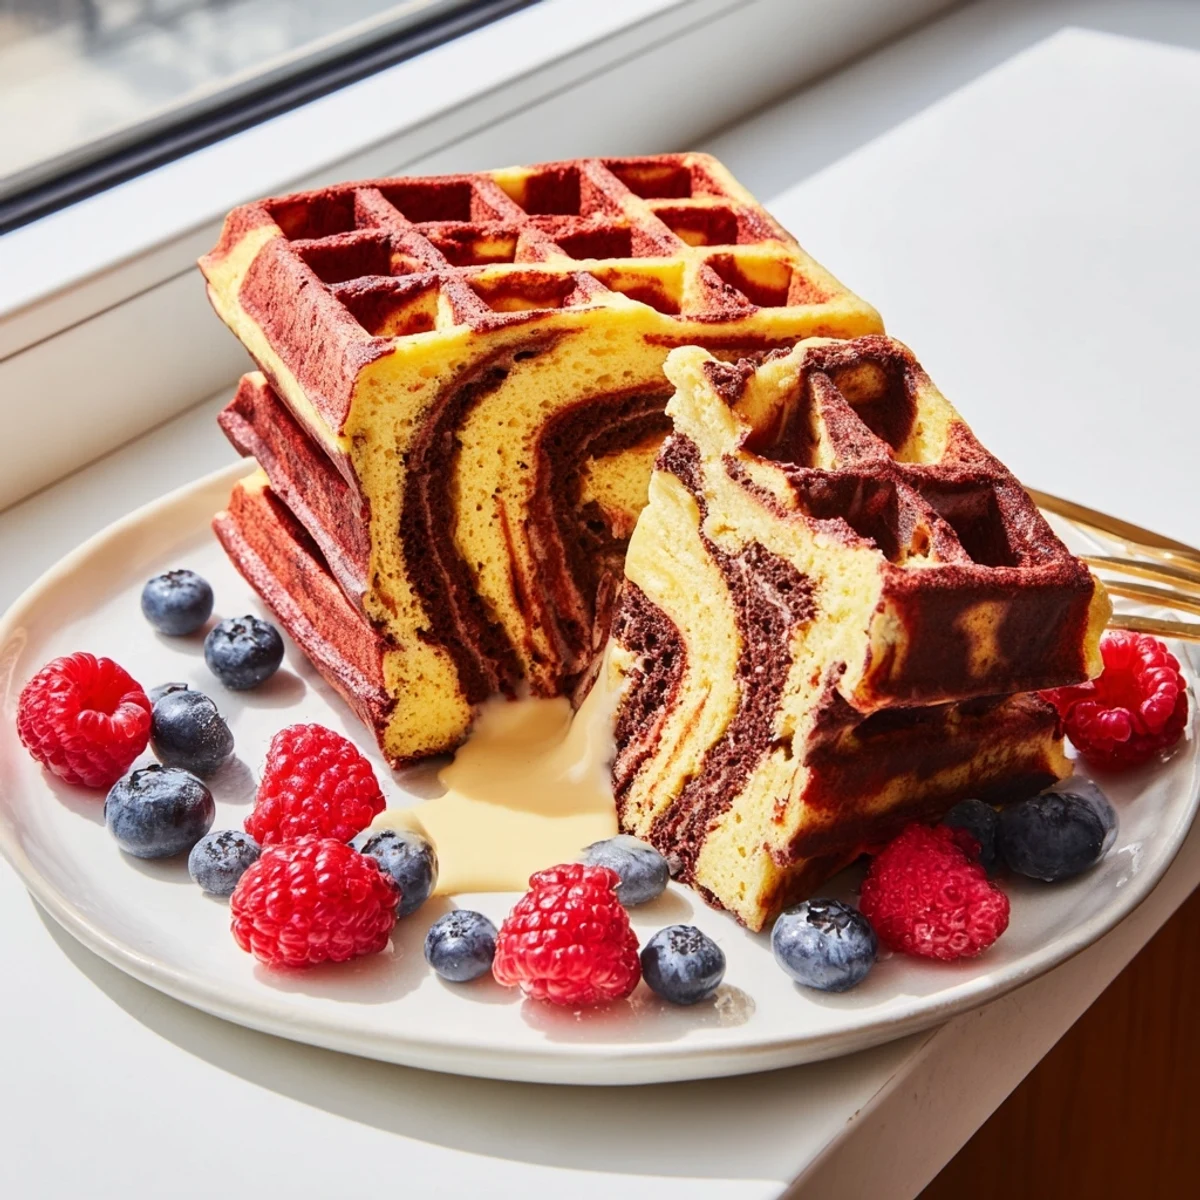
 These waffles have a way of turning an ordinary morning into something worth celebrating.
Recipe FAQs
- → What creates the marble effect in these waffles?
-
The marble effect comes from layering alternating spoonfuls of red velvet batter and plain vanilla batter onto the hot waffle iron, then gently swirling them together with a chopstick or knife before closing the lid.
- → Can I make these waffles ahead of time?
-
Yes, you can prepare the batter the night before and store it in the refrigerator. Alternatively, cook the waffles in advance and reheat them in a toaster or oven at 350°F for 5 minutes to restore crispiness.
- → What's the best topping for red velvet marble waffles?
-
Cream cheese glaze perfectly complements the red velvet flavors, but these waffles also shine with maple syrup, whipped cream, fresh berries, or a dusting of powdered sugar.
- → Can I use natural food coloring instead of artificial?
-
Beet juice or pomegranate juice can work as natural red food coloring alternatives, though they may produce a slightly deeper, berry-toned red rather than the bright classic red velvet shade.
- → Why does my waffle batter need buttermilk?
-
Buttermilk provides acidity that activates the baking soda for extra lift, while adding a subtle tang that balances the sweetness and creates a tender, fluffy texture in the finished waffles.
- → How do I know when the waffles are done?
-
Waffles are ready when steam stops coming from the waffle iron edges and they're golden brown with a crisp exterior, typically 3-5 minutes depending on your waffle iron.
