 Pin It
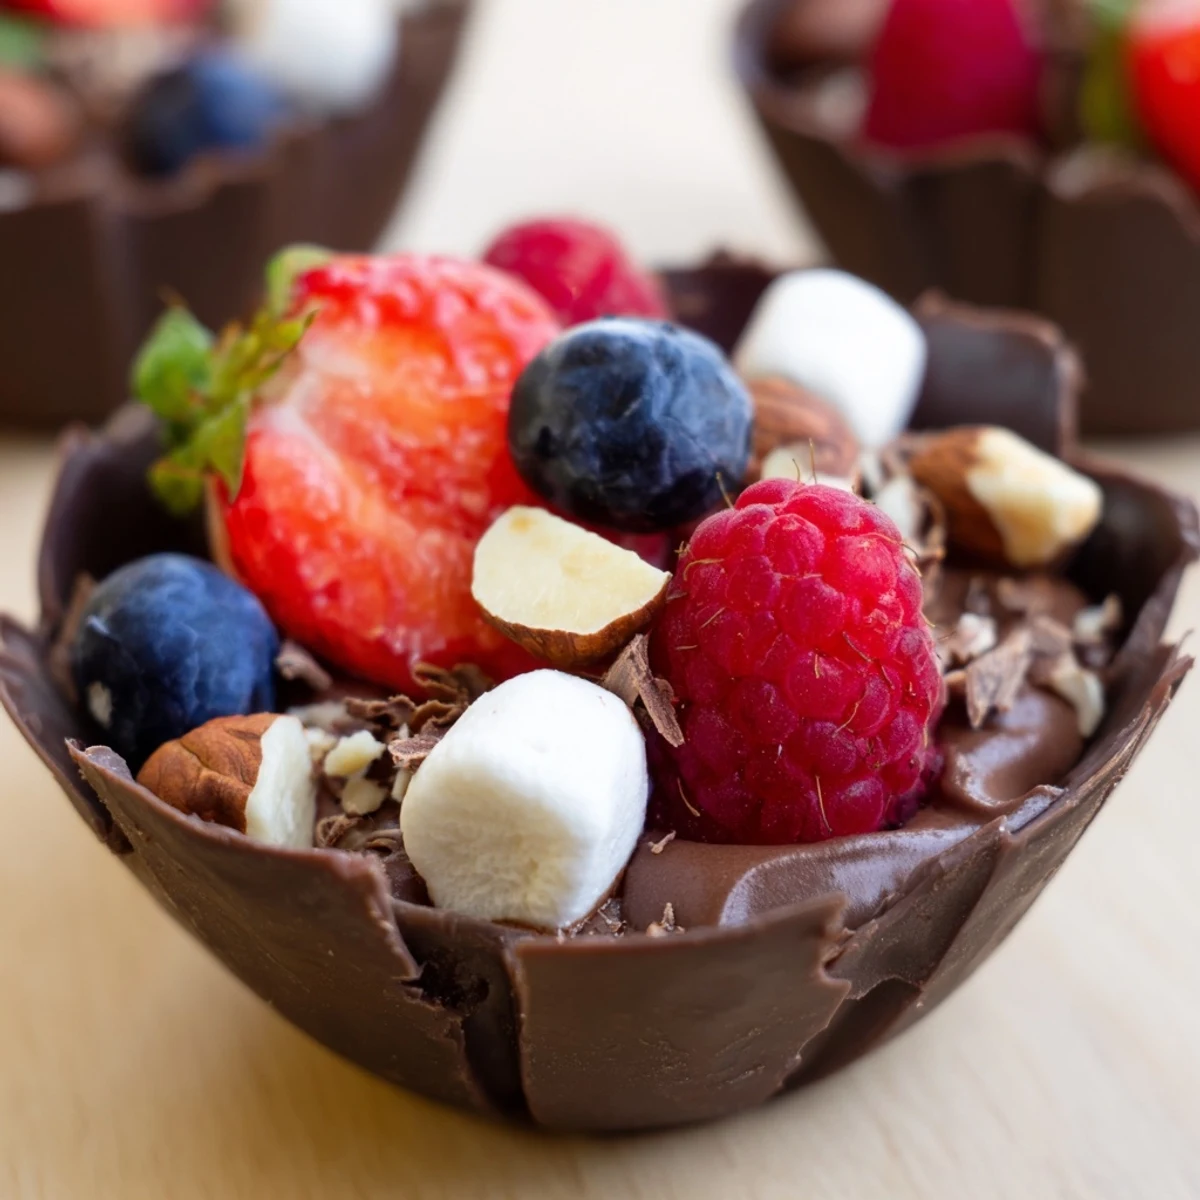
 These elegant chocolate grazing cups feature handcrafted edible chocolate vessels filled with silky dark chocolate mousse. Each cup showcases layers of creamy richness topped with fresh mixed berries, crunchy roasted nuts, mini marshmallows, and delicate chocolate curls. Perfect for elevating dessert tables at special occasions, these indulgent treats combine the luxurious appeal of a grazing board with individual portion elegance. The contrast between the crisp chocolate shell, velvety mousse, and fresh toppings creates an irresistible multi-textural experience that impresses guests while remaining surprisingly simple to prepare.
The first time I attempted chocolate cups was during a dinner party where everything that could go wrong did go wrong. The chocolate seized, my liners stuck, and I ended up serving what I called deconstructed chocolate dessert on regular plates. But those failures taught me exactly what not to do, and now these elegant grazing cups are my go-to when I want to impress without the stress. Something about watching people discover their own perfect combination of toppings makes all that early trial and error completely worth it.
Last Valentine's Day, I set up a whole grazing table with these cups as the centerpiece. My best friend who claims she doesn't even like dessert went back for three and admitted she'd been secretly dipping into the chocolate shell leftovers while I wasn't looking. Now she requests them for every single gathering, birthday, or Tuesday night she can find an excuse for.
Ingredients
- Dark chocolate: Higher cocoa percentage means your cups will hold their shape better at room temperature and the flavor will be sophisticated not just sweet
- Heavy cream: Very cold cream whips up faster and holds those delicate air bubbles that make mousse feel like eating a cloud
- Fresh berries: Let them come to room temperature before serving because cold fruit dulls against the creamy mousse
- Chopped nuts: Toast them for three minutes in a dry pan first and the difference in flavor is absolutely worth the extra step
Instructions
- Craft the chocolate shells:
- Melt your chocolate using short bursts in the microwave or a gentle double boiler, then paint it into silicone liners in thin, even layers. The thickness determines everything—too thin and they crack, too thick and they're impossible to bite through.
- Whip up silken mousse:
- Fold your melted chocolate into whipped cream using a spatula and the lightest touch you can muster, treating it like you're handling something precious that might collapse if you rush.
- Build your masterpiece:
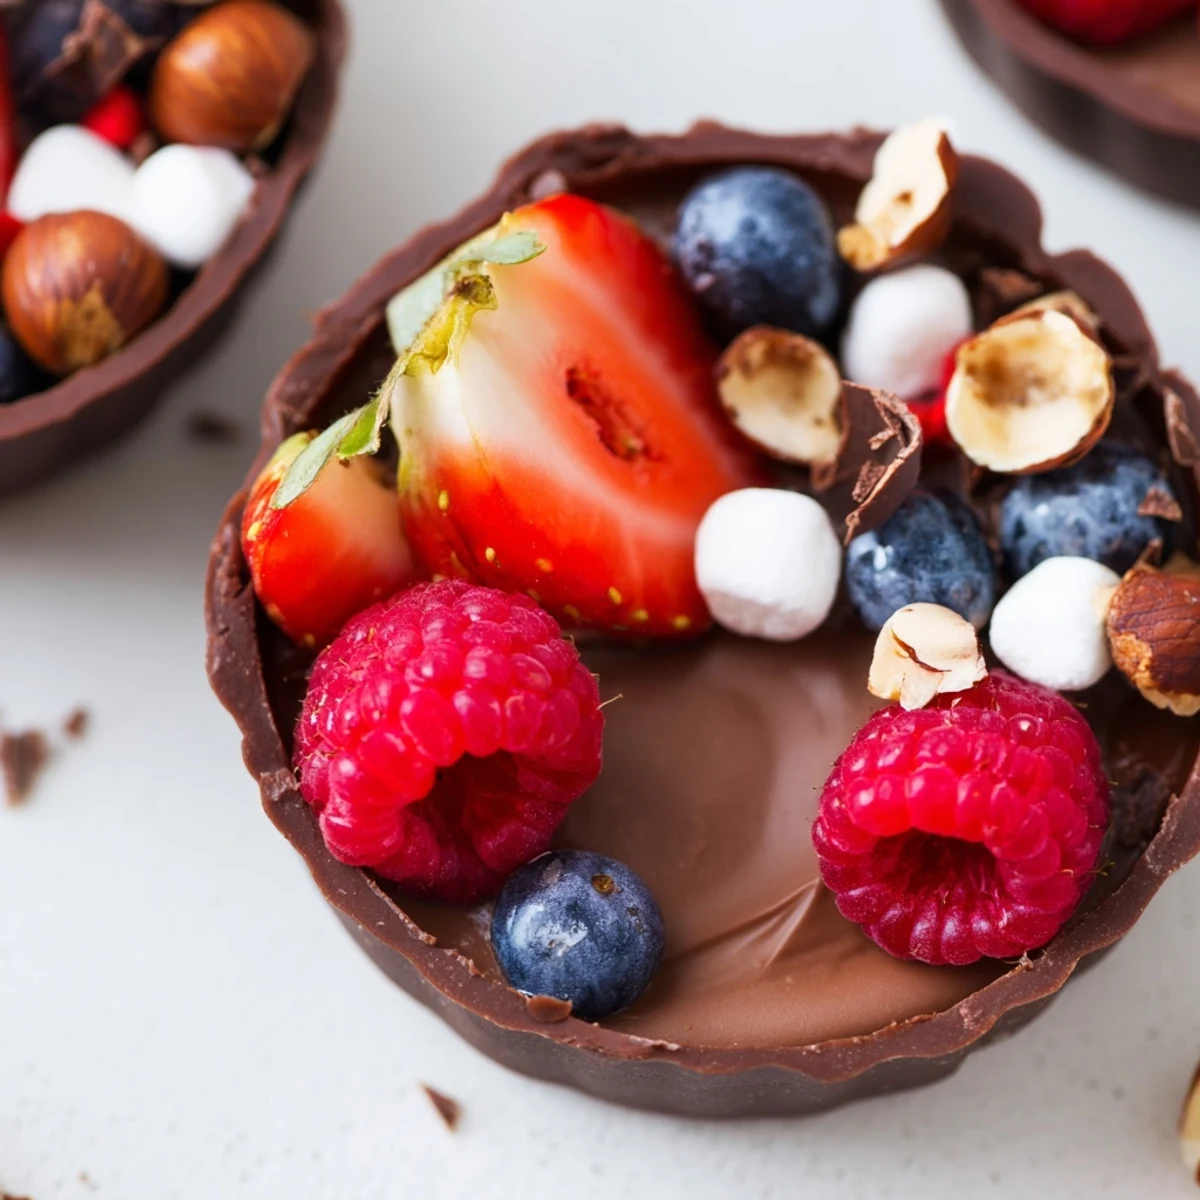
- Fill each chocolate cup about two thirds full with mousse, then arrange your toppings like tiny edible landscapes—some berries here, a cluster of nuts there, maybe one extravagant cup with all the gold leaf.
 Pin It
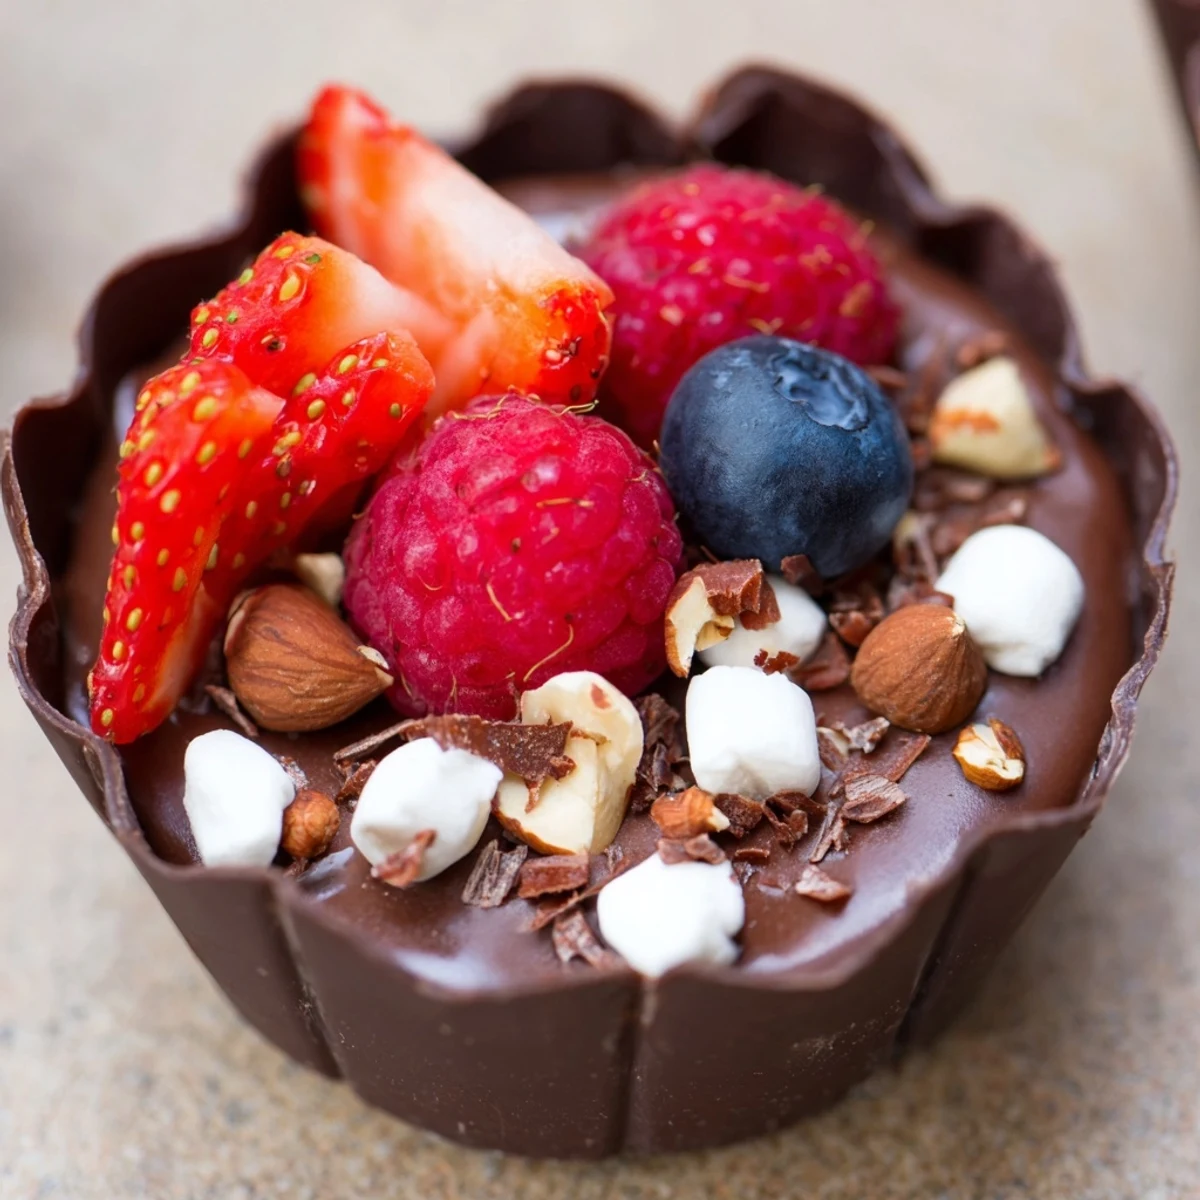
 My niece asked if she could help with the topping arrangement during Christmas and created what she called a cup with everything. It looked absolutely chaotic but she was so proud that I took a picture before it immediately collapsed into her mouth. Sometimes the messiest combinations end up being the most delicious anyway.
Make Ahead Magic
The chocolate shells keep perfectly in an airtight container for up to five days, layered between parchment paper so they don't stick together. I've learned to make a double batch whenever I have the chocolate out, then I'm always halfway to an impressive dessert at a moment's notice.
Chocolate Temperature Secrets
Working temperature matters more than most recipes admit—your chocolate should be around 90°F when painting the cups, warm enough to flow smoothly but cool enough to set quickly. I've started using an instant read thermometer and my success rate went from maybe to absolutely every single time.
Topping Combinations That Work
Beyond the berries and nuts, consider crushed pretzels for salt contrast, candied citrus peel for brightness, or even tiny meringue drops for extra texture. The grazing concept works beautifully because people can graze toward what they love most.
- Set up toppings in small bowls and let guests build their own perfect cup
- Keep chocolate cups away from direct sunlight or warm lamps during serving
- Have extra chocolate shells ready because someone will inevitably break one trying to taste test
 Pin It
 There's something deeply satisfying about edible containers that disappear as you eat them, leaving nothing behind but satisfied smiles and chocolate on your fingertips. These cups have turned more ordinary weeknights into tiny celebrations than I can count.
Recipe FAQs
- → How far in advance can I make chocolate grazing cups?
-
These cups are best assembled on the day of serving for optimal texture. You can prepare the chocolate cups and mousse separately up to 24 hours ahead—store cups in an airtight container at room temperature and keep mousse refrigerated. Assemble just before serving to maintain the crisp chocolate shell and prevent sogginess from the fresh berries.
- → What chocolate works best for the cups?
-
Dark chocolate with at least 60% cocoa content creates the most stable cups due to its higher cocoa butter content. The dark variety also provides a sophisticated flavor profile that balances beautifully with the sweet mousse and tart berries. Tempering your chocolate helps achieve a glossy finish and prevents the cups from becoming too fragile.
- → Can I make these without silicone liners?
-
If you don't have silicone liners, use sturdy paper cupcake liners or small silicone molds. Alternatively, paint melted chocolate onto the inside of plastic wrap-lined small bowls, then carefully remove once set. For a more rustic approach, free-form chocolate cups can be created by drizzling melted chocolate over the back of spoons or onto parchment paper in small circles.
- → How do I prevent the chocolate cups from cracking?
-
The key is creating an even, sufficiently thick layer of chocolate—aim for approximately 1/8 inch thickness. Allow the chocolate to set completely at cool room temperature rather than rushing the process in the freezer, which can cause thermal shock and cracking. Working in a cool environment helps the chocolate harden properly without developing stress fractures.
- → What other toppings work well with these cups?
-
Beyond the suggested toppings, consider adding crushed cookies, caramelized nuts, coconut flakes, fresh mint leaves, or citrus zest. For adult gatherings, a light drizzle of liqueur-infused ganache adds sophistication. Seasonal fruits like poached pears, roasted figs, or candied citrus can create variations tailored to specific occasions or flavor preferences.
- → Are these suitable for outdoor events?
-
Chocolate grazing cups require careful temperature management and are best suited for indoor or shaded outdoor events below 75°F (24°C). If serving outdoors, keep them chilled until just before serving and display in a shaded area. Consider providing individual serving tongs or picks to minimize direct handling, which can cause melting from body heat.
