 Pin It
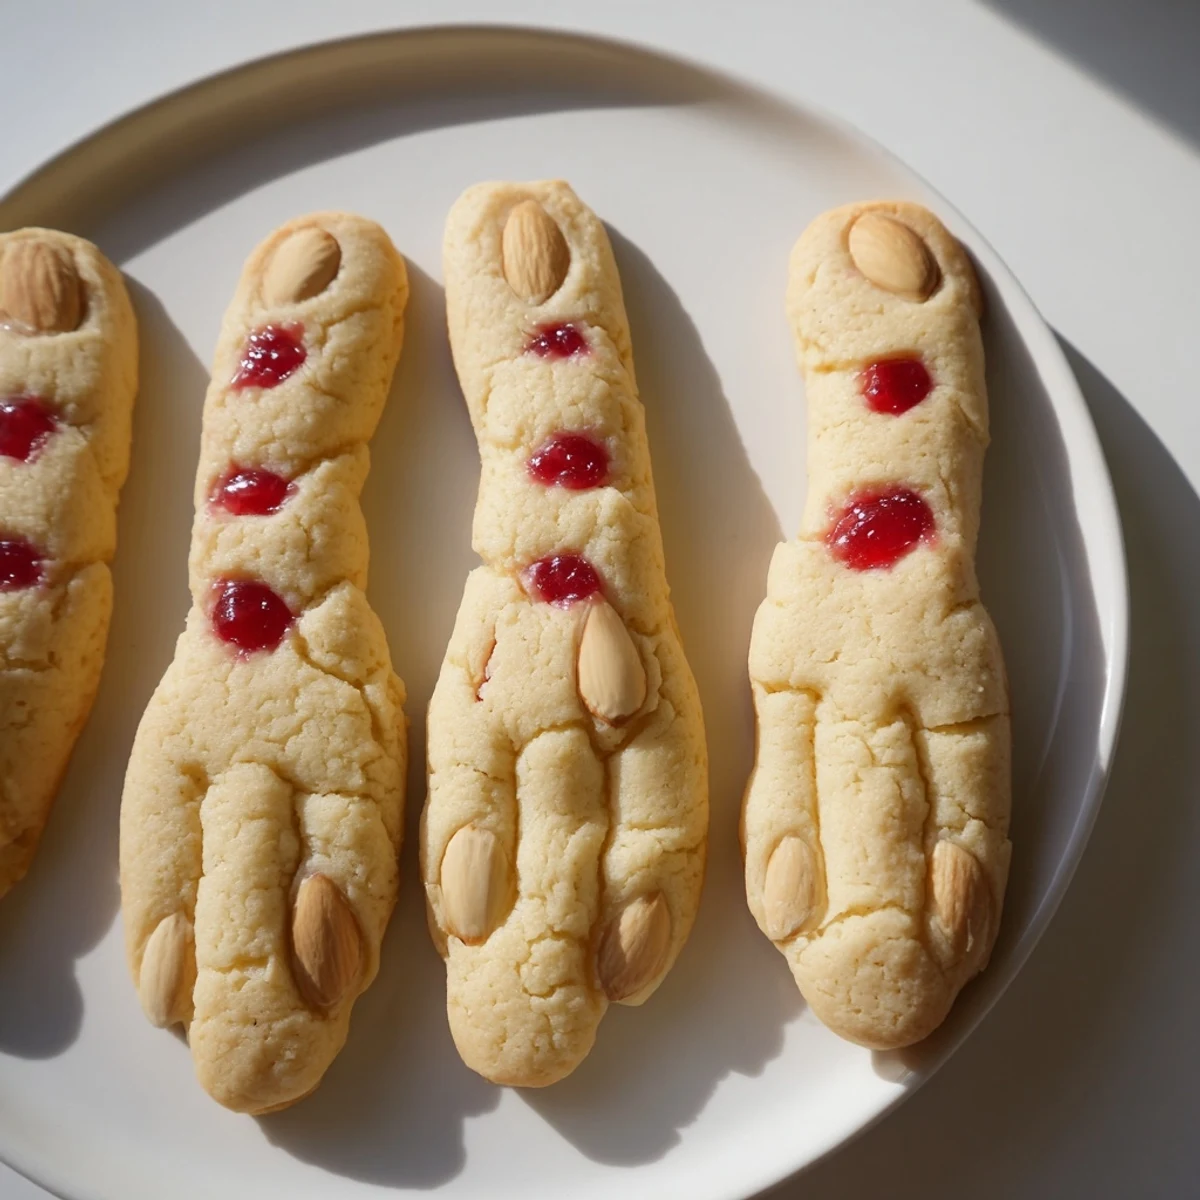
 These spooky witch-shaped cookies combine buttery almond flavor with creepy visual details for the ultimate Halloween treat. The dough comes together quickly with softened butter, sugar, and vanilla, while almond extract gives them that classic nutty taste.
Shaping the fingers is simple—just roll portions of dough into 3-4 inch cylinders, score knuckle lines with a knife, and press blanched almonds at the tips for fingernails. After baking to golden perfection, add the finishing touch: brush the nail beds with red gel or strawberry jam for that gruesome bloody effect before replacing the almonds.
The recipe yields 24 cookies and takes just 45 minutes from start to finish. Get creative by tinting portions of dough green or gray for extra creepiness, or swap the almond extract for lemon if you prefer. Serve alongside hot cider or spooky cocktails for your next Halloween gathering.
My daughter came home from school last October absolutely determined that our annual Halloween party needed something more impressive than the usual pumpkin sugar cookies. She found this recipe in an old cookbook at her grandmother's house and announced we were making witch fingers whether I was ready or not. The look on our guests' faces when they realized what they were eating was absolutely worth the mess of flour everywhere.
Last year I made three batches back to back because my niece kept stealing them off the cooling tray before they even made it to the serving platter. Something about the combination of that almond fragrance and the gruesome presentation just works for Halloween parties in ways I never expected.
Ingredients
- Unsalted butter softened: Cold butter creates tough cookies so let it sit out for at least 30 minutes before you start mixing
- Granulated sugar: Cream this thoroughly with the butter until the mixture looks pale and fluffy for the best texture
- Large egg: Bring this to room temperature first so it incorporates smoothly instead of curdling the butter mixture
- Pure vanilla extract: The pure stuff matters here since vanilla is one of the main flavor notes
- Almond extract: This is what gives witch fingers their signature flavor but go easy since its potent
- All purpose flour: Spoon and level this instead of scooping directly to avoid dense dough
- Baking powder: Make sure this is fresh since old baking powder leaves you with flat sad fingers
- Salt: Just a half teaspoon balances all the sweetness and intensifies the almond flavor
- Whole blanched almonds: Look for evenly sized ones so all your witch nails look uniform
- Red gel food coloring or strawberry jam: The jam gives a gooier more realistic blood effect but gel coloring lasts longer
Instructions
- Prepare your baking space:
- Preheat oven to 325°F and line two baking sheets with parchment paper so you are not scrambling later
- Cream the butter and sugar:
- Beat softened butter and granulated sugar in a large bowl until light and fluffy which takes about 3 minutes
- Add the wet ingredients:
- Beat in the egg vanilla extract and almond extract until everything is completely combined
- Whisk the dry ingredients:
- In another bowl whisk together the flour baking powder and salt so they are evenly distributed
- Combine everything:
- Gradually add dry ingredients to wet ingredients mixing just until dough comes together
- Shape the fingers:
- Scoop about 1 tablespoon of dough and roll between your hands into 3 to 4 inch finger shapes
- Add knuckle details:
- Use a knife to create knuckle lines and press a blanched almond at one end for the fingernail
- Arrange for baking:
- Place shaped fingers on prepared baking sheets about 2 inches apart so they do not spread into each other
- Bake to perfection:
- Bake for 18 to 20 minutes until lightly golden but not browned
- Create the bloody effect:
- Remove almonds carefully apply red food coloring or jam to the nail bed and press almonds back in place
- Cool completely:
- Let cookies cool completely on a wire rack so they set properly and do not break when handled
 Pin It
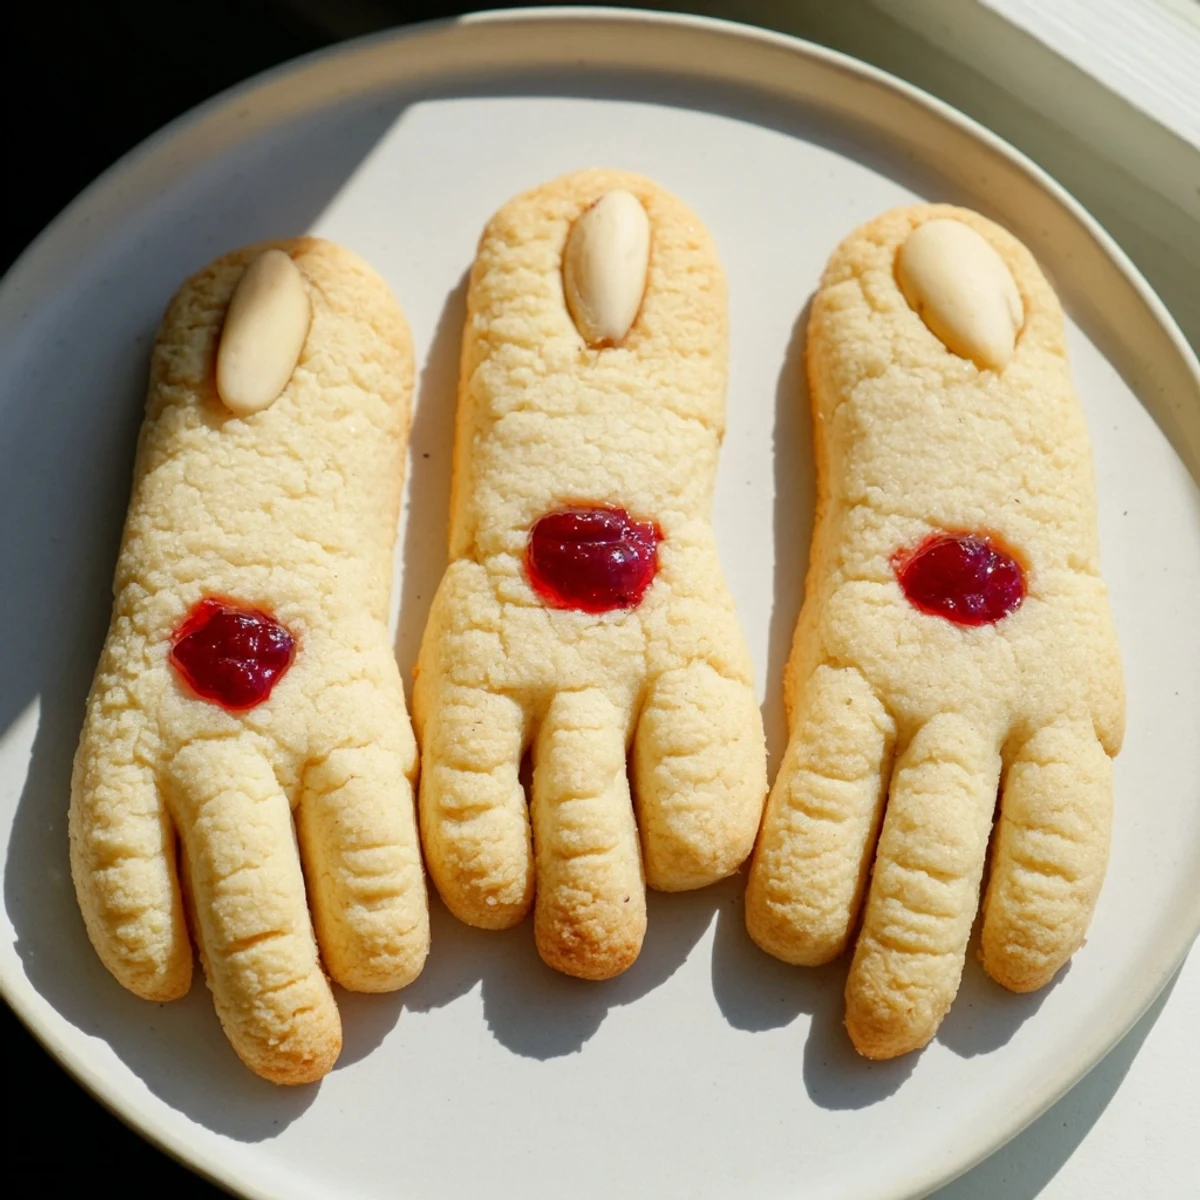
 What started as a silly Halloween party favor became the most requested item at every fall gathering we host now. There is something delightfully twisted about serving food that looks like severed body parts but tastes like delicate buttery cookies.
Getting The Creepiest Shape
I have found that slightly uneven fingers actually look more realistic than perfectly shaped ones. Vary the lengths and curve some slightly like real fingers would bend. The first batch I made was too uniform and looked more like cookies than fingers but embracing the imperfection made all the difference.
Making The Blood Effect Last
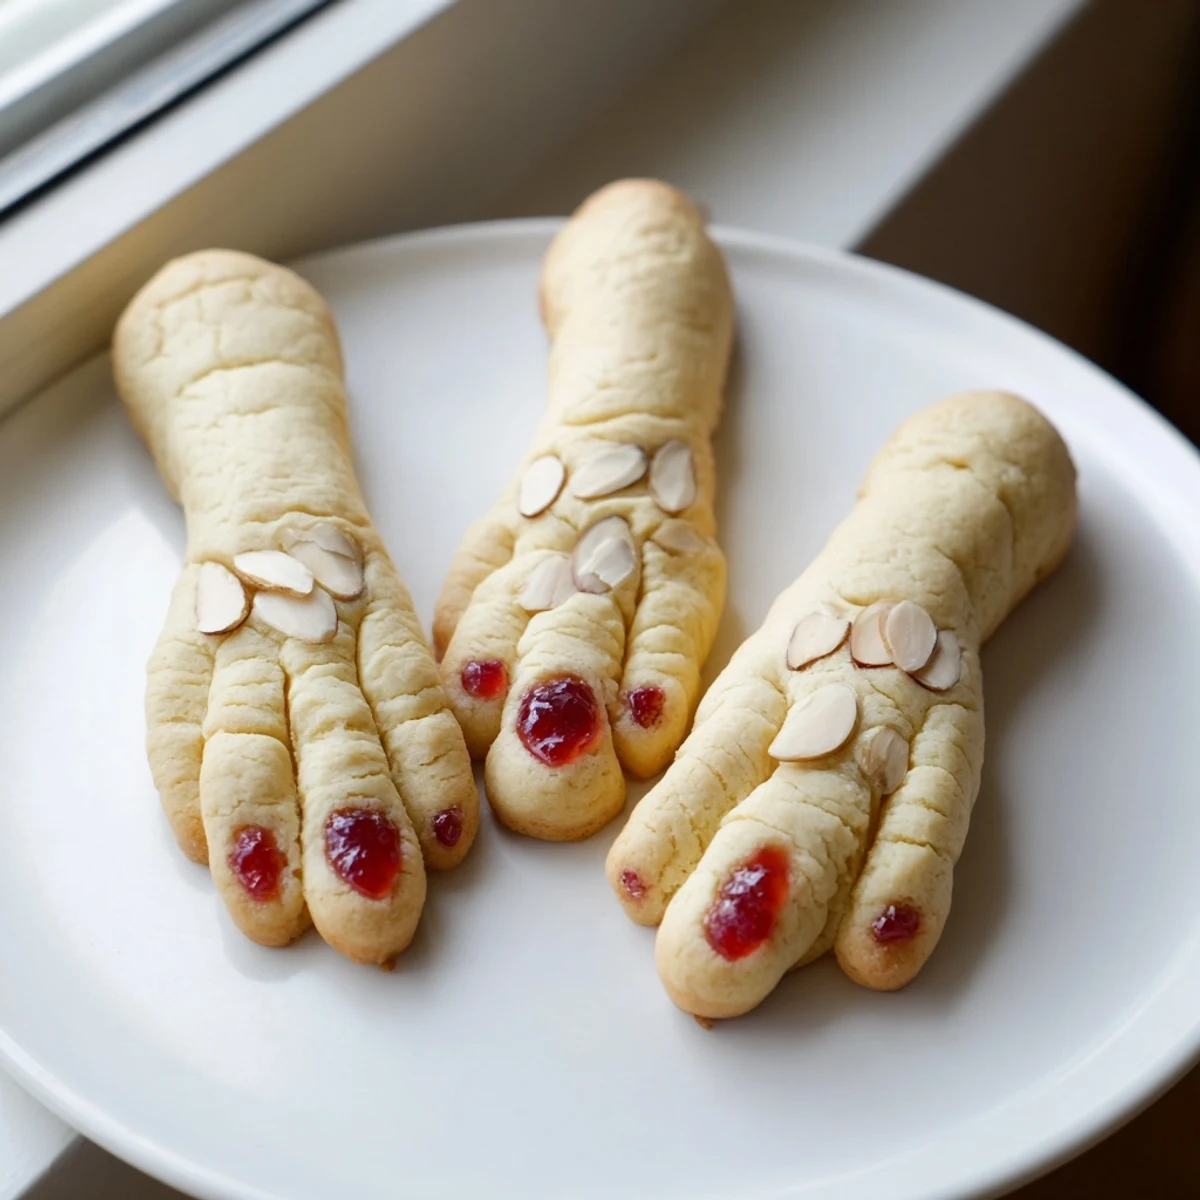
Strawberry jam creates the most disturbingly realistic effect but it can get sticky in humid weather. Gel food coloring dries better and stays put longer which matters if you are serving these outdoors or transporting them to a party. I keep both on hand now and choose based on where the cookies will be displayed.
Serving Ideas That Maximize The Scares
These cookies work best when they catch people off guard completely. Last year I served them on a platter surrounded by regular cookies so guests did not notice until they were already reaching for one. The double take moment is absolutely worth the effort.
- Arrange them in a glass jar labeled separately for maximum horror movie vibes
- Stack them in a serving bowl with Halloween candy to hide them at first glance
- Place one prominently on each dessert plate as a garnish that guests discover last
 Pin It
 These witch fingers have become such a Halloween tradition that I cannot imagine October without them anymore. Hope they bring as many delighted screams to your kitchen as they have to mine.
Recipe FAQs
- → How far in advance can I make these witch finger cookies?
-
You can prepare the dough up to 2 days ahead and store it refrigerated. Shape and bake when ready. Once baked, the cookies keep well in an airtight container for up to 5 days, making them perfect for preparing before Halloween parties.
- → What can I use instead of almonds for the fingernails?
-
If you need to avoid tree nuts, try using slivered almonds, pine nuts, or even candy corn pieces cut to size. For a completely nut-free option, shape small amounts of dough into nail shapes and tint them with food coloring, or use white chocolate chips.
- → Can I freeze the dough or baked cookies?
-
Absolutely! Freeze the shaped, raw fingers on a baking sheet until firm, then transfer to a freezer bag for up to 3 months. Bake from frozen, adding 2-3 minutes to the baking time. Baked cookies also freeze well—just add the bloody decoration after thawing.
- → How do I get the knuckle details to look realistic?
-
Use the back of a small knife to make shallow horizontal lines where the knuckles would be. Don't press too deep or the dough might crack. Slightly flattening each joint while shaping also adds to the creepy effect.
- → What's the best way to apply the bloody nail effect?
-
Remove the almond fingernail immediately after baking while the cookie is still warm. Brush red gel food coloring or strawberry jam onto the indented area, then gently press the almond back into place. The warmth helps the coloring set and the almond adhere better.
- → Can I make these cookies gluten-free?
-
Yes! Substitute the all-purpose flour with a 1:1 gluten-free flour blend that contains xanthan gum. The texture will be slightly different but still delicious. Ensure all other ingredients, including the almond extract, are certified gluten-free.
