 Pin It
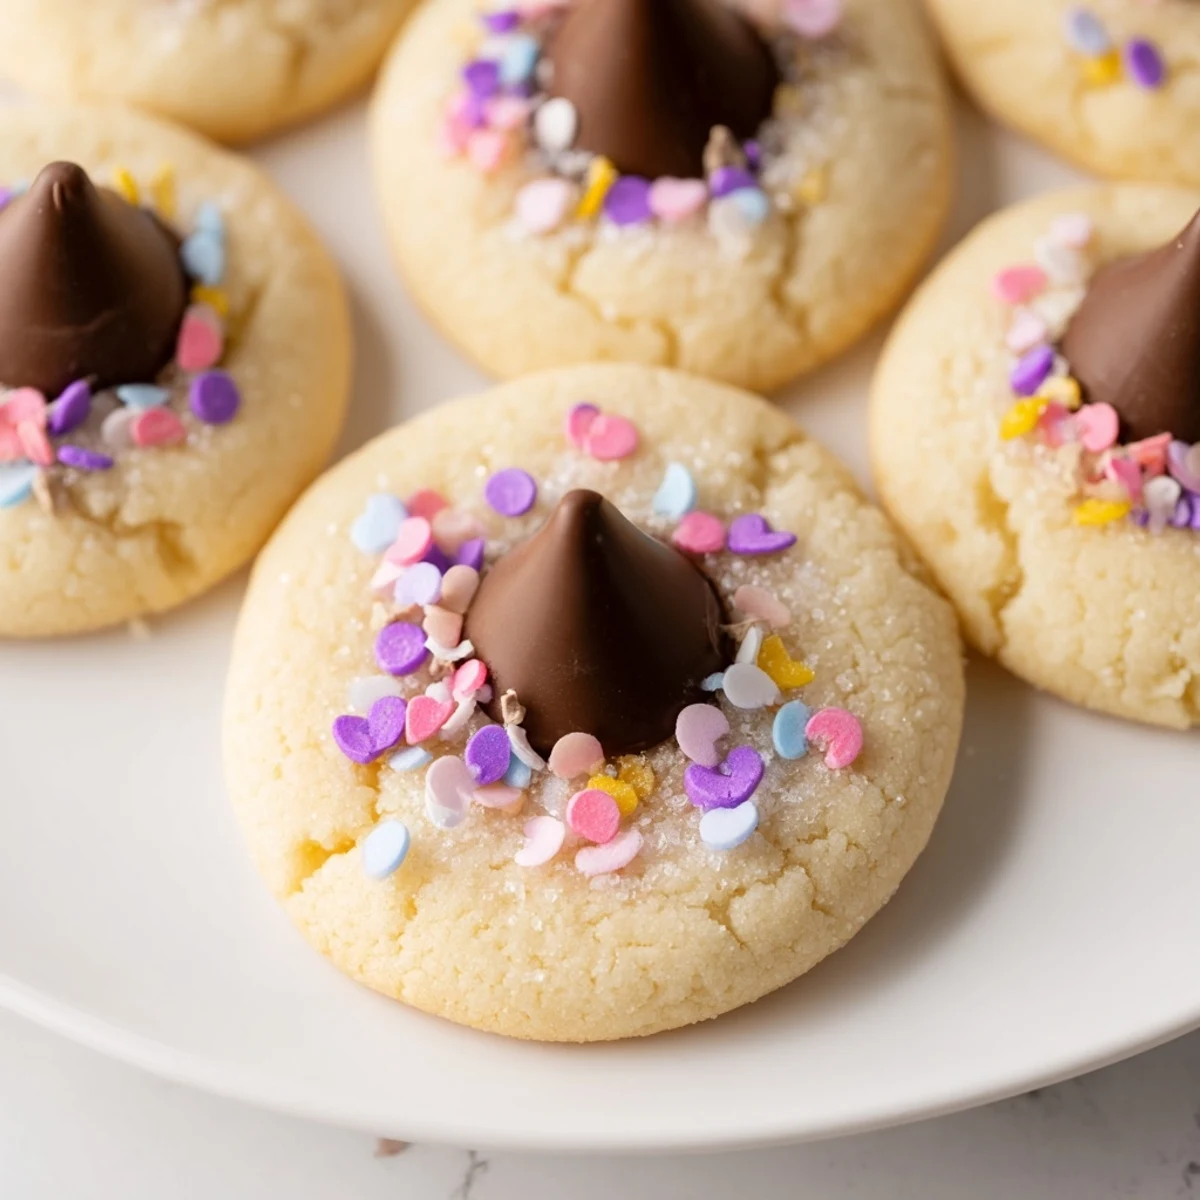
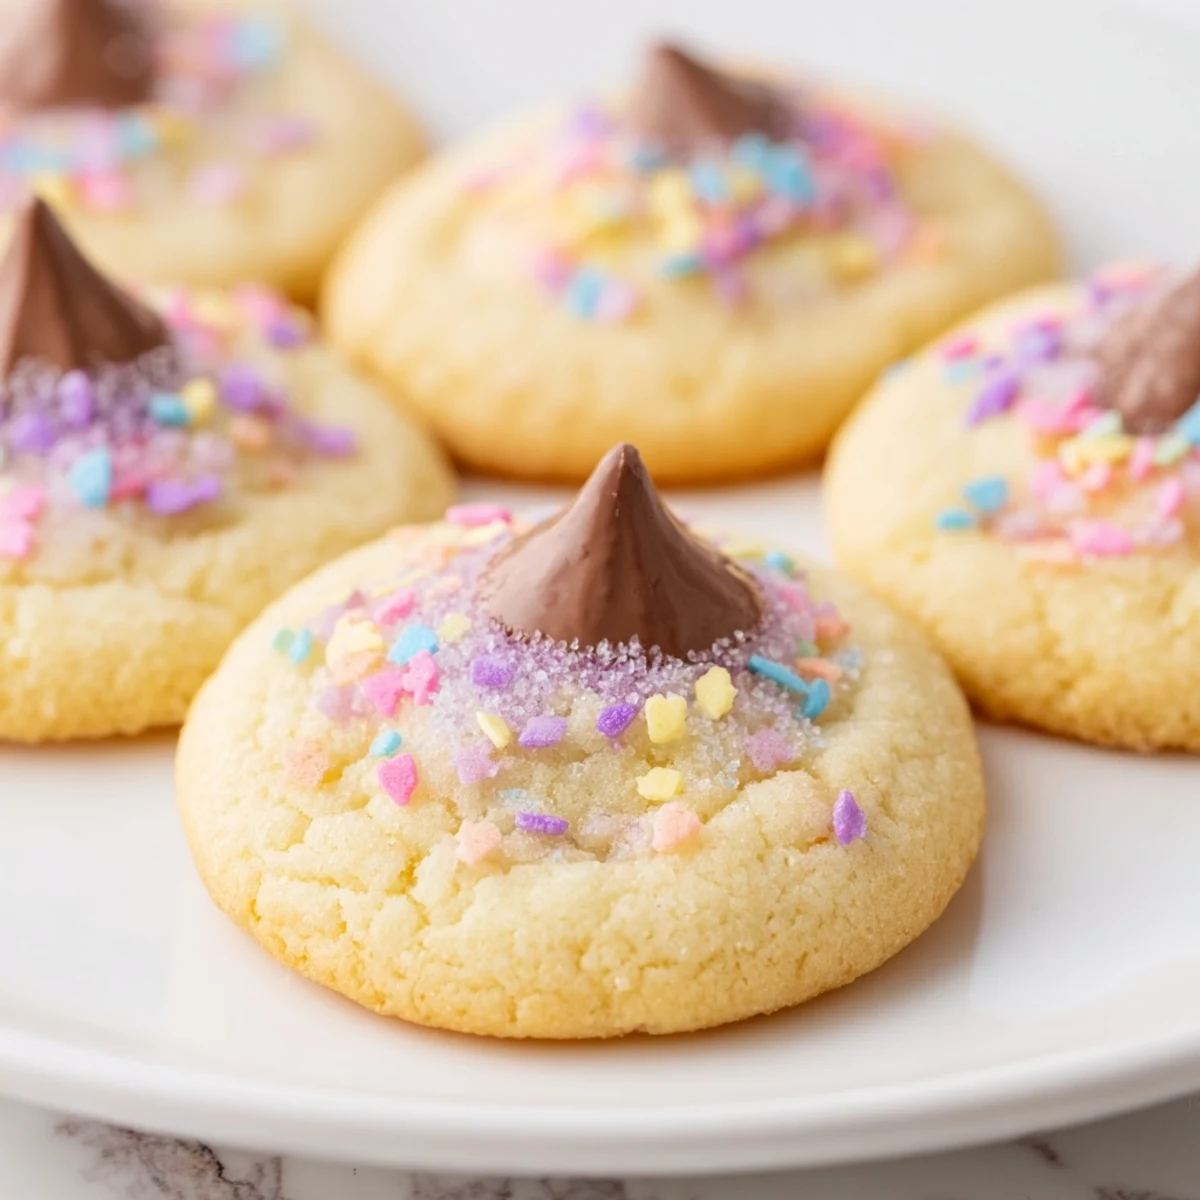
 These soft, buttery blossom cookies feature a classic sugar cookie base rolled in pastel sprinkles and topped with melted chocolate kisses. The 30-minute process includes creaming butter and sugar, forming smooth dough balls, and pressing the chocolate centers immediately after baking while edges are set but centers remain soft.
Variations include white chocolate or caramel-filled kisses, while chopped pistachios add a nutty dimension. Store in an airtight container for up to a week, making these ideal for preparing ahead of Easter celebrations or spring parties.
The first time I made these was actually by accident—I’d grabbed the wrong bag of what I thought were regular chocolate chips, only to discover they were those blossom kisses my aunt had gifted me. But let me tell you, that happy mistake turned into our family’s most requested Easter treat. Now I can’t imagine spring without them.
Last Easter, my daughter insisted on helping with the sprinkles part. Let’s just say the kitchen looked like a pastel confetti bomb went off, and we were finding sprinkles in unexpected places for weeks. But those slightly messy, over-sprinkled cookies disappeared faster than any perfectly uniform batch I’ve ever made.
Ingredients
- Unsalted butter: Room temperature is non-negotiable here—cold butter creates sad, dense cookies that won’t spread properly
- Granulated sugar: Creates that crisp edge while keeping centers soft and tender
- Large egg: Bind everything together and adds richness
- Pure vanilla extract: Don’t skimp—the real stuff makes these taste bakery-quality
- All-purpose flour: The structure builder, but don’t overmix or you’ll have tough cookies
- Salt: Even a tiny amount makes the chocolate pop
- Baking powder: Gives them that slight lift and puff
- Chocolate blossom kisses: The crowning glory—unwrap them beforehand so you’re not scrambling when hot cookies come out
- Pastel sprinkles or sanding sugar: Purely for joy and spring vibes
Instructions
- Get your oven ready:
- Preheat to 350°F and line your baking sheets with parchment paper—trust me, cleanup will thank you later
- Make the butter magic happen:
- Beat that butter and sugar until it’s pale and fluffy, like cloud fluff, about 3-4 minutes
- Add the wet ingredients:
- Crack in the egg and pour in vanilla, mixing until everything’s friends
- Whisk the dry team:
- In another bowl, combine flour, salt, and baking powder so they’re evenly distributed
- Bring it together:
- Gradually add dry ingredients to wet, mixing just until you don’t see flour streaks anymore
- Roll and decorate:
- Scoop tablespoon-sized dough balls, roll them smooth, then coat in sprinkles for that festive sparkle
- Space them out:
- Place dough balls 2 inches apart on your prepared sheets—they need room to spread
- Bake to perfection:
- Pop in the oven for 8-10 minutes until edges are set but centers still look slightly underbaked
- The crucial moment:
- Immediately press a chocolate kiss into each warm cookie center—gently but firmly
- Let them set:
- Cool on the tray 5 minutes so the chocolate settles, then move to a wire rack
 Pin It
 My neighbor asked for the recipe after trying one at our block party. She admitted she’d eaten three before even asking what they were called, which I consider the highest compliment possible.
Making Them Your Own
I’ve experimented with different kiss flavors—white chocolate creates this gorgeous contrast, while caramel-filled ones surprise everyone with that gooey center. Last year I even tried dark chocolate blossoms and that became a new favorite.
Sprinkle Strategy
After several batches, I learned that rolling the dough balls in sprinkles before baking works way better than adding them after. The sprinkles actually bake into the surface slightly instead of falling off everywhere.
Storage And Sharing
These keep surprisingly well in an airtight container for up to a week, though they rarely last that long in my house. I’ve started making double batches just to ensure there are enough for gifting.
- Package a few in clear bags tied with pastel ribbon for instant Easter gifts
- Freeze the dough balls unbaked if you want fresh cookies later
- The chocolate kisses might get a little bloom on them after storage but taste exactly the same
 Pin It
 There’s something about biting into that soft, vanilla-scented cookie and hitting the chocolate center that just feels like celebration. Wishing you the happiest, sprinkle-filled spring baking.
Recipe FAQs
- → Why press the chocolate kisses in immediately after baking?
-
The centers remain soft enough to create an indentation without cracking the cookie. The residual heat helps the chocolate adhere and settle into the dough properly.
- → Can I make the dough ahead of time?
-
Yes, refrigerate the dough balls for up to 24 hours before baking. Let them sit at room temperature for 10 minutes before placing in the oven.
- → What if I don't have pastel sprinkles?
-
Colored sanding sugar, nonpareils, or even a light egg wash with edible glitter work beautifully for that festive spring appearance.
- → How do I prevent the chocolate from melting completely?
-
Press the kisses gently but firmly into warm cookies, not hot ones. Let them cool on the baking sheet for 5 minutes to set the chocolate structure.
- → Can I freeze these cookies?
-
Freeze unbaked dough balls for up to 3 months. Bake frozen dough adding 1-2 minutes. Baked cookies freeze well for 1 month in freezer-safe containers.
- → What other chocolate candies work as centers?
-
Mini peanut butter cups, chocolate eggs, Rolos, or square chocolates like Dove Promises create fun variations while maintaining the blossom effect.
