 Pin It
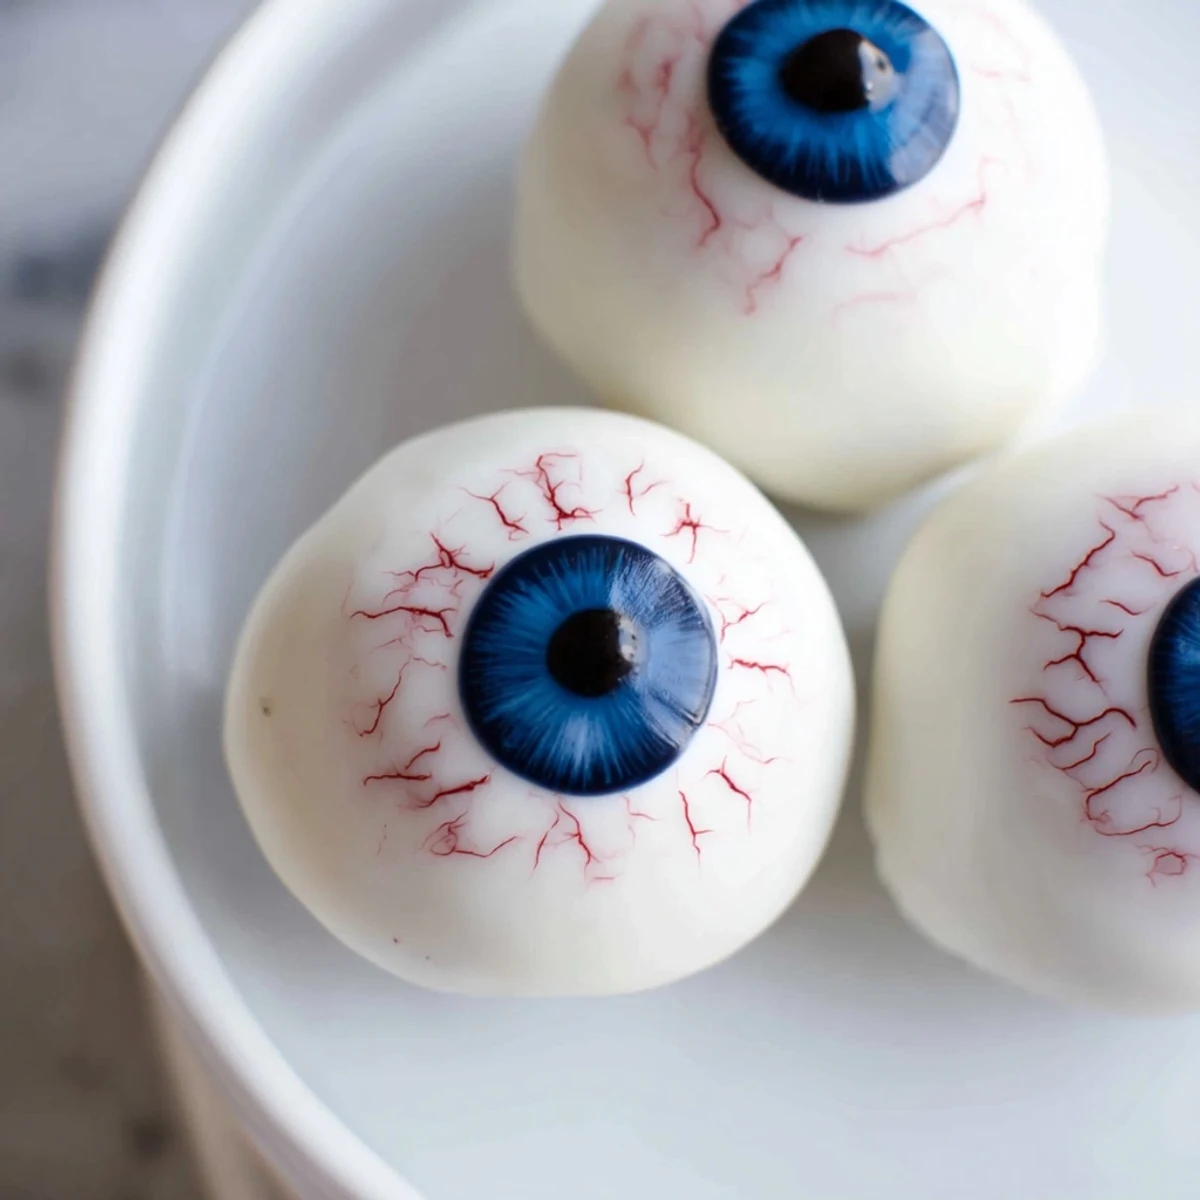
 These spooky Halloween eyeballs combine crumbled vanilla cake with rich cream cheese frosting, hand-rolled into spheres and dipped in white chocolate. The edible irises use colored candy melts while dark chocolate pupils and red gel veins create that authentic creepy gaze. Each bite delivers moist cake interior beneath a crisp chocolate shell, making them irresistible centerpieces for any Halloween gathering.
My daughter's preschool Halloween party changed everything about how I approach spooky treats. Another mom brought these eyeball cake pops and I swear, even the three-year-olds who normally refuse anything 'scary' couldn't resist grabbing them. The way those colorful irises seemed to follow you around the room was absolutely brilliant.
Last October, I made three batches back-to-back because my coworkers kept 'accidentally' eating the display samples. One person literally asked if I could make them for their birthday instead of a regular cake. Now they're my most requested Halloween treat by far.
Ingredients
- Vanilla cake mix: Box mix works perfectly here, though homemade vanilla cake crumbles beautifully too
- Eggs: Room temperature eggs blend more smoothly into your cake batter
- Cream cheese: Soften this completely or you'll get lumpy frosting that won't bind properly
- White chocolate: Candy melts coat more evenly than regular white chocolate chips
- Colored candy melts: Blue and green create the most realistic-looking irises
- Red decorating gel: The veins are what makes these truly unsettling and amazing
Instructions
- Bake your base:
- Preheat oven to 180°C and prepare the vanilla cake according to package directions. Let it cool completely before touching it.
- Create the filling:
- Beat cream cheese, butter, powdered sugar, and vanilla extract until you have a silky smooth frosting.
- Form the eyeballs:
- Crumble the cake into fine crumbs, mix with frosting until it holds together, then roll into 24 balls. Freeze for 20 minutes so they firm up.
- Add the white coating:
- Melt white chocolate gently and dip each ball until fully coated. Place them back on the tray and work quickly before the coating sets.
- Create the irises:
- While the white layer is still soft, add a colorful circle in the center using blue or green candy melts.
- Finish with pupils:
- Once the irises set, add a dark chocolate dot for the pupil. Draw red veins around the edges with decorating gel.
 Pin It
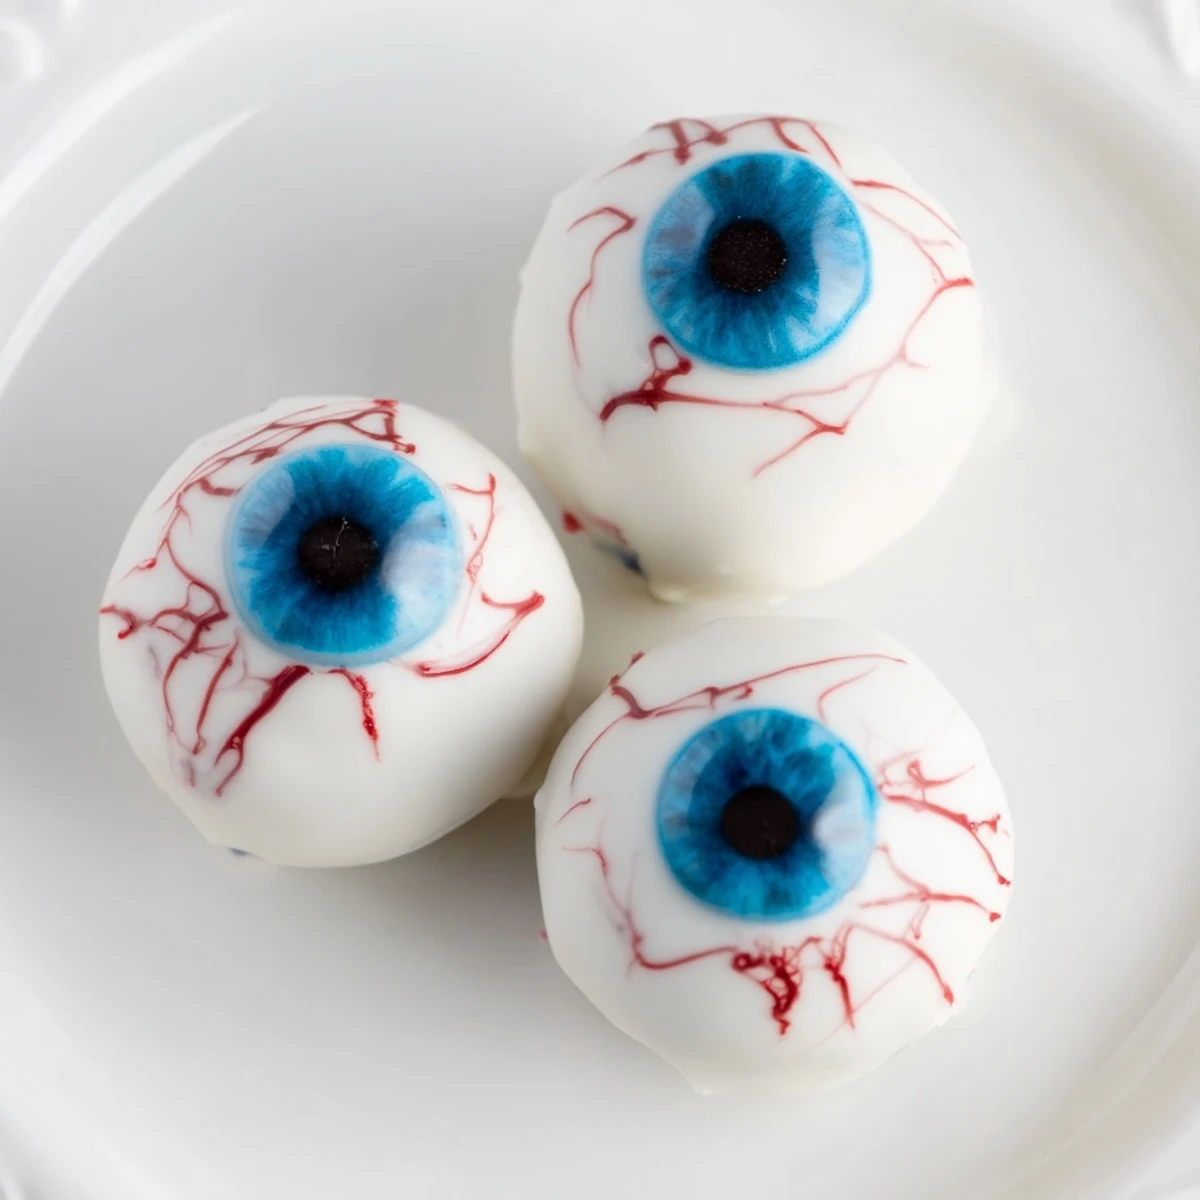
 The first time I made these, I drew the veins too thick and they looked more like bloodshot eyes than spooky Halloween treats. Practice definitely makes perfect with that decorating gel.
Making Them Ahead
I've learned these actually taste better after sitting overnight in the fridge. The flavors meld together and the coating firms up perfectly. Store them in an airtight container between layers of parchment paper.
Flavor Variations
Chocolate cake crumbs with mint filling creates a completely different vibe that's equally delicious. Lemon cake with cream cheese frosting tastes unexpectedly sophisticated underneath all that spooky decoration.
Decoration Tips
The veins are everything when it comes to selling the creepy factor. Keep your lines thin and slightly uneven for that authentic bloodshot eye look.
- Use a toothpick to smooth out any drips in the white coating before it hardens
- Warming your decorating gel slightly in the microwave makes drawing veins so much easier
- Let each layer set completely before moving to the next step or everything smears together
 Pin It
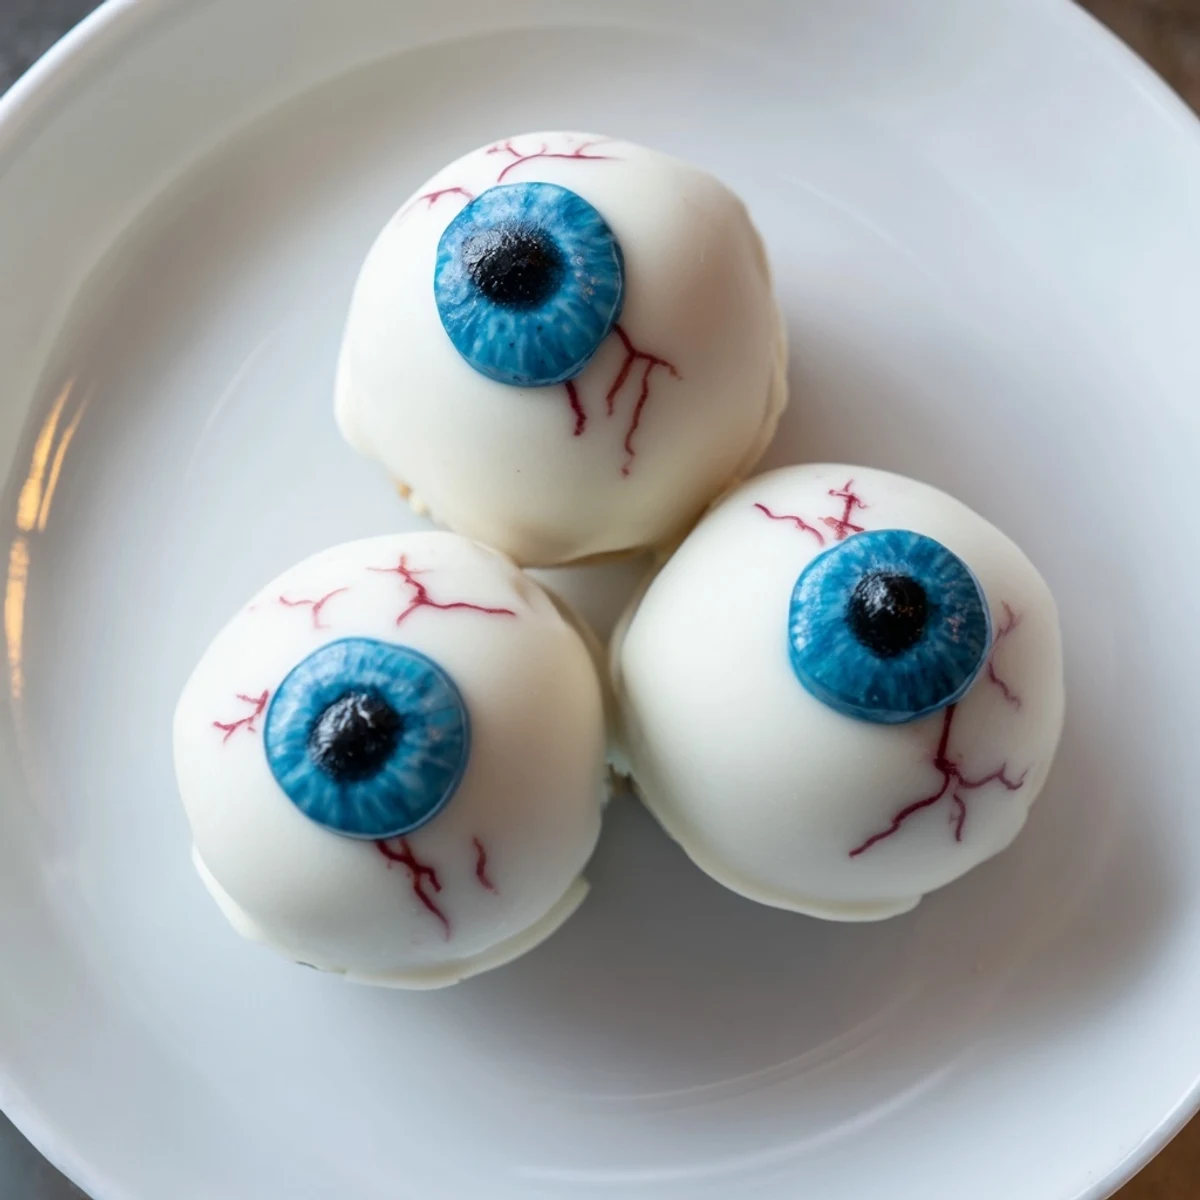
 Watch people's faces when they realize what they're eating—it's the best part of making these every single year.
Recipe FAQs
- → How far ahead can I make these Halloween eyeballs?
-
Prepare the cake balls up to 3 days ahead and store in an airtight container in the refrigerator. The chocolate coating stays fresh and the cake remains moist. Add the red gel veins on the day of serving for the freshest appearance.
- → Can I use different cake flavors instead of vanilla?
-
Absolutely! Chocolate cake creates dramatic dark eyeballs, red velvet adds a bloody touch, or funfetti brings colorful specks. Just ensure whatever cake you use is fully cooled before crumbling and mixing with frosting.
- → What's the best way to melt the chocolate for coating?
-
Melt white chocolate in 30-second intervals in the microwave, stirring between each burst. Alternatively, use a double boiler over gently simmering water. The key is melting slowly to prevent seizing, which makes dipping difficult.
- → Do I need cake pop sticks for these eyeballs?
-
Sticks are optional. The eyeballs work perfectly as bite-sized balls on a serving platter. If you prefer traditional cake pops, insert sticks before chilling and use styrofoam blocks to hold them upright while the chocolate sets.
- → How can I make these vegan or allergy-friendly?
-
Use vegan cake mix and plant-based cream cheese alternatives. Swap butter for vegan spread. Ensure your candy melts are dairy-free—many dark chocolate varieties naturally work. The result stays just as spooky and delicious.
- → Why did my chocolate coating crack after dipping?
-
Cracking happens when the cake balls are too cold. Let them sit at room temperature for 5-10 minutes after freezing before dipping. Also, ensure the chocolate isn't too hot—slightly warm, fluid chocolate coats smoothly without thermal shock.
