 Pin It
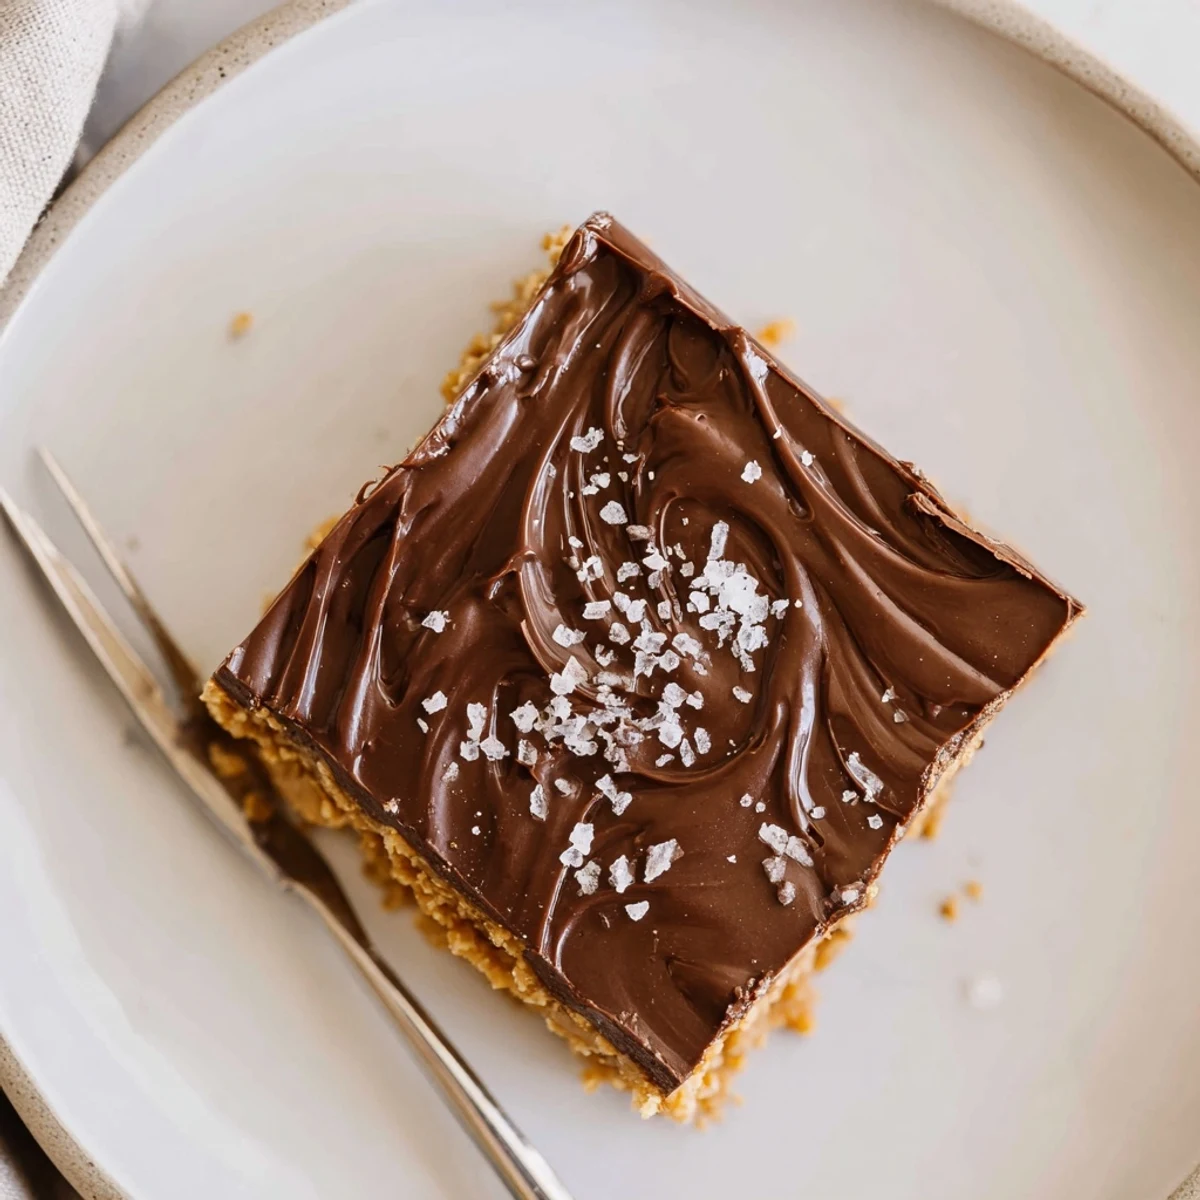
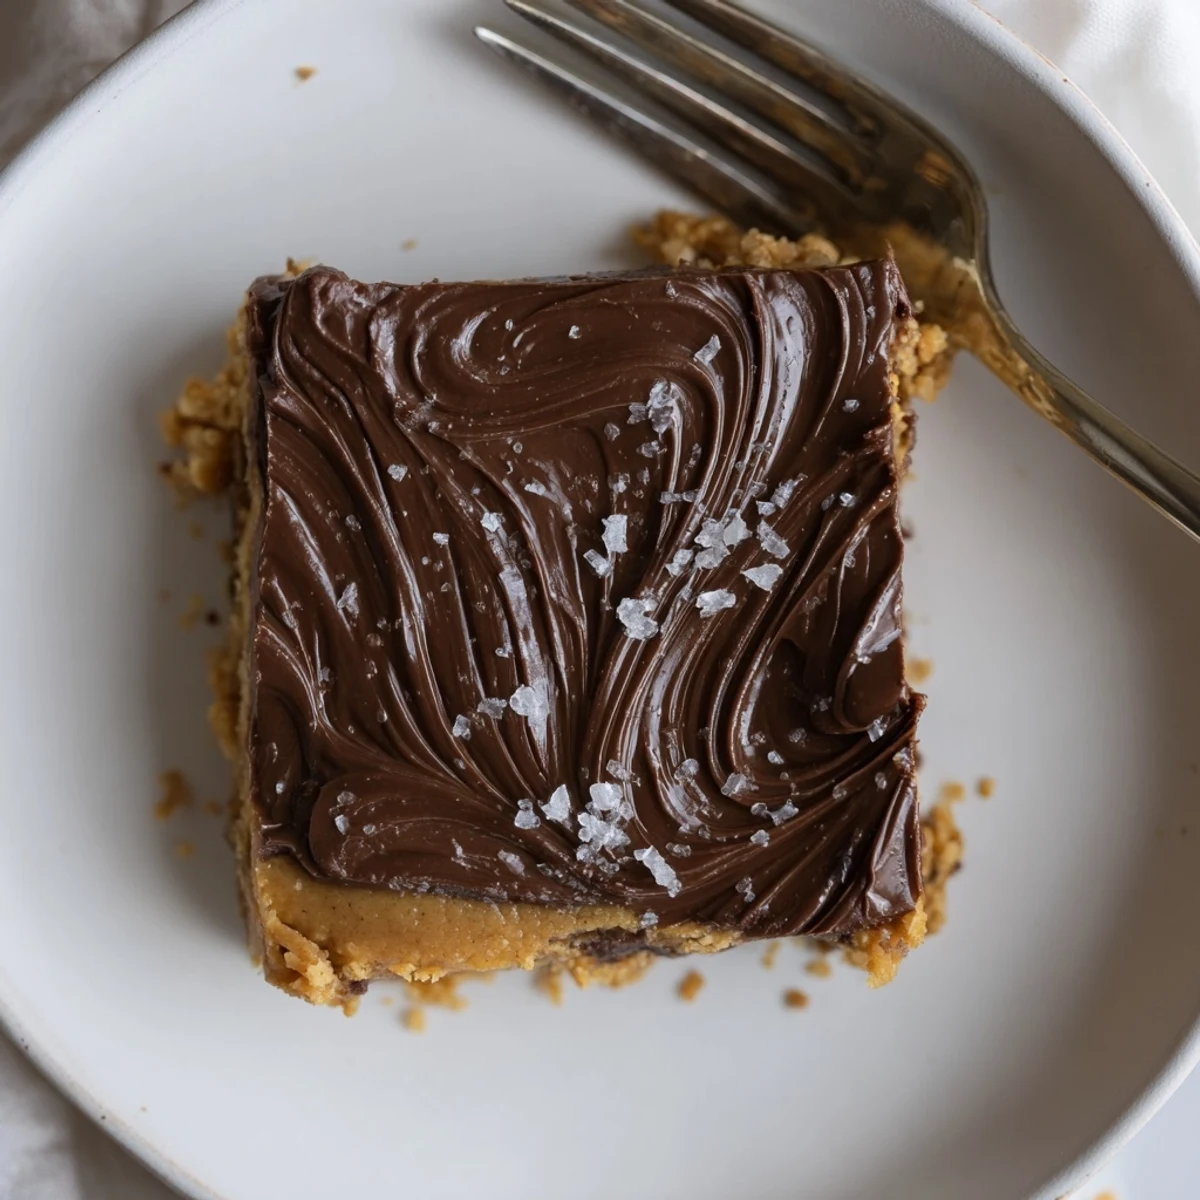
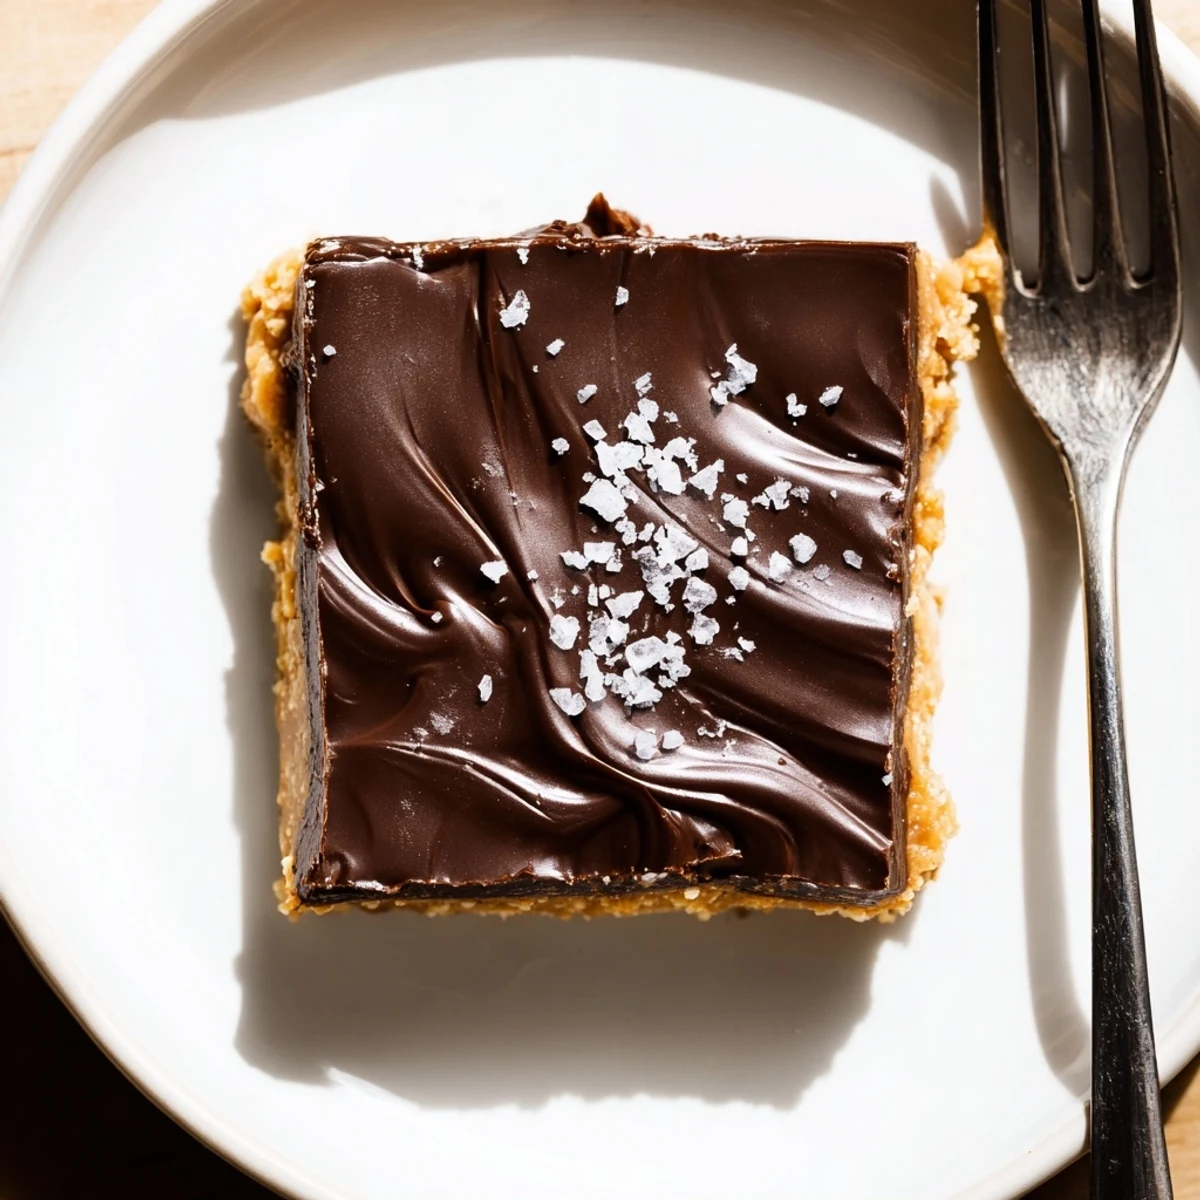
 Combine melted butter and creamy peanut butter, stir in powdered sugar, graham crumbs and vanilla to form a firm base; press into an 8x8 pan. Melt chocolate with a touch of peanut butter, spread over base, then chill at least 2 hours until set. Slice into 16 bars. Variations: use chunky peanut butter or add sea salt to enhance contrast; swap graham crackers for gluten-free cookies.
The first time I put together these No Bake Peanut Butter Bars it was a spontaneous grab-everything-from-the-cupboard kind of afternoon. The hum of the fridge, the satisfying thud as graham crackers became crumbs, and, honestly, a sprinkle of impatience waiting for them to chill—these bars came together before I had time to overthink. The kitchen smelled like nostalgia and movie nights, even though it was just an ordinary Tuesday. Just knowing there wouldn’t be an oven involved made it feel especially daring for me, a notorious burner of cookies.
One summer, with fans spinning and friends sprawled across every patch of couch, I made a double batch of these. We argued over corners versus center pieces as the chocolate set, half out of impatience and half because someone kept sneaking tastes from the fridge. The still-warm bowl of melted chocolate was nearly as popular as the finished bars.
Ingredients
- Creamy peanut butter: Gives the bars their classic texture—if it’s too stiff, a quick stir before measuring saves arm work later.
- Unsalted butter, melted: Blends everything together and keeps the flavor balanced—don’t be tempted to swap for margarine, you’ll notice the difference.
- Powdered sugar: Fine texture means it dissolves right in, leaving no sandy crunch—sift if it looks lumpy.
- Graham cracker crumbs: Brings that signature chew—crush them by hand for a rustic touch or go super-fine for a cheesecake-like base.
- Vanilla extract: Just a half teaspoon brings out all the other flavors—don’t skip even if it seems minor.
- Semi-sweet chocolate chips: Melts just right for a shiny, snappy topping—chop a bar if you like less sweetness.
- Additional creamy peanut butter (for topping): Swirls into the chocolate so it sets softer and slices smooth—room temperature blends best.
Instructions
- Prep your pan:
- Grab an 8x8 inch pan and line it with parchment, letting the edges hang over for easy lifting—it’ll save you the headache of stuck bars later.
- Mix base layers:
- Stir together melted butter and a full cup of peanut butter in a big bowl until it’s creamy and glossy, releasing a wave of that roasted peanut scent.
- Combine dry ingredients:
- Add powdered sugar, graham cracker crumbs, and vanilla; stir until everything’s thick and doughy—hands in if it gets stubborn.
- Fill the pan:
- Press the base firmly and as evenly as you can into the pan, smoothing the top with a spatula, and try not to ‘taste test’ too much at this stage.
- Make the topping:
- Melt chocolate chips with the extra peanut butter in the microwave (30-second bursts!) or over low heat, stirring until shiny and smooth.
- Spread and chill:
- Pour the chocolate-peanut mixture over the base, spread to the corners, and slide it into the fridge for at least two hours—resist peeking.
- Unmold and slice:
- Once set, use the parchment overhang to lift the bars out, then slice into generous squares—clean knife equals smooth edges!
 Pin It
 There’s a picture on my phone: my sister, chocolate smudged on her face, reaching for “just one more” bar before they’d fully chilled. That was the moment I realized these bars had officially left the snack realm and entered family legend territory.
Creative Swaps and Add-Ins
I once threw in a handful of chopped roasted peanuts for extra crunch, and it made each bite surprising in the best way. You could easily riff on the base, using a mix of chocolate cookies or even a pinch of cinnamon for warmth. Just keep an eye on the texture—if your additions dry it out, splash in a little extra butter.
How to Store and Serve
They keep beautifully in a fridge-tight container for a full week, though they probably won’t last that long. I’ve layered them between bits of wax paper to take on road trips, and they’re just as irresistible at room temp. Slice small for a sweet bite after lunch, or go bold with big squares if no one’s watching.
Troubleshooting and Quick Fixes
If your bars are too soft, a longer chill usually fixes them, but don’t panic if you sneak one early. When the chocolate layer cracks while slicing, just let them rest out of the fridge for five minutes before cutting—they’ll behave better that way. And if you’re out of graham crackers, digestive biscuits work in a pinch, just whiz them in a food processor first.
- Test your knife for stickiness with hot water before slicing.
- Line the pan fully so nothing sticks.
- Taste a little pinch of sea salt on top—your future self will thank you.
 Pin It
 These bars are my emergency solution for dessert cravings and last-minute get-togethers. They’re as fun to make as they are to eat—messy fingers, happy faces, and all.
Recipe FAQs
- → How long should they chill before cutting?
-
Refrigerate for at least 2 hours so the layers firm up; for cleaner slices chill longer or briefly freeze before cutting.
- → Can I use crunchy peanut butter for a textural boost?
-
Yes—chunky peanut butter adds crunchy pockets; alternatively stir in chopped roasted peanuts into the base for extra bite.
- → What’s the best way to melt the chocolate topping?
-
Melt in 30-second microwave bursts, stirring between intervals, or use a double boiler over gently simmering water to avoid burning.
- → Can these be frozen for longer storage?
-
Freeze in an airtight container with parchment layers for up to 2 months. Thaw in the refrigerator before serving to maintain texture.
- → How can I make them gluten-free?
-
Replace graham crackers with certified gluten-free cookie crumbs or similar gluten-free crunchy biscuits for the same base structure.
- → Any finishing touches to elevate flavor?
-
Sprinkle a pinch of flaky sea salt on the chocolate layer, or drizzle extra melted peanut butter for visual appeal and a flavor lift.
