 Pin It
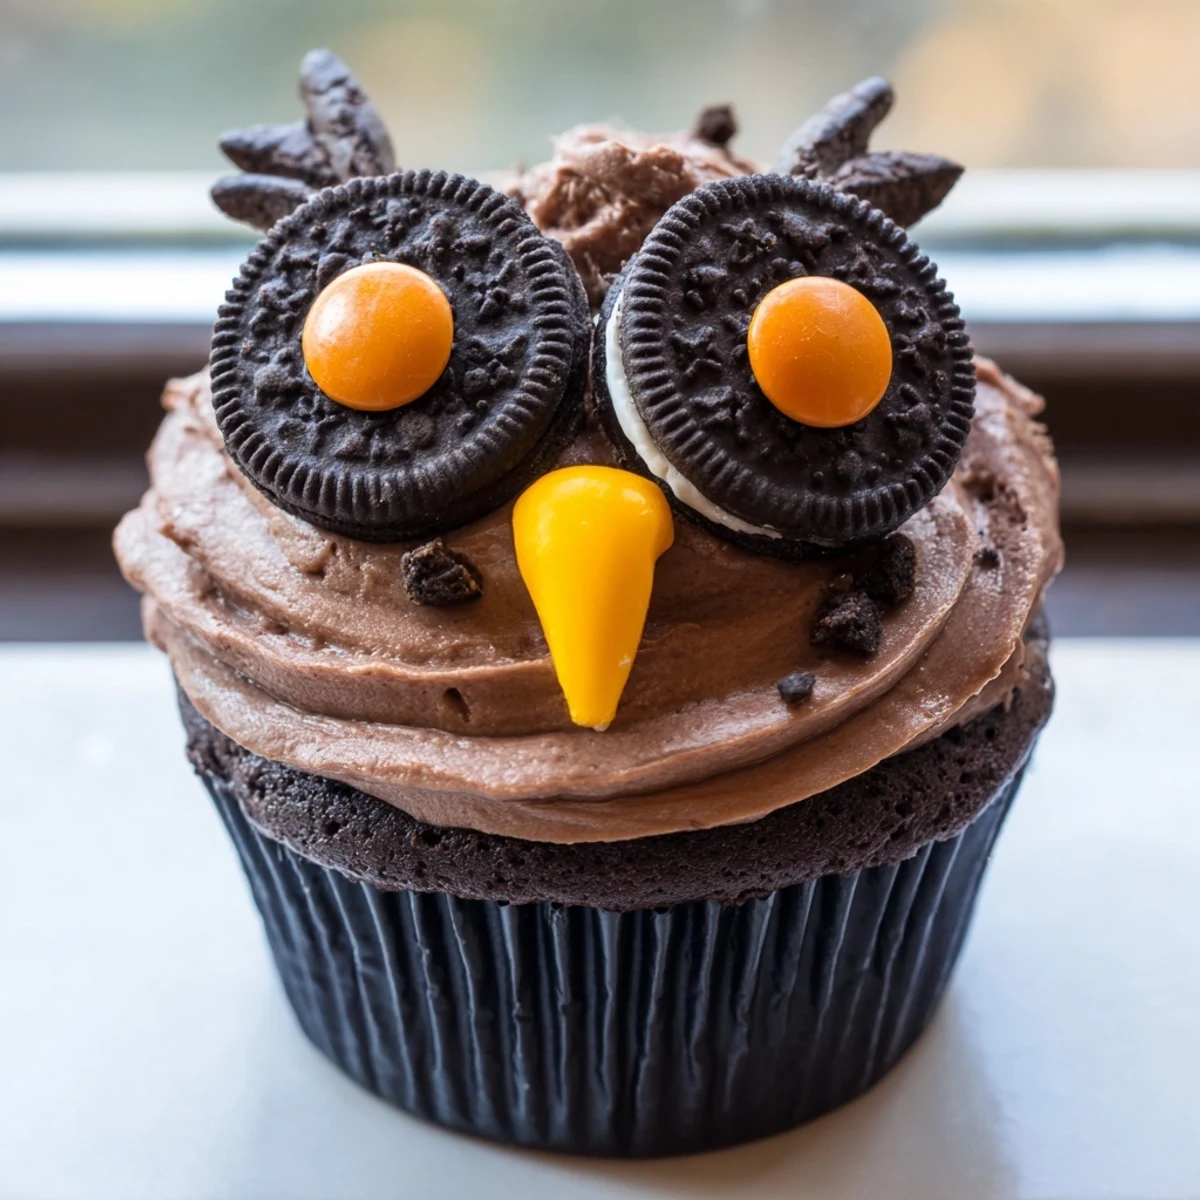
 These charming chocolate cupcakes transform into whimsical owls with creamy frosting and clever Oreo decorations. The rich chocolate base pairs perfectly with smooth buttercream, while cookie halves create adorable eyes and candy pieces add expressive details. Ready in just 38 minutes, these treats bring playful elegance to birthdays, Halloween parties, or any gathering calling for something special.
My daughter came home from school last month clutching a crumpled drawing of what she called an owl cupcake. Her eyes were huge. We spent that rainy Tuesday afternoon covered in flour, experimenting until these little chocolate owls emerged from the oven. Now theyre her go-to request for every class celebration.
Last weekend, I made three dozen for my nieces birthday. The best moment was watching six grown adults argue over whose owl had the cutest expression. Something about those candy eyes turns ordinary cupcakes into conversation starters.
Ingredients
- All-purpose flour: The structure that holds all that chocolate goodness together without getting dense
- Unsweetened cocoa powder: I use Dutch-processed for that deep, dark color that looks so striking against white frosting
- Baking powder and baking soda: Both are non-negotiable for getting that perfect dome instead of flat sad muffins
- Eggs: Room temperature eggs blend better and give you that bakery-style crumb
- Granulated sugar: Dont reduce this—sugar keeps these cupcakes tender, not just sweet
- Milk: Whole milk creates a richer cupcake, but any percentage works here
- Vegetable oil: Oil keeps cupcakes moist longer than butter would
- Vanilla extract: Pure vanilla makes everything taste more expensive
- Unsalted butter: Let this soften completely or your frosting will be full of stubborn lumps
- Powdered sugar: Sift it first or youll spend ten minutes fishing out clumps
- Double-stuffed Oreos: The extra cream stands up better when you twist them apart
- Brown and orange candies: M&Ms or Reese's Pieces work perfectly for eyes and beaks
Instructions
- Get your oven ready:
- Preheat to 350°F and line your muffin tin with paper liners while the oven does its thing
- Mix the dry team:
- Sift flour, cocoa powder, baking powder, baking soda, and salt into a medium bowl—this step prevents those dreaded white powder pockets in your finished cupcakes
- Whisk the wet ingredients:
- Beat eggs and sugar until they look pale and fluffy, then stir in milk, oil, and vanilla until everything plays nice together
- Bring it all together:
- Fold the dry mixture into the wet ingredients slowly—overmixing makes tough cupcakes, so stop as soon as you no longer see dry flour
- Bake them up:
- Divide batter among the liners and slide them into the oven for 16 to 18 minutes, checking with a toothpick to make sure theyre done in the center
- Make the frosting magic:
- Beat butter until its smooth and creamy, then gradually work in powdered sugar and cocoa powder before adding vanilla and just enough milk to make it spreadable
- Frost and decorate:
- Cover each cooled cupcake with a generous swirl of frosting, then twist those Oreos apart and place two cream-side-up halves for eyes on each one
- Add the personality:
- Press brown candies onto the cream circles for pupils and position an orange candy below for the beak—maybe give a couple owls raised eyebrows using leftover cookie halves if you're feeling fancy
 Pin It
 My neighbor's daughter asked if she could take an owl cupcake home to show her mom. She carried it in both hands like it was a baby bird. That's when I realized these aren't just dessert—they're tiny edible art that makes people smile before they even take a bite.
Making These Ahead
I bake the cupcakes a day before decorating and store them in an airtight container on the counter. The frosting actually tastes better after sitting overnight, and the decorating goes so much faster when you aren't rushing between baking and frosting.
Customization Ideas
Sometimes I use vanilla cupcakes instead of chocolate when I want the decorations to stand out even more. White frosting with candy eyes against a pale cupcake looks almost ghostly in the best way.
Storage And Serving
These owl cupcakes are best eaten within two days, though they rarely last that long in my house. Keep them at room temperature since the frosting contains butter—refrigeration makes the cake dry and the frosting hard.
- Place cupcakes in a single layer when storing so the decorations don't get squished
- If you must stack them, use a sturdy container with parchment paper between layers
- Let refrigerated cupcakes sit out for 30 minutes before serving so the frosting softens up
 Pin It
 There's something纯粹 joyful about serving food with a face. These owl cupcakes turn any ordinary Tuesday into a tiny celebration worth remembering.
Recipe FAQs
- → Can I use vanilla cupcakes instead of chocolate?
-
Absolutely! Vanilla cupcakes work wonderfully as a base. The chocolate frosting and Oreo decorations will still create those charming owl features while offering a lighter flavor profile.
- → How should I store these decorated cupcakes?
-
Keep them in an airtight container at room temperature for up to 2 days. For longer storage, refrigerate for 4-5 days, though the candy eyes may slightly condense. Bring to room temperature before serving for best texture.
- → What if I can't find double-stuffed Oreos?
-
Regular Oreos work perfectly fine! The cream filling still adheres well to create those expressive eyes. You might need to be slightly more gentle when twisting them apart to keep the cream intact.
- → Can I make these ahead of time?
-
Bake and frost cupcakes a day ahead, but add the Oreo decorations within 4-6 hours of serving. The cookie moisture can soften over time, so fresh assembly keeps those owl features crisp and delightful.
- → What alternatives work for the candy eyes and beaks?
-
Chocolate chips, raisins, or fondant circles can substitute for pupils. Orange slices, gumdrops cut into triangles, or even carrot shapes work for beaks. Get creative with whatever you have available!
- → Why did my cupcakes turn out dense?
-
Overmixing the batter can create dense texture. Stir dry ingredients just until incorporated—some small lumps are fine. Also ensure your baking powder and soda are fresh for proper lift.
