 Pin It
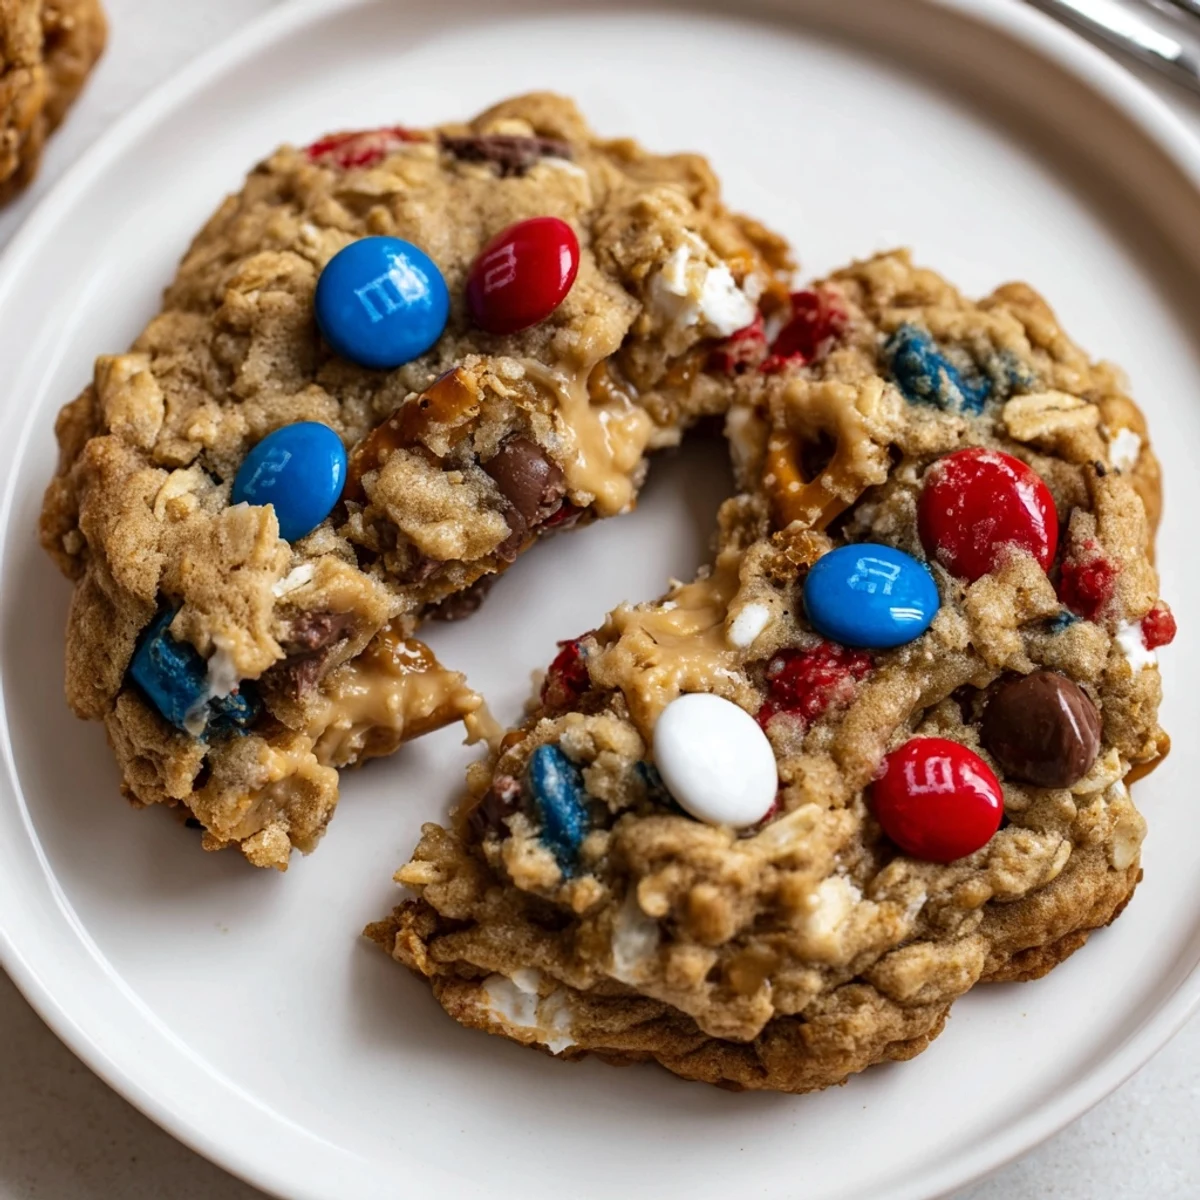
 These chewy Patriotic Monster Cookies combine old-fashioned oats, creamy peanut butter, semisweet chips and red, white, and blue chocolate candies for a celebration-ready treat. Cream butter and sugars, beat in peanut butter and eggs, fold in dry mix and add-ins, scoop onto lined sheets and bake 10–12 minutes at 350°F. Yield: about 24 cookies; underbake slightly for extra chew and cool on the sheet.
The first batch of these Patriotic Monster Cookies came to life on a muggy July afternoon, when neighborhood laughter filtered in through open windows and left stripes of sunlight on my countertop. The kitchen still smelled faintly of sunscreen and fresh cut grass, so I decided cookies would taste best eaten with sticky hands and sun-warmed faces. Instead of following any strict plan, I reached for jars and bags, tossing in what looked festive—anything that would make the dough as joyful as the mood. By the time the trays slid into the oven, chocolate and peanut butter smudged my sleeves, and it felt absolutely right.
I remember mixing up a double batch for a Fourth of July picnic in the city park, letting the youngest kids scatter the red, white, and blue candies everywhere—or rather, everywhere except entirely in the bowl. The air was filled with the sound of fireworks tests in the distance and I was half-worried the cookies would bake too flat with so many extra treats tucked inside. Still, their eager grins made it impossible not to double down on the mix-ins and let the sprinkles of color do their magic.
Ingredients
- Unsalted butter: Go with softened butter for creaming; cold butter just won’t mix smoothly, and you want every sugar crystal to melt right in.
- Granulated sugar and light brown sugar: Combining both achieves that coveted balance—crisp edges from regular sugar, moist chew from the brown.
- Creamy peanut butter: I’ve learned not to use the natural style for this—classic creamy peanut butter delivers a richer, smoother flavor and a sturdy cookie.
- Eggs: Room-temperature eggs blend more evenly and help the dough come together without lumps.
- Vanilla extract: Don’t skip this: even a small spoonful amplifies all the other flavors.
- Old-fashioned oats: These oats give the cookies their rustic structure; quick oats can make them dense and heavy.
- All-purpose flour: I usually whisk this with the other dry ingredients to avoid overmixing later—a crucial tip for tender cookies.
- Baking soda: This helps the cookies puff up beautifully in the oven, giving them lift without being cakey.
- Salt: A little goes a long way to keep all the sweetness in check.
- Red, white, and blue chocolate candies: Use more than you think you need—press a few extras into the tops right before baking for a truly festive look.
- Semisweet chocolate chips: I never regret grabbing the good stuff; darker chips pop against the sweet dough and candies.
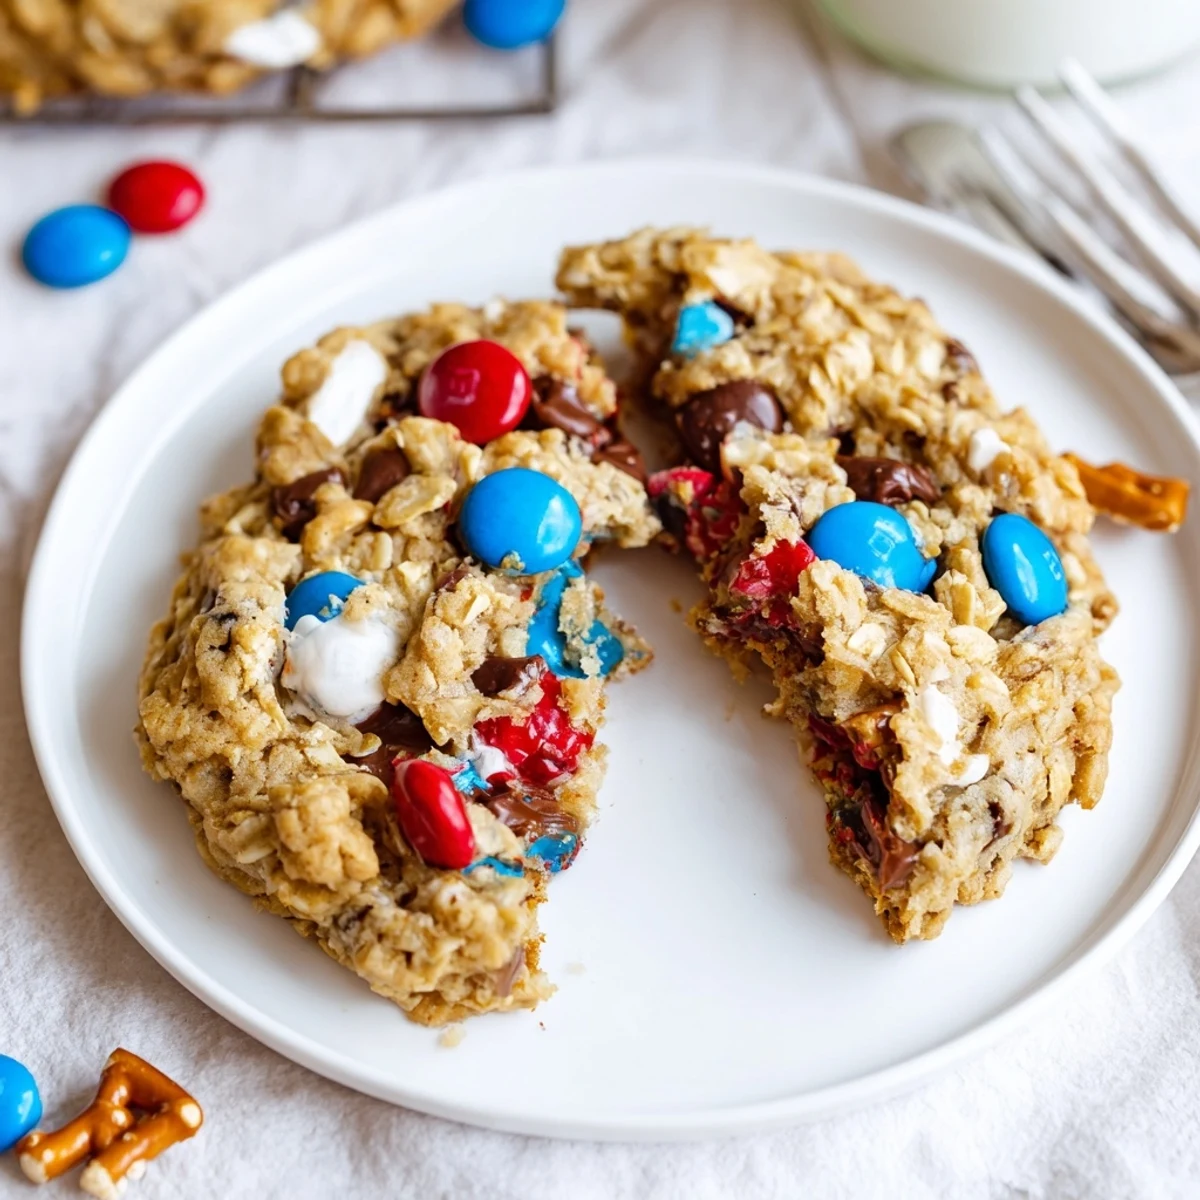
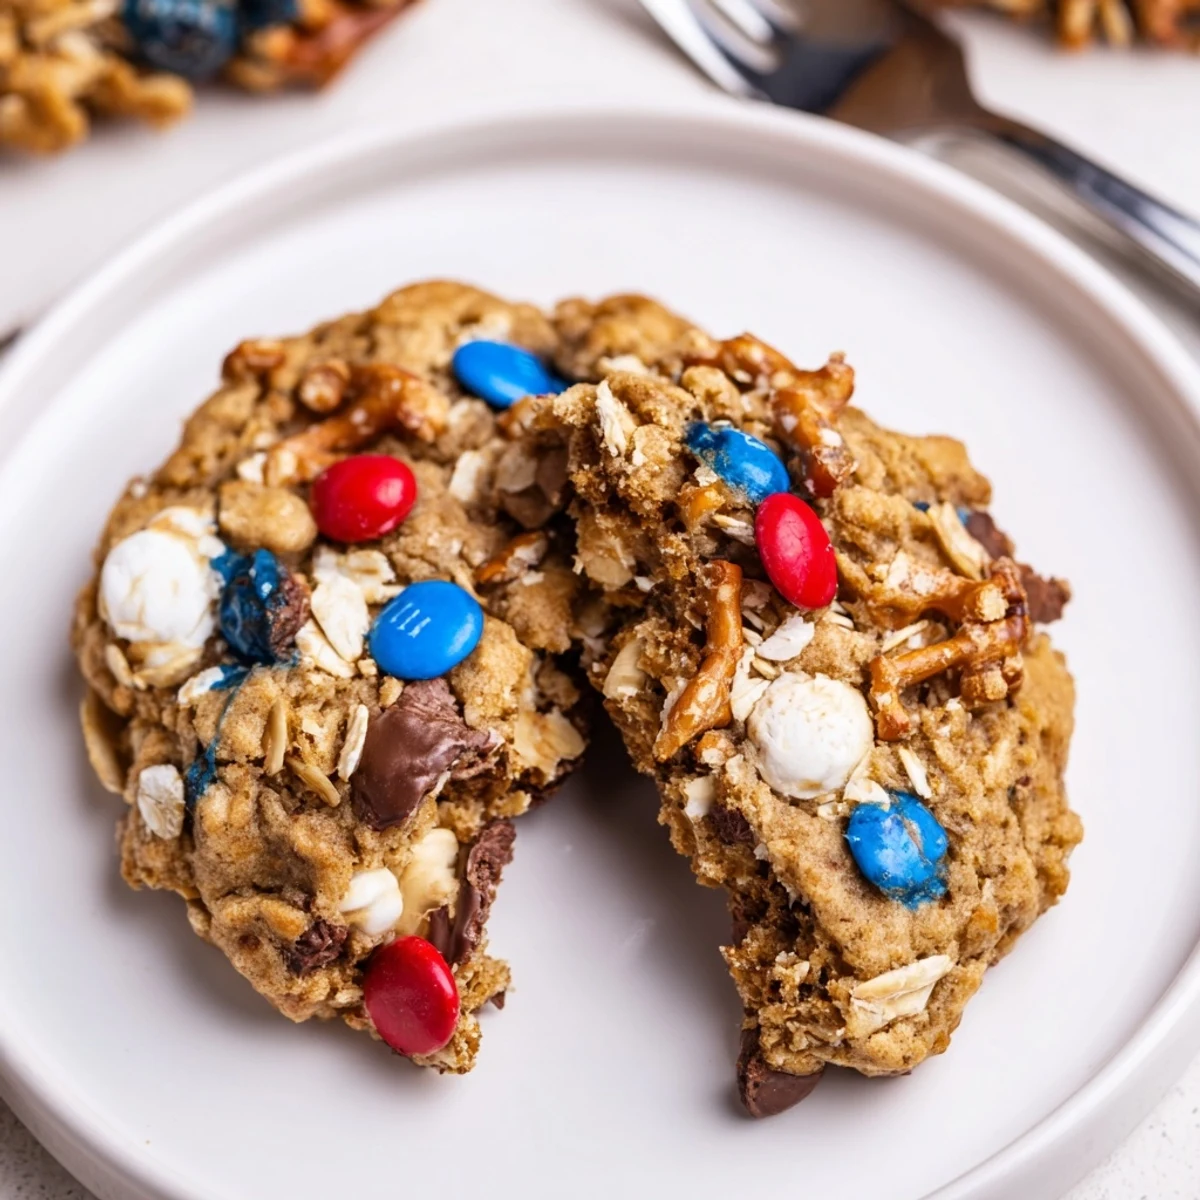
- Mini pretzels (optional): When I add these, I break them up gently by hand—it’s fine if some are bigger than others for extra salty crunch.
Instructions
- Preheat and prep:
- Set your oven to 350°F and line two baking sheets with parchment so nothing sticks later—this is also when the kitchen starts warming up invitingly.
- Cream the butter and sugars:
- Beat the butter with both sugars until it's fluffy and pale creamy; you should hear the beaters thunking as the mixture aerates.
- Add peanut butter, eggs, and vanilla:
- Drop in the peanut butter and keep mixing, then add eggs one at a time (scraping down the bowl so nothing hides at the bottom), and stir in the vanilla for fragrance.
- Mix dry ingredients:
- Whisk oats, flour, baking soda, and salt together in another bowl, watching clouds of flour drift up before it all settles.
- Combine wet and dry:
- Add the dry mix to the wet mix a little at a time, pausing between each addition to avoid overmixing; the dough should look hearty but not stiff.
- Fold in the fun:
- Use a spatula (or clean hands when no one’s looking) to gently fold in candies, chocolate chips, and pretzels until they’re just evenly scattered.
- Scoop the dough:
- Using rounded tablespoons or a cookie scoop, drop dough mounds onto your baking sheets, spacing them so they have room to spread and crisp at the edges.
- Bake:
- Slide the trays in and bake for 10–12 minutes; you'll know they're ready when the edges go golden but the middles still look a touch soft.
- Cool and enjoy:
- Let cookies sit on the baking sheet for five minutes (they keep baking as they rest; trust me), then move to a wire rack to finish cooling.
 Pin It
 The batch that vanished the fastest was on a rainy summer afternoon when friends stopped by unexpectedly, trailing wet umbrellas and the smell of fresh rain. We ate cookie after cookie straight off the cooling rack, and someone declared them ‘the taste of every summer party rolled into one bite.’ It was loud and messy and left the kitchen a glorious disaster, making these cookies unforgettable for something beyond just the flavor.
How to Store for Maximum Freshness
I usually keep these cookies in an airtight tin on the counter—if you layer them with sheets of parchment, they won’t stick together or lose their chew. They freeze well too, so sometimes I make a double batch, freeze half, and save a stash for a lazy Sunday or the next last-minute get-together. Thaw at room temperature and they taste just as good as fresh.
The Secret to Festive Toppings
The trick to picture-perfect cookies is pressing a few extra red, white, and blue candies and chocolate chips onto each dough scoop just before baking. They’ll melt into glossy pools and give every cookie that holiday look you see in magazines. Don’t be shy—this is where you get to make each one feel special and celebratory.
Troubleshooting the Dough
If the dough feels too sticky to scoop, chill it in the fridge for 20 minutes and it’ll cooperate. On hot days, my butter gets extra soft so I sometimes pop the cookie sheets in the fridge for a few moments before baking to prevent overspreading. If you want larger cookies, just add an extra minute or two—but watch for golden edges so you don’t miss that chewy center.
- Try swapping pretzels for chopped toasted pecans for a Southern feel.
- Make ahead and freeze shaped dough balls to bake anytime.
- Don’t forget to clean hands between mix-ins for evenly distributed goodies.
 Pin It
 Sharing these cookies is almost as sweet as eating them; they disappear quickly, but the memories of color-streaked fingers and happy voices last much longer.
Recipe FAQs
- → How can I make these cookies chewier?
-
For a chewier texture, use a higher ratio of brown sugar to granulated sugar, slightly underbake (pull at 10 minutes), and allow cookies to finish setting as they cool on the baking sheet. Leaving a touch more moisture in the center preserves chew.
- → Can I make them gluten-free?
-
Yes. Substitute gluten-free all-purpose flour and certified gluten-free old-fashioned oats. Use a 1:1 gluten-free flour blend designed for baking to maintain structure, and chill the dough briefly if the mix seems loose.
- → How should I store leftovers?
-
Store cooled cookies in an airtight container at room temperature for up to four days. Layer with parchment to prevent sticking. For longer storage, freeze in a sealed bag or container for up to three months.
- → Is it possible to freeze the dough or baked cookies?
-
Yes—scoop dough onto a tray and freeze until firm, then transfer portions to a bag for later baking. Baked cookies also freeze well; separate layers with parchment and thaw at room temperature or warm briefly in a low oven.
- → Why do my cookies spread too much?
-
Excess spread often comes from overly warm butter, too little flour, or thin baking sheets. Chill the dough for 20–30 minutes, measure flour accurately, and avoid greasing sheets (use parchment) to control spread.
- → Any tips for adding pretzels without losing crunch?
-
Lightly crush mini pretzels and fold them in at the very end to minimize breakage. For maximum crunch, press a few pretzel pieces onto tops of scooped dough just before baking.
