 Pin It
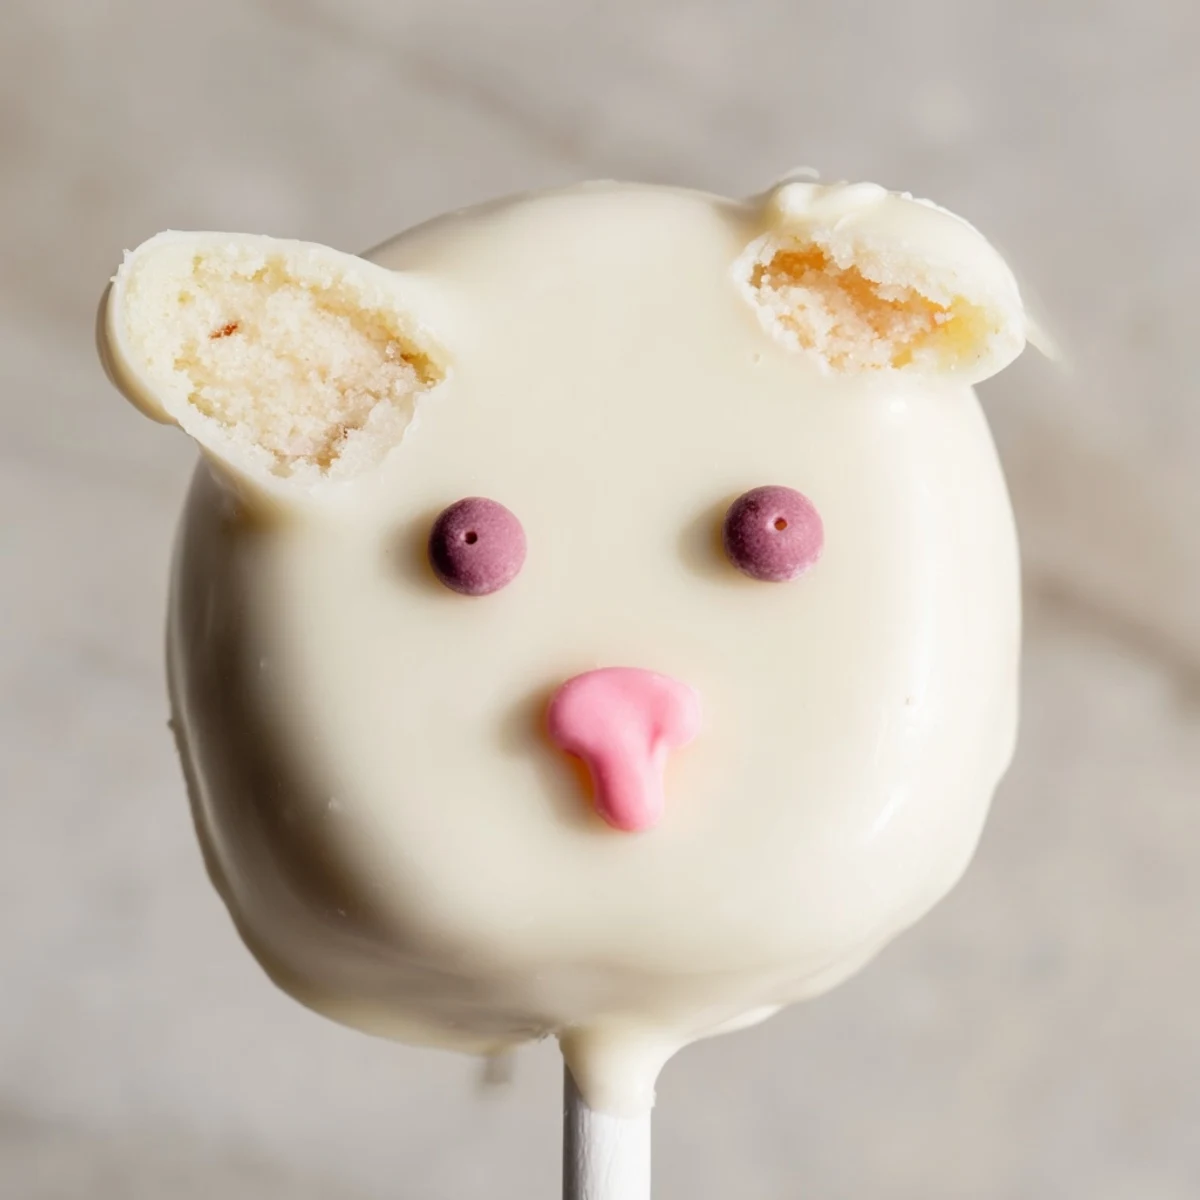
 These delightful bunny-shaped treats combine moist vanilla cake with a rich white chocolate coating, creating the perfect festive dessert for your Easter gathering. The cake mixture uses simple ingredients like vanilla cake crumbs, cream cheese, butter, and powdered sugar to form a dough-like consistency that shapes beautifully into bunny faces.
Dipping each cakesicle in melted white chocolate creates a smooth, professional-looking finish that's ready for creative decorating. Add candy eyes, sprinkles, or fondant ears and noses to bring these adorable bunnies to life. The preparation takes just 25 minutes, plus chilling time, making them an achievable project for home cooks of any skill level.
These handheld treats are naturally vegetarian and yield eight servings, perfect for sharing at spring parties or packaging as thoughtful homemade gifts. The white chocolate coating provides a satisfying snap when you bite into the soft, cake interior, creating an irresistible texture combination.
Last Easter, my niece decided we needed something more exciting than regular cake pops. She pulled out a bunny-shaped mold she'd been saving, and suddenly our kitchen became a cakesicle workshop. The white chocolate kept seizing every time we tried to melt it, but we laughed through the disasters and eventually figured out the technique together.
I made these again for my book club and watched grown women fight over who got the bunny with the pink nose. Something about food on a stick brings out the kid in everyone. Now they request them for every spring gathering.
Ingredients
- Vanilla cake crumbs: Use leftover cake or bake a simple vanilla cake then crumble it finely for the best texture
- Cream cheese: Make sure its completely softened so your cake mixture becomes smooth and pliable
- Unsalted butter: Room temperature butter helps bind everything together without making the mixture greasy
- Powdered sugar: This adds just enough sweetness to the cake base without making it cloying
- Vanilla extract: Pure vanilla extract enhances the cake flavor naturally
- White chocolate: High-quality white chocolate melts more smoothly and tastes less artificial than candy melts
- Edible gel food coloring: Gel colors work better than liquid for the bunny features and wont cause the chocolate to seize
- Cakesicle sticks: Insert these carefully and chill thoroughly before dipping to prevent sliding off
- Decorations: Candy eyes sprinkles or fondant let you customize each bunny personality
Instructions
- Prepare the cake mixture:
- Combine the cake crumbs cream cheese butter powdered sugar and vanilla in a medium bowl. Mix until everything comes together into a soft dough that holds its shape when squeezed.
- Shape your bunnies:
- Divide the mixture into eight equal portions and form each into a flattened oval with slightly pointed tops for bunny ears. Press a cakesicle stick about halfway into each shape and place them on a parchment-lined tray.
- Chill until firm:
- Refrigerate the shaped cakesicles for at least twenty minutes. This step is crucial because cold cake pops hold their shape better during dipping.
- Melt the coating:
- Heat the white chocolate in thirty-second intervals stirring between each burst. Stop when smooth and fluid but not overly hot.
- Dip the cakesicles:
- Hold each stick and dip the bunny into the melted chocolate. Gently tap the stick against the bowl edge to let excess chocolate drip off.
- Add decorations:
- While the coating is still wet place candy eyes sprinkle noses or fondant ears onto each bunny. Work quickly since white chocolate sets fast.
- Set completely:
- Let the cakesicles harden at room temperature for about fifteen minutes. If your kitchen is warm pop them in the fridge for five minutes.
- Final touches:
- Use food coloring gel pens to add whiskers mouths or pink ear details once the base coating is fully set.
 Pin It
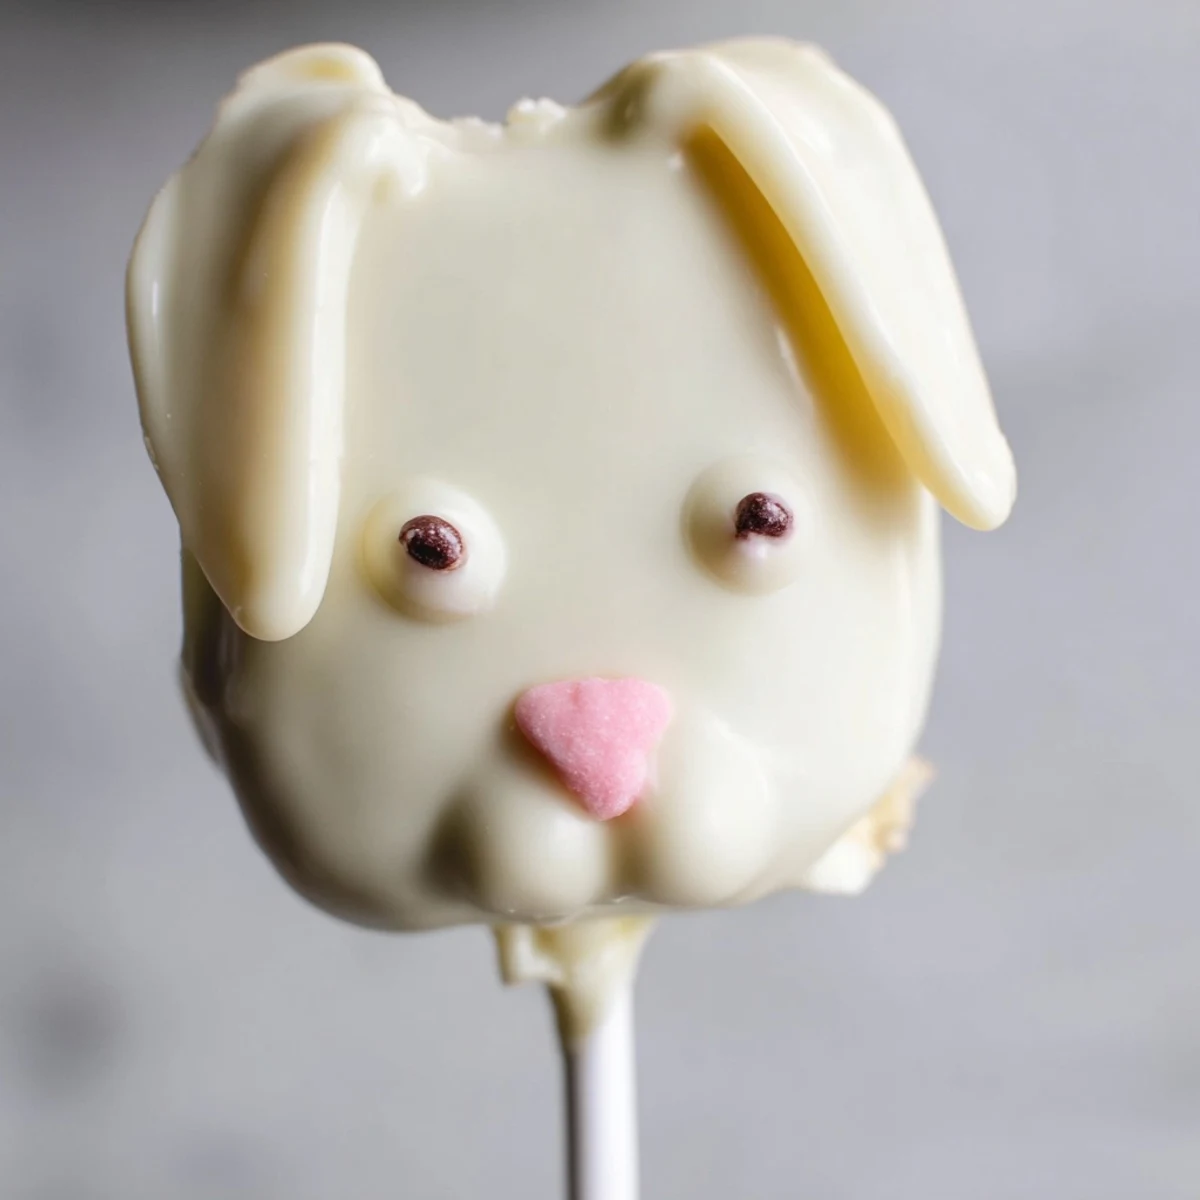
 These became an Easter tradition after my sister posted a photo of our messy first attempt and all her friends demanded the recipe. Now every spring we host a cakesicle decorating party with kids and adults competing for the most creative bunny face.
Getting The Shape Right
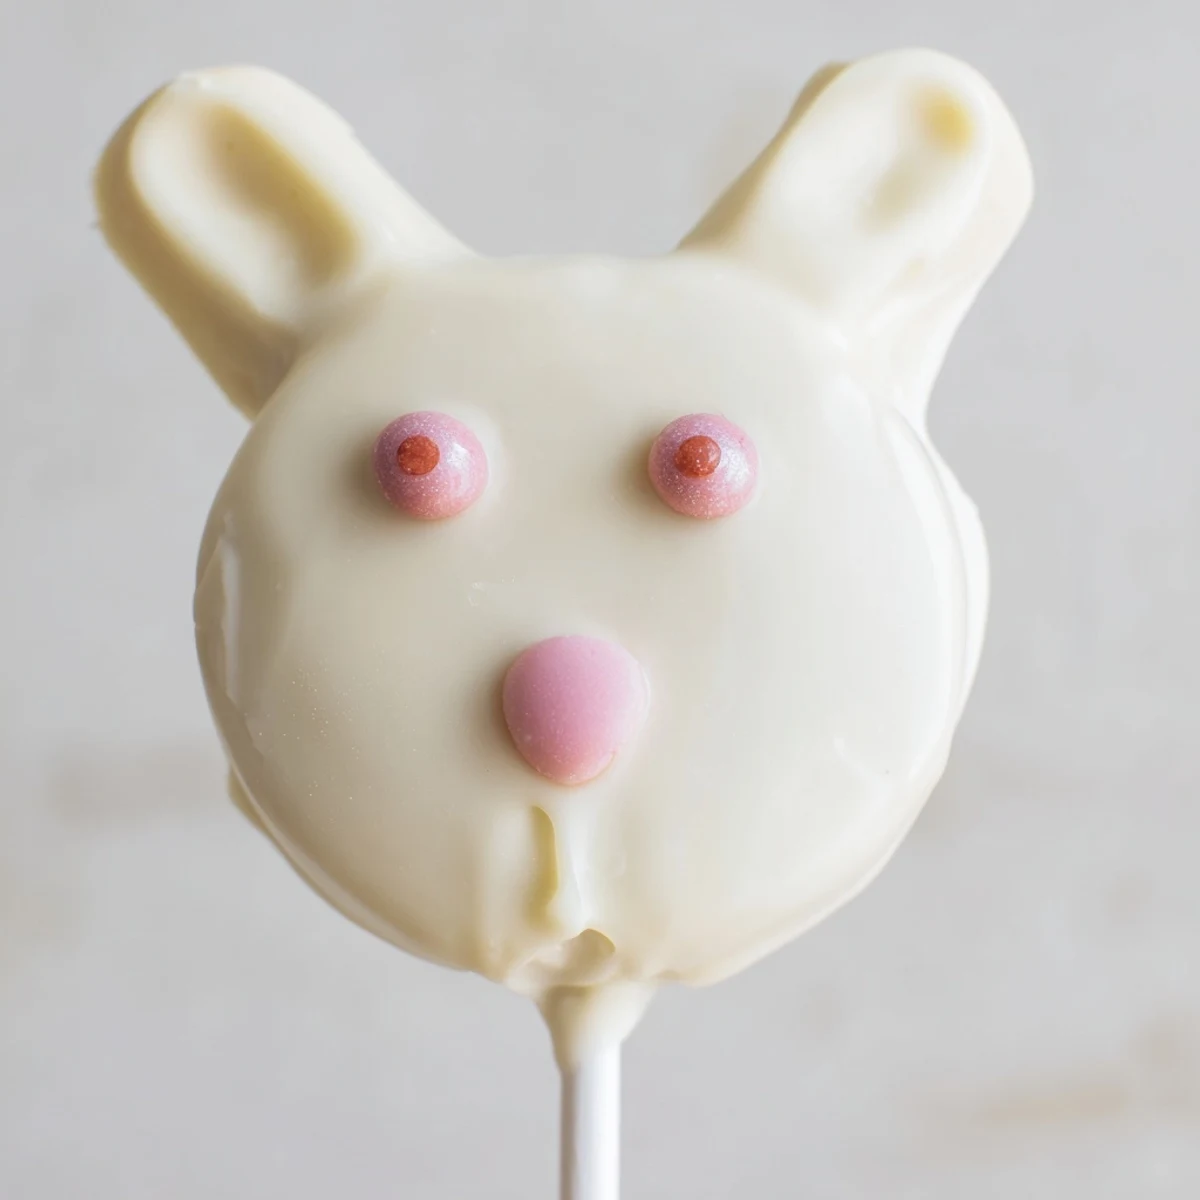
The first few bunnies I shaped looked more like bears than rabbits until I learned to flatten the base and elongate the top portion slightly. Use your fingers to pinch gentle ear curves rather than trying to make perfect points. Imperfect bunnies have more personality anyway.
Working With White Chocolate
White chocolate burns faster than dark chocolate so watch it like a hawk during those final seconds of melting. I keep a clean dry spoon nearby for testing consistency. The chocolate should coat the back of the spoon without running off completely.
Storage And Make-Ahead Tips
These actually taste better after chilling overnight because the flavors meld together. Store them in a single layer between parchment paper so the bunny faces dont get smudged. They keep in the refrigerator for three days or freeze undecorated for up to a month.
- Wrap each cakesicle individually in plastic wrap if freezing
- Let frozen cakesicles thaw in the refrigerator before serving
- Add fresh decorations after thawing since sprinkles can become soggy
 Pin It
 Watch these disappear from the dessert table faster than you can say hippity hop. Theres something magical about food on a stick that makes everything taste better.
Recipe FAQs
- → What are cakesicles made of?
-
Cakesicles are made from a mixture of cake crumbs combined with cream cheese, butter, powdered sugar, and vanilla extract. This creates a dough-like consistency that can be shaped and dipped in chocolate.
- → How long do these treats stay fresh?
-
Store your cakesicles in an airtight container in the refrigerator for up to 3 days. The cool temperature helps maintain the texture of both the cake interior and chocolate coating.
- → Can I use different cake flavors?
-
Absolutely! While vanilla cake crumbs work beautifully, you can experiment with chocolate, lemon, red velvet, or any cake flavor you prefer. Each variation creates a unique taste experience.
- → Do I need special equipment to make bunny shapes?
-
A cakesicle mold helps create uniform shapes, but it's not essential. You can hand-shape the cake mixture into flattened ovals or bunny faces using your hands and a little patience.
- → Why do my cakesicles crack after dipping?
-
Cracking can occur if the coating is too cold or if there's air trapped inside. Ensure your cake shapes are chilled but not frozen, and tap gently after dipping to remove excess chocolate and air bubbles.
- → Can I make these ahead of time for Easter?
-
Yes, these treats are perfect for preparing a day or two in advance. Complete them fully and store in the refrigerator until your celebration. They actually taste better after chilling overnight.
